
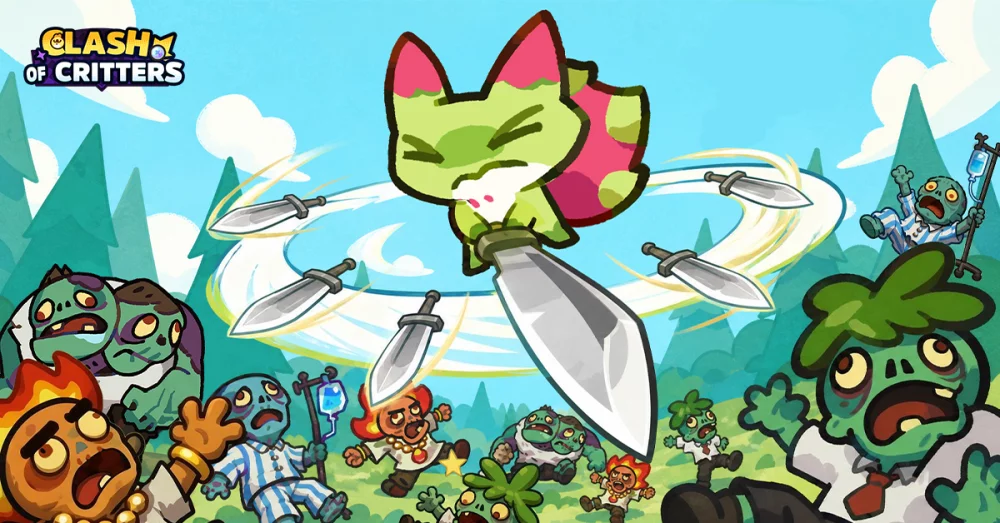
Survival Mode in Clash of Critters represents the ultimate test of your strategic depth, unit synergy, and micro-management skills. Unlike standard campaign stages, Survival Mode throws an endless, escalating barrage of monsters at your team, requiring you to move from a "damage-focused" mindset to a "sustain-and-control" playstyle. To push past your current record and maximize your event rewards, you must master the art of the kite, understand AI pathing, and treat your active abilities as survival tools rather than just DPS buttons.
The Mobility Imperative: Why Static Defense Fails
In the early stages of Clash of Critters, it is tempting to find a corner or a central point and hold your ground. However, as the waves progress and enemy density increases, static positioning becomes a death sentence. When your units stand still, they are easily surrounded and overwhelmed by melee swarmers.
To survive, you must embrace the "kite and compress" strategy:
- The Kite: Constantly move your formation across the arena. By keeping your units in motion, you force the AI to chase you, preventing them from surrounding your team.
- The Compression: Use your movement to drag disparate enemy groups into a single, tight cluster. Once they are bundled together, your Area-of-Effect (AoE) attacks hit every target simultaneously, drastically increasing your "damage per second" efficiency.
- Pathing Control: If you feel the pressure building, move toward the edges of the map. This forces enemies to follow a linear path, creating a "bottleneck" that makes them much easier to manage with crowd-control (CC) abilities.
Advanced Skill Management: Using Abilities as Survival Tools
A common mistake among intermediate Clash of Critters players is firing off active abilities the second they come off cooldown. In Survival Mode, this is a recipe for failure. Your skills are your most valuable resource, and they should be managed according to the state of the board.
The "Escape Button" Philosophy
Treat your defensive or knockback skills as a panic button. If you find yourself cornered, don't waste your ultimate on a small cluster of enemies. Save your crowd-control abilities for when the screen is flooded. A well-timed stun or knockback can provide the crucial three-second window needed to dash through a gap in the enemy line and relocate to a safer part of the map.
Identifying Spawn Spikes
Pay attention to the rhythm of the waves. Every few minutes, Clash of Critters will throw a "density spike"—a significantly larger wave of monsters. Your goal is to keep your highest-damage cooldowns ready for these specific moments. By wiping out the vanguard of a massive wave instantly, you create a "safe zone" that allows you to reposition without taking damage.
Aggro Manipulation and Unit Rotation
Understanding how the AI targets your creatures is the secret to long-term survival. Monsters in Clash of Critters follow a predictable aggro hierarchy: they prioritize the unit closest to them or the one that has dealt the most damage in the last few seconds.
- Baiting Mechanics: Place your highest-defense units (the "tanks") slightly ahead of your DPS dealers. By positioning them as the "vanguard," they absorb the initial impact of enemy strikes.
- The Rotation Cycle: If a unit’s health bar drops into the red, pull them to the back of your formation. In Clash of Critters, there is no "taunt" that lasts forever; by moving a damaged unit behind your healthier ones, you force the AI to re-evaluate its target. This allows your damaged unit to survive long enough for passive healing to kick in.
- Dodge Indicators: Watch for the wind-up animations of elite enemies. Even if a unit is currently being targeted, manual movement can often cause an enemy’s heavy attack to whiff, saving your unit from high-burst damage.
Building for Sustainability: Gear and Composition
If you are hitting a wall at a specific wave, your unit composition is likely the culprit. While it is fun to build a team of high-damage glass cannons, Survival Mode rewards sustain.
The Essential Composition Archetypes
- The Crowd Controller: You must have at least one unit capable of slowing, freezing, or knocking back enemies. Without this, you will eventually be run down by sheer speed.
- The Sustain Engine: Prioritize units with inherent life-steal or those that can self-heal. In later waves, incoming damage is inevitable; you need units that can recover that health without relying on external support.
- The Burst Finisher: Include one unit with high single-target burst damage to quickly eliminate elite monsters that might otherwise stall your movement.
Artifact Synergy
Don't ignore the importance of artifacts in Clash of Critters. If your team lacks natural healing, prioritize artifacts that provide life-steal on hit or health regeneration when moving. A small boost to movement speed can also be a game-changer, as it makes kiting significantly more forgiving.
Identifying and Fixing Failure Points
To improve, you must analyze your defeats. After a run, ask yourself: "How did I die?"
- Dying to Swarms? You need more AoE damage or better crowd control.
- Dying to Elite Single Targets? You need more single-target burst or better aggro rotation.
- Dying to Exhaustion (Running out of health slowly)? You need more life-steal or sustain-focused artifacts.
By treating your Clash of Critters survival runs as a series of tactical puzzles rather than a test of raw stats, you can systematically solve each wave. Remember: mobility is your defense, skill timing is your offense, and rotation is your longevity. Keep moving, stay patient with your cooldowns, and you will see your survival times increase significantly.

Free Clash of Critters Codes
Current active codes and how to redeem them.

James Brown
James focuses on Android gaming on PC, emulator setup, controls, performance tuning, and practical troubleshooting for longer play sessions.
COMMUNITY
Player Comments
25 players commented on this guide.
I tried this today and it worked better than my old setup.
This guide answered the exact question I had.
This saved me time in the early game.
Good guide for Clash of Critters players. The strategy part was useful.