
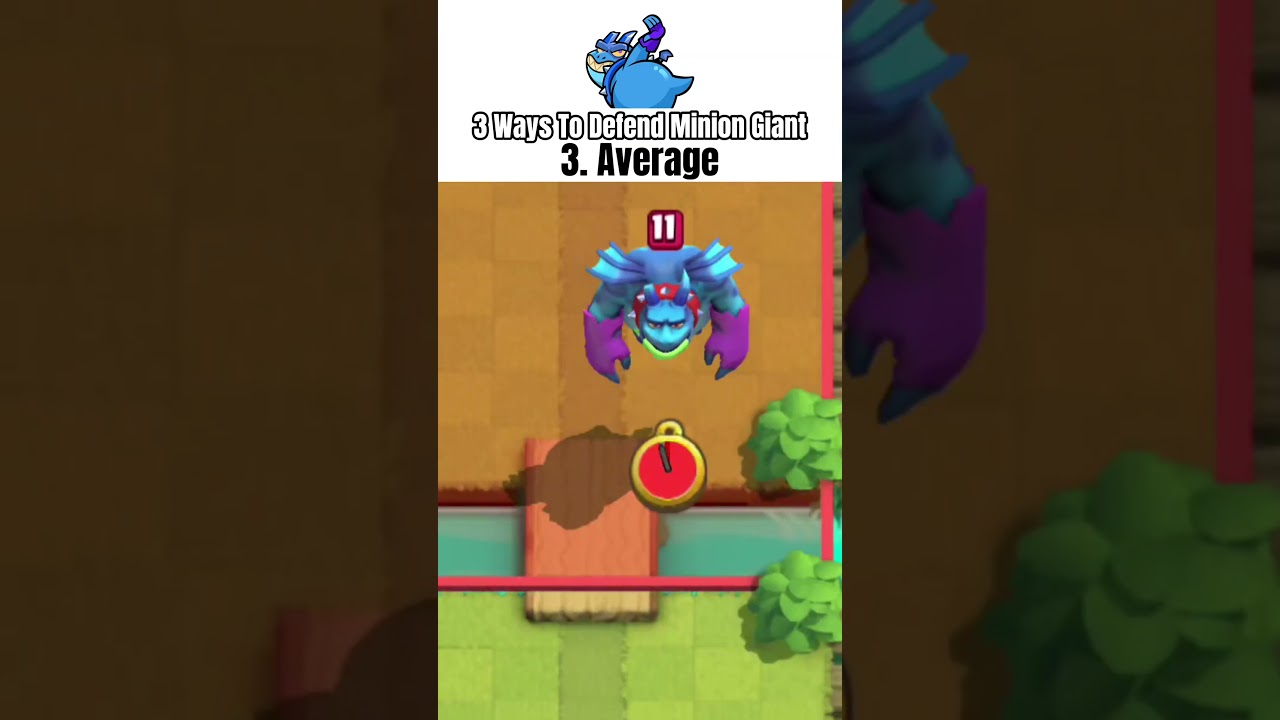
To defend against a Giant and Minions push in Clash Royale without losing tower health, you must separate the flying swarm from the tank. Pull the Giant toward the center of your board using a defensive building to draw fire from both Princess Towers. While the Giant redirects, clear the Minions using wide-angled ranged troops or direct damage spells, and only deploy ground tank killers once the Minions cannot shred them.
Why the Push Is Difficult to Defend
An eight-elixir Giant and Minions push pairs a high-health meat shield with fast, high-damage air support:
- Target Priority Trap: Because the five-elixir Giant crosses the bridge first, your Princess Tower locks onto him automatically. The three-elixir Minions hover overhead and attack unhindered while the Giant absorbs all tower arrows.
- Speed Disparity: Giant moves at Medium speed, while Minions move at Fast speed. Minions quickly catch up to hover directly over the Giant's hitbox.
- Melee Defender Shredding: Dropping a ground tank killer like a Mini P.E.K.K.A, Knight, or Prince directly on top of the Giant allows the Minions to eliminate your defender before it can defeat the tank.
Dismantling this push requires handling the flying DPS and the building-targeting tank as two distinct problems.
Pulling the Giant with Building Placements
Defensive buildings disrupt the Giant's pathing, diverting him away from your Princess Tower and buying time to eliminate the Minions.
The standard defensive pull is the 4-3 plant: place your building four tiles from the river and three tiles from the side lane, squarely in the middle of your arena. This forces the Giant into the center "kill zone" where both Princess Towers can shoot him once the Minions are cleared. Because Minions move faster than the Giant, this diagonal redirect causes the Minions to drift away from the tank, breaking their formation.
| Building Placement | Best Used For | Primary Benefit | Operational Risk |
|---|---|---|---|
| High Plant (3–4 tiles from river) | Solo Giant or late Minion deployments | Engages and pulls the Giant immediately at the bridge | Fragile buildings can be targeted and shredded early by Minions |
| Low Plant (closer to King Tower) | Grouped Giant + Minions crossing together | Drags the push deep into dual-tower range and forces separation | Placing one tile too wide allows the Giant to bypass the pull |
If your opponent groups Minions directly over the Giant at the river, avoid fragile low-HP buildings like Tombstone or Cannon right at the bridge. Deploying them there lets the Minions destroy the building instantly, sending the Giant straight to your tower.
Eliminating the Minions
Minions must be eliminated immediately to keep your defensive troops alive.
Spaced Anti-Air Troop Placements
Never drop single-target ranged troops directly in front of the push. Units like Musketeer, Dart Goblin, Archer Queen, or Archers will die instantly if placed within the Minions' melee range.
Instead, place ranged units wide near the outer arena wall, several tiles behind your Princess Tower. This inward-angled sightline keeps your ranged unit safe while the Minions continue tracking straight along the bridge lane. If you use splash troops like Baby Dragon, Executioner, or Wizard, offset them horizontally from the bridge so their area-of-effect damage clips both the Giant and the Minions hovering behind him.
Direct Spell Counters
When an anti-air troop is out of rotation, respond with direct spells:
- Arrows: Costing three elixir, Arrows provide an exact neutral trade, wiping out the Minions in one volley while chipping the Giant.
- Fireball: While spending four elixir on three-elixir Minions is a negative trade, it eliminates the swarm instantly and knocks the Giant backward, resetting his travel progress.
- Zap or Giant Snowball: A two-elixir Zap leaves Minions with low health, allowing a single arrow from your Princess Tower to finish each one. Giant Snowball inflicts similar damage while knocking the Minions back and slowing their movement.
Safely Neutralizing the Giant
Once the Minions are dead or focused on your central building, deploy your melee tank killers.
- Deploy Behind the Giant: Drop heavy ground hitters—such as Mini P.E.K.K.A, Lumberjack, Hunter, or Elite Barbarians—directly behind the Giant, facing back toward your side of the board.
- Body Block: Your unit's hitbox physically blocks the Giant, slowing his forward progress toward your building or tower.
- Deny Spell Value: Placing a sturdy mini-tank behind the Giant keeps it outside the radius of predictive opponent spells like Log, Zap, or Arrows.
If you rely on ground swarms like Goblins or Skeletons, hold them until the Minions are completely cleared. Spawning ground swarms while Minions are active wastes elixir.
Transitioning to a Counter-Push
A successful defense against this eight-elixir push usually leaves your ranged defenders or mini-tanks at full health.
Do not let these surviving units cross the bridge unsupported to die to the enemy Princess Tower. Place a Hog Rider, Battle Ram, or a cheap tank in front of them at the river, or send a Miner directly to the opponent's tower. Because the opponent spent eight elixir on a push that dealt no tower damage, they will lack the resources needed to stop your counter-attack.

Free Clash Royale Codes
Current active codes and how to redeem them.

James Brown
James focuses on Android gaming on PC, emulator setup, controls, performance tuning, and practical troubleshooting for longer play sessions.
COMMUNITY
Player Comments
130 players commented on this guide.
This helped me understand base building much better.
I tried this today and it worked better than my old setup.
This saved me time in the early game.
Can you add more details about base building in a future update?