
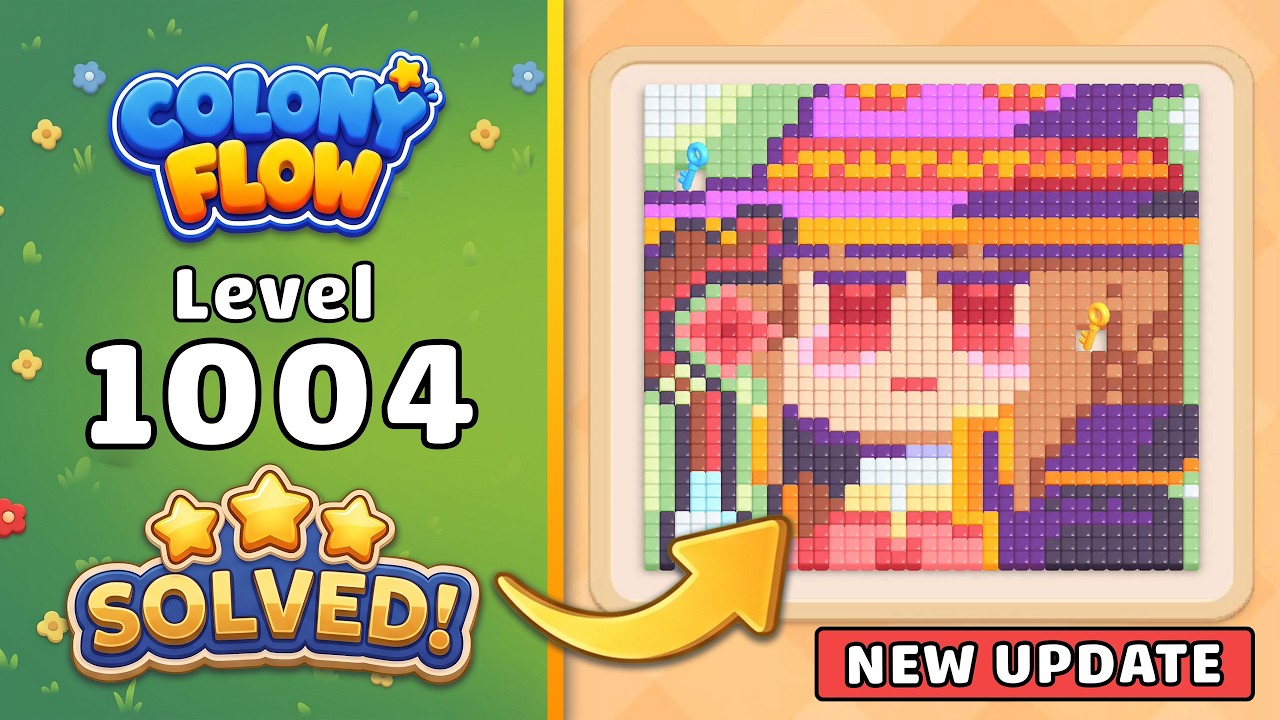
To beat Level 1004 in Colony Flow!, clear the outer perimeter units before releasing inner ants, and keep your holding slots largely empty to prevent gridlock. Inner units face overlapping lanes and reciprocal blocks that can only exit safely once edge corridors are vacant and matching target capacity is open.
Level 1004 Phase-by-Phase Clearing Order
Level 1004 uses layered barricades where crossing corridors cause collision stalls if units are tapped out of order. Progress from the exterior edge to the center using the following staging discipline:
| Phase | Target Focus | Clearing Objective | Holding Slot Target |
|---|---|---|---|
| Phase 1 | Outer Perimeter | Clear unobstructed ants facing outer lanes | 0 slots used |
| Phase 2 | Secondary Rings | Unblock directional intersections | 1–2 slots maximum |
| Phase 3 | Main Chokepoints | Clear shared corridors by color priority | Rapid slot turnover |
| Phase 4 | Core Cluster | Route final inner units to open targets | 2 slots held empty |
Step-by-Step Board Solution
1. Peel Away the Outer Perimeter
Begin by scanning the borders for ants whose forward paths lead directly to open collection targets without intersecting another unit.
- Locate perimeter ants facing outward or along clear edge tracks.
- Confirm the receiving basket or node has enough capacity for the full group so excess ants do not spill into the holding dock.
- Dispatch those unobstructed outer units immediately to widen the board's operational boundaries.
- Leave the central cluster untouched during your first three moves to avoid early track contention.
2. Untangle Secondary Intersections
Once the outer ring is vacant, secondary units gain room to maneuver across intermediate lanes.
- Check intersection crossings: if two colors must cross the same junction, send the color with the shorter distance to travel first to vacate the track quickly.
- Use a holding slot only when parking a single blocking unit immediately frees a multi-ant run to an open destination.
- Avoid parking units in holding slots without an immediate payoff, as reduced reserve capacity limits your ability to recover from later bottlenecks.
3. Clear the Dense Central Core
The remaining core consists of tightly clustered units that frequently block each other's forward paths.
- Check which color targets still have unfilled capacity.
- Trace backwards from those open targets into the center to locate the closest matching ant.
- Remove the immediate physical blocker pinned in front of that ant.
- Focus on clearing one color completely rather than alternating across different colors. Once an entire color lane is empty, that corridor becomes a permanent, safe crossing route for remaining units.
Traps and Failure Points to Avoid
- Premature center taps: Dispatching inner ants while edge lanes remain occupied causes mid-track collisions and forces trailing units into the holding dock.
- Overfilling target baskets: Sending more ants than a target can accept diverts the overflow into the holding area, quickly triggering a full-dock loss.
- Rapid-fire tapping: Tapping ants in quick succession can cause trailing units to collide with leading units that have not yet cleared tight corners. Wait for an ant to round a turn before sending the next one behind it.
- Exhausting holding slots: Maintain at least one to two open holding slots at all times during the endgame to absorb emergency lane adjustments.

Free Colony Flow! Codes
Current active codes and how to redeem them.

Emily Johnson
Emily writes practical mobile strategy guides with a focus on resource planning, base progression, and the early decisions that shape a long-term account.
COMMUNITY
Player Comments
35 players commented on this guide.
This guide answered the exact question I had.
This helped me understand strategy much better.
The tips are practical and easy to follow.
Good guide for Colony Flow! players. The strategy part was useful.