
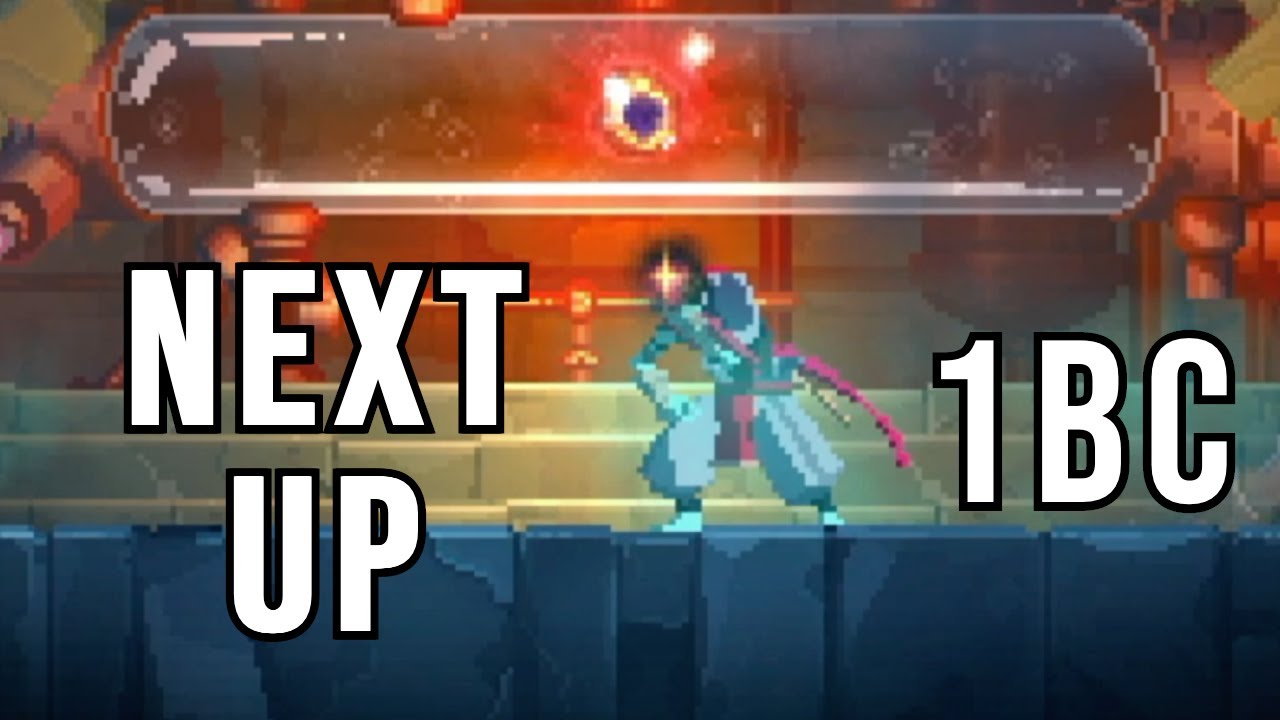
Transitioning from 0BC to 1BC in Dead Cells+ is the first major hurdle for every player. It marks the shift from a "tutorial" environment to a true roguevania experience where the game stops providing free health flask refills between biomes. To succeed, you must move away from reactive, casual play and adopt a disciplined, strategic approach to your build and resource management.
The Golden Rule: Commit to One Primary Stat
The most common mistake players make when entering 1BC is spreading their Power Scrolls across Brutality, Tactics, and Survival. In Dead Cells+, damage scaling is exponential, not linear. Every single scroll you find should be dumped into your chosen primary color.
- Why it matters: Enemies in 1BC have significantly larger health pools. If your damage is split, you will find yourself in "damage sponge" situations where you are forced to engage with enemies for too long, inevitably leading to taking damage.
- The Math: By focusing on one stat, your weapon damage multiplies significantly with every scroll. A high-level weapon is useless if it doesn't align with your primary stat; conversely, a low-level weapon that matches your primary color will often outperform higher-tier gear that does not.
- Dual-Stat Scrolls: When you encounter a dual-stat scroll that doesn't contain your primary color, always choose the one that provides the most health points. Never pick a color just to "try out" a weapon you found on the ground.
Mastering the Health Flask Economy
In 0BC, the game is forgiving; in 1BC, you must treat your health flask as a finite, precious resource. Since you no longer get a free refill at the end of every level, you need to change your relationship with damage.
- Stop Tanking: If you are taking hits, your build or your movement is the problem. Stop using your flask to "fix" a bad room clear. If you reach a boss with zero charges, your chances of success drop to near zero.
- The Shield Strategy: If you struggle with incoming damage, equip a shield. The Dead Cells+ parry mechanic is the most reliable way to mitigate damage. Even if you aren't a master, learning the parry timing for basic enemies will save you significantly more health than any healing item.
- Accepting Damage: Sometimes, it is better to lose a small amount of health and move on than to burn a flask charge. Reserve your flasks strictly for boss encounters, where you need that buffer to survive their high-damage combos.
Optimizing Gear for Synergy
A collection of high-rarity items does not make a "build." A build is defined by how your items interact with one another. To crush 1BC, your gear must share a common theme.
- Affix Fishing: When at a shop, look for gear that triggers status effects (Oil, Burning, Poison, Bleed, Freeze) and pair them with items that deal bonus damage to those specific conditions. For example, a weapon that causes "Burning" paired with a secondary item that deals +60% damage to burning targets is a massive DPS spike.
- Crowd Control (CC): In 1BC, you can easily be overwhelmed by mobs. Prioritize items that freeze, stun, or root enemies. Stopping an enemy from attacking is just as effective as killing them, as it gives you the breathing room to prioritize targets.
- Stat Alignment: Never pick up an item that doesn't match your color, even if it looks cool. It will fail to scale, and you will effectively be playing with one hand tied behind your back.
Prioritizing Pathing for Scroll Density
Not every biome is equal. If you are struggling to reach the late game, you are likely taking a path that leaves you underpowered. You need to maximize the number of Power Scrolls you collect before reaching the boss.
- The "Scroll-Heavy" Rule: Choose paths that offer the most scrolls. Some biomes are notorious for having fewer scrolls and should be avoided if you want to be as strong as possible for the next boss.
- Challenge Rifts: Always look for the glowing gold light on the floor. Challenge Rifts are guaranteed scrolls. If you see one, stop what you are doing and clear it.
- Efficiency: By the time you reach the second boss (usually around the 20-25 minute mark), you should have roughly 15-20 points in your primary stat. If you are significantly below this, your build is not scaling fast enough to keep up with enemy health.
The Role of Custom Mode
Many players feel that using Custom Mode is "cheating," but in Dead Cells+, it is a vital tool for progression. If you are frustrated by the RNG of item drops, use Custom Mode to restrict the item pool.
- Refining Your Loadout: By disabling items you don't like or that don't fit your current playstyle, you increase the likelihood of finding the synergies you need to win.
- Learning Patterns: When you consistently use the same set of weapons, you stop focusing on "how do I use this?" and start focusing on "how do I beat this enemy?" This shift in focus is exactly how you master the game mechanics.
Common Mistakes to Avoid
- Panic Healing: Never heal in the middle of a fight unless you have successfully created distance. Many players die while trying to drink their flask because they don't wait for an opening.
- Ignoring Elites: Elites provide extra scrolls and rewards. If you are confident in your parrying, seek them out. If you are struggling, learn their attack telegraphs—they are the key to accelerating your character's growth.
- Over-committing: Do not try to clear every single enemy in a room if you are low on health. Dead Cells+ allows you to outrun most threats. Sometimes, the best tactical decision is to move to the next area to find a shop or a food drop.
By focusing your scrolls, managing your flasks with discipline, and curating your loadouts for synergy, you will find that 1BC becomes significantly more manageable. Remember that every death is a lesson; pay attention to what killed you, adjust your strategy, and dive back in.

Free Dead Cells+ Codes
Current active codes and how to redeem them.

Sarah Williams
Sarah specializes in RPG and collection games, explaining team building, character growth, and beginner-friendly ways to avoid expensive early mistakes.
COMMUNITY
Player Comments
43 players commented on this guide.
The explanation is clear, especially for beginners.
This helped me understand strategy much better.
I wish I had read this before upgrading the wrong thing.
I tried this today and it worked better than my old setup.