
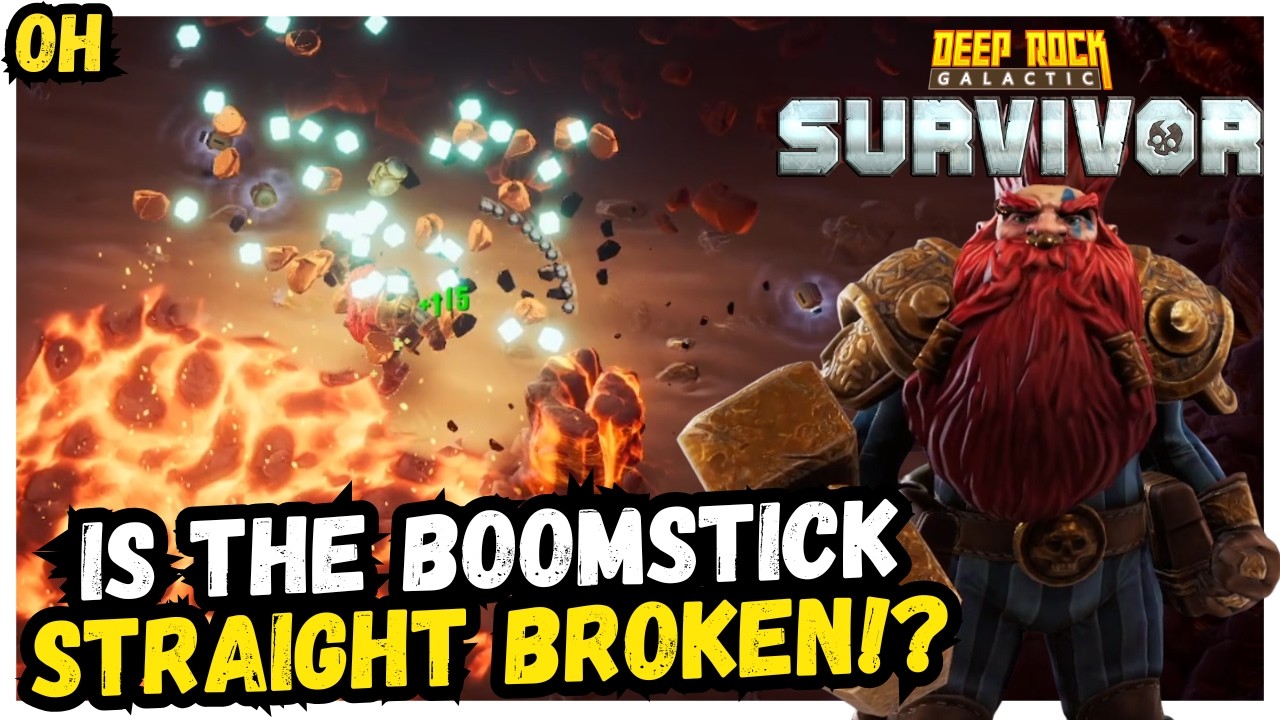
In the increasingly lethal caves of Hoxxes IV, the Jury-Rigged Boomstick has emerged as a cornerstone weapon for Deep Rock Galactic: Survivor. While its base performance might seem underwhelming to new players, it is arguably one of the most potent area-of-effect (AoE) weapons when properly scaled. To survive the intensity of 1.0 difficulty spikes, you must transform this close-quarters tool into a sustained, fire-spewing engine of destruction.
This guide breaks down the precise stat priority, artifact synergy, and tactical positioning required to make the Boomstick your primary carry weapon.
The Mechanics of the Boomstick: Why Fire is King
The Jury-Rigged Boomstick’s strength lies in its ability to hit multiple targets simultaneously with a wide, high-impact spread. However, raw damage alone is insufficient for higher hazard levels where enemy health pools scale aggressively.
The secret to success is Fire Conversion. By focusing on upgrades that add fire damage and burn duration, you shift the weapon's profile from a "single-hit" shotgun to a "damage-over-time" monster. When you successfully ignite a swarm, the burn effect chains across targets, allowing you to clear entire sectors of the screen without needing to land a direct hit on every single bug.
Why Fire Matters:
- Burn Stacking: Multiple instances of fire damage stack, melting elite enemies that otherwise soak up direct projectile damage.
- Crowd Control: The burn effect acts as a passive barrier; bugs that walk into your "fire zone" take constant chip damage, softening them up before your next shotgun blast.
- Efficiency: Because the Boomstick has a forced reload, the burn damage keeps your DPS active even when the weapon is technically "empty."
Prioritizing Stats: The Reload Speed Mandate
If you treat the Boomstick like a standard projectile weapon, you will fail. The weapon’s biggest liability is its reload speed. In Deep Rock Galactic: Survivor, standing still to reload is a death sentence.
Your Stat Priority List:
- Reload Speed: This is your #1 priority. You must reduce the downtime between shots to maintain a constant wall of fire. If "Reload Speed" appears as a green or blue rarity upgrade, take it immediately.
- Fire Damage: Once your reload time is manageable, stack fire damage to ensure your burn procs are actually lethal.
- Projectile Count: Increasing the number of pellets per shot is more valuable than raw "Damage" in the early game. More pellets mean more chances to trigger a burn effect on multiple targets at once.
- Crit Chance/Damage: Reserve these for the late game. Once your fire damage is established, crits act as a multiplier to clear high-health bosses quickly.
Essential Artifact Synergies
Your build is only as strong as the artifacts you collect. Because the Boomstick relies on high-frequency hits and fire damage, specific artifacts provide exponential returns.
- The "Fire" Artifacts: Look for anything that grants flat bonuses to Elemental Damage or Fire Damage. These are the lifeblood of the build.
- Reload-Specific Artifacts: Items that reduce reload speed or provide a "fire rate" bonus are non-negotiable. If you find an artifact that allows you to reload while moving or increases movement speed during reloads, prioritize it over almost everything else.
- On-Hit Effects: Since the Boomstick hits many targets at once, artifacts that trigger on-hit (such as electrical discharge or explosive procs) turn your shotgun into a multi-elemental nightmare.
Tactical Positioning: The "Danger Zone" Strategy
The Boomstick is a short-to-medium-range weapon. To maximize its spread, you need to be uncomfortably close to the swarm. This creates a high-risk, high-reward gameplay loop.
How to Master the Range:
- The Kiting Loop: Fire your shot, then move in a tight circle or figure-eight pattern while reloading. Never run in a straight line away from the swarm; if you do, your shots will lose effectiveness as they scatter.
- Choke Point Management: Use the caves to your advantage. Lead the swarm into narrow corridors where your shotgun spread becomes 100% efficient. In narrow tunnels, a single blast can wipe an entire line of enemies.
- Defensive Layering: Since you have to be in the "danger zone," you must supplement your build with defensive artifacts. Prioritize Max Health or Life Steal to offset the chip damage you will inevitably take. If you aren't surviving the hits, you won't have the time to let your burn damage do the work.
Common Mistakes and How to Avoid Them
Even with a perfect build, players often sabotage their runs with minor tactical errors. Avoid these common pitfalls:
- Neglecting Secondary Weapons: Do not rely on the Boomstick for everything. Use your secondary slots for crowd control weapons (like the Cryo Cannon or turrets) that can slow enemies down, keeping them in your Boomstick’s optimal range for longer.
- Ignoring Weapon Milestones: Pay attention to the specific level-up bonuses for the Boomstick. Sometimes a "Reload Speed" milestone is worth more than a generic damage boost. Always check the weapon-specific upgrades before settling for general stat buffs.
- Over-valuing Range Upgrades: You do not need "Range" on the Boomstick. You want the pellets to stay dense. If you increase the range, the pellets spread out too far, decreasing your overall damage-per-target. Keep your range tight and your damage high.
Conclusion: The Path to Mastery
Success in Deep Rock Galactic: Survivor requires adapting to the RNG of the upgrade screen. However, by strictly adhering to a Reload Speed > Fire Damage > Projectile Count hierarchy, you can turn the Jury-Rigged Boomstick into a reliable run-winner.
Remember, the goal isn't to kill every bug with one blast—it's to ignite the field and keep the pressure constant. By managing your reload cycle and staying mobile, you’ll find that even the toughest swarms on Hoxxes are no match for a well-built Boomstick. Keep your eyes on the upgrade rolls, manage your positioning, and keep that trigger pulled—for Karl!

Free Deep Rock Galactic: Survivor Codes
Current active codes and how to redeem them.

James Brown
James focuses on Android gaming on PC, emulator setup, controls, performance tuning, and practical troubleshooting for longer play sessions.
COMMUNITY
Player Comments
83 players commented on this guide.
Can you add more details about strategy in a future update?
This saved me time in the early game.
Nice guide. I am checking the other Deep Rock Galactic: Survivor articles next.
I wish I had read this before upgrading the wrong thing.