
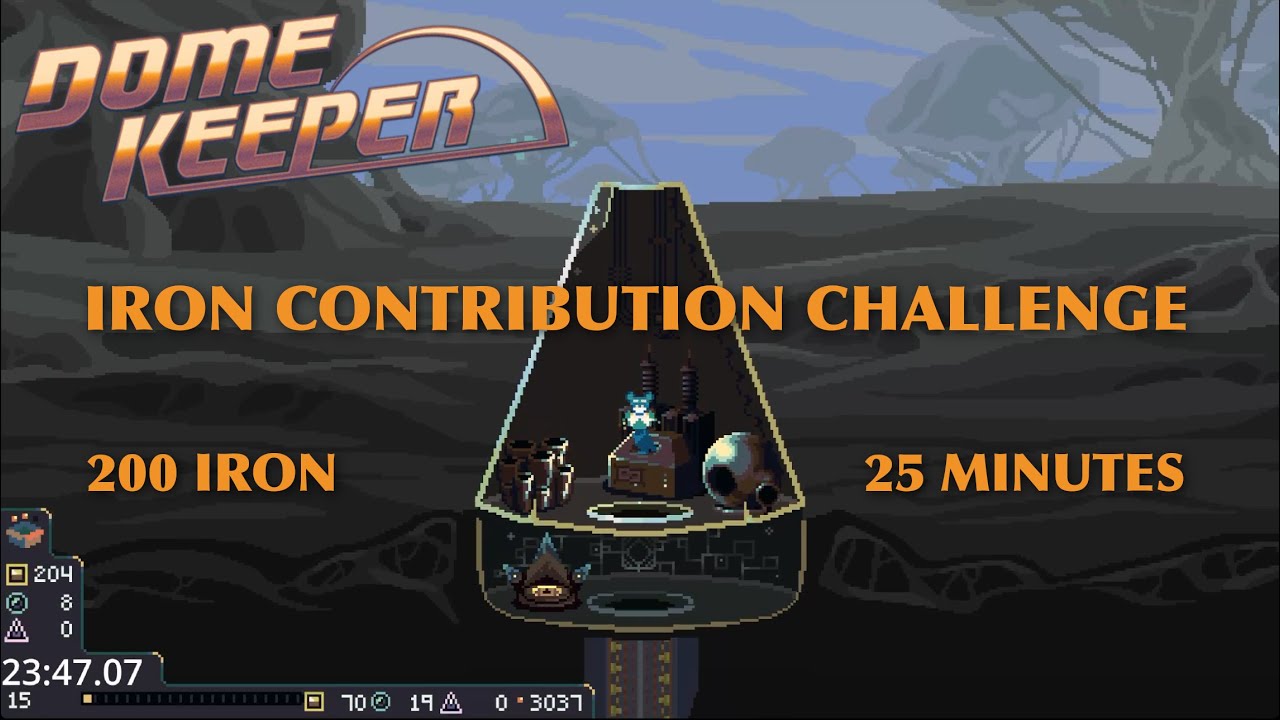
To beat the Iron Contribution Guild Assignment on Challenge mode in Dome Keeper, you must deliver 200 iron to your dome before combat scaling overwhelms your base. Every unit of iron spent on tech is an ingot deducted from your final win condition. Clear this challenge by halting personal keeper upgrades at Drill Tier 2, purchasing only baseline damage for your primary weapon, and hoarding all surplus iron once your mid-tier mining foundation is set.
Keeper Upgrade Thresholds
Your opening cycles determine your resource efficiency. Delay drill upgrades during the shallowest dirt layer, where blocks yield to one or two hits. Allocate initial iron into movement and hauling so you can ferry shallow clusters without losing mining momentum.
| Phase | Upgrade Target | Purpose |
|---|---|---|
| Cycles 1–3 | Carry Capacity 1, Movement Speed 1 | Eliminates transport delays when hauling shallow deposits. |
| Cycles 4–6 | Drill Tier 1 | Maintains rapid block clearing as the first rock density boundary appears. |
| Cycles 7–10 | Drill Tier 2, Carry Capacity 2 | Penetrates mid-tier rock without burdening keeper mobility. |
| Post-Cycle 10 | Freeze personal tech | Prevents iron waste; Drill Tier 3 does not recoup its high cost before the 200-iron goal. |
After reaching Drill Tier 2, stop upgrading your keeper. Strip-mine horizontally by leaving two unmined blocks between exploratory shafts to expose hidden veins without wasting time drilling empty stone.
Weapon Upgrades and Base Defense
Spend iron only on direct damage improvements that prevent structural breaches. Skip convenience upgrades, such as passive tracking or widened reticles, and manage survival with focused adjustments:
- Laser Dome: Buy the primary damage upgrade and beam movement speed so you can track fast flyers and melt heavy ground units before they reach the hull.
- Sword Dome: Buy blade speed and basic stab damage to eliminate armored flying attackers quickly.
- Repairs: Reserve cobalt exclusively for emergency hull repairs between waves rather than spending iron on passive structural reinforcements.
Transport Gadgets
Manually carrying iron from the lower depths creates an unsustainable travel bottleneck. If you recover relics, select and upgrade transport tools that reduce your transit time:
- The Lift: Prioritize lift speed and carrying orbs. This allows you to dump raw iron down the main shaft and immediately resume digging.
- The Teleporter: Upgrade this gadget to carry resources so you can send iron shipments directly up to the dome while you continue excavating.
- Blast Mining Drill: Detonate charges only within confirmed iron clusters to reveal dense veins instantly. Avoid blind blasts into empty rock.
- Drone Yard: Use drones for baseline transport, but avoid investing heavy iron into drone efficiency upgrades.
The Hoarding Pivot
Reaching the 200-iron quota requires shifting from active base development into pure resource hoarding once your mid-game baseline is operational:
- Stop camp spending: Once Drill Tier 2 and basic weapon damage are secured, bank all subsequent iron deposits.
- Hold through late attacks: When your iron count crosses 120 to 140, do not buy tier-three weapons or armor, even as waves grow denser. Rely on cobalt repairs to keep the dome functional.
- Strip-mine mid-tier strata: Concentrate excavation in the wider mid-depth layers where rock density remains manageable and iron pockets are abundant.
- Scavenge the final quota: When your stockpile reaches roughly 170 iron, stop digging into new territory. Sweep your existing tunnels to collect loose, previously dropped ingots and deliver the final 30 iron to complete the assignment.

Free Dome Keeper Codes
Current active codes and how to redeem them.

Sarah Williams
Sarah specializes in RPG and collection games, explaining team building, character growth, and beginner-friendly ways to avoid expensive early mistakes.
COMMUNITY
Player Comments
139 players commented on this guide.
Nice guide. I am checking the other Dome Keeper articles next.
This guide answered the exact question I had.
This helped me understand early game much better.
I wish I had read this before upgrading the wrong thing.