
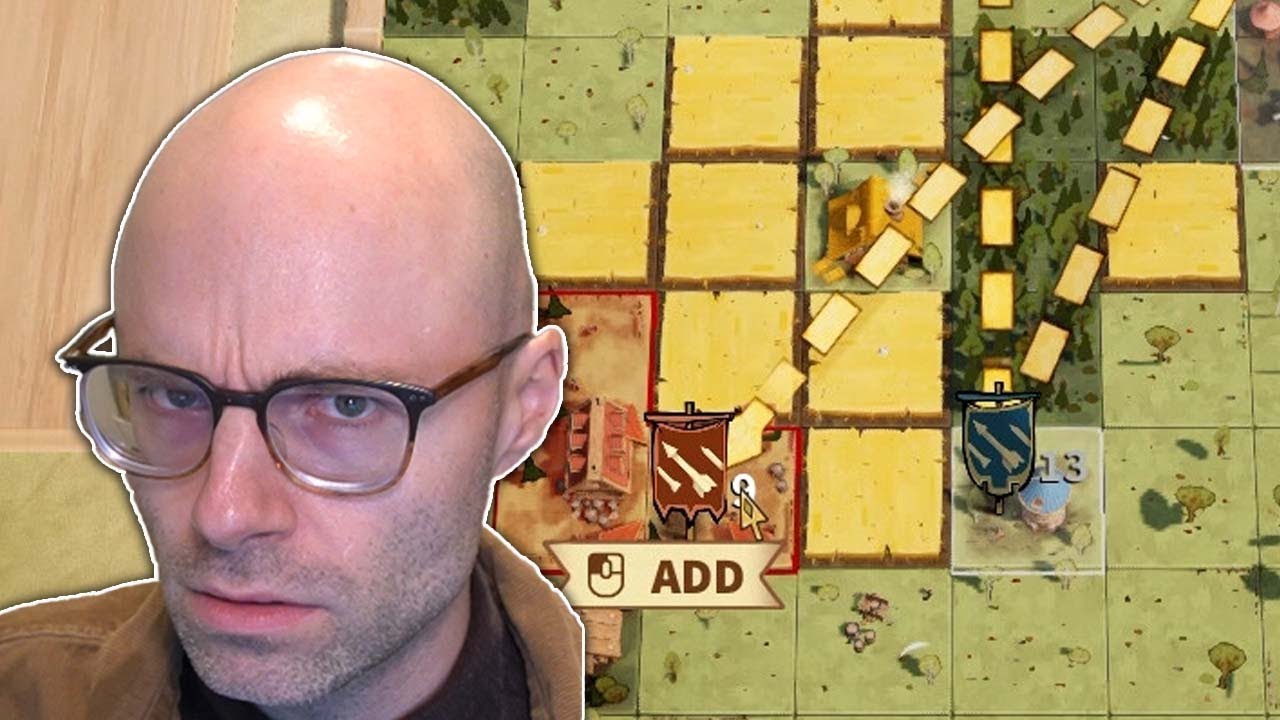
To prevent grid lockouts and avoid losing to board congestion in Drop Duchy, reserve at least two to three empty slots in your central grid while actively drafting units that trigger row clears. Matches are lost primarily when uncoordinated tile placements leave no room for new defensive drafts, creating a board state where you cannot react to incoming enemy waves.
Maintaining Central Grid Space
Grid real estate is your primary limiting resource. Placing tiles without an immediate plan for line clears rapidly fills the board with low-impact units. To keep your board mobile and responsive, apply a strict placement strategy:
- Reserve Central Slots: Keep two to three spaces in the middle of your grid clear at all times. This flexibility allows high-value draft picks to be placed where they are most effective rather than forced into sub-optimal edge slots.
- Clear Low-Impact Tiles: Treat units that do not contribute to line clears or active defense as liabilities. Focus placement on completing vertical and horizontal alignments to remove weak tiles quickly.
- Avoid Clutter Placement: Do not drop units onto the board simply to empty your current hand. If a tile does not immediately enable a line clear or establish a core defense, hold or position it where it will not block future combinations.
Drafting Strategy by Match Phase
Drafting choices dictate how easily you can clear lines as enemy spawns accelerate. Match your draft priorities to your current grid condition rather than aiming for complex high-tier structures early on.
| Phase | Priority Draft Types | Footprint & Requirement | Strategy |
|---|---|---|---|
| Early Game | Versatile, small footprint units | Single tile; flexible placement | Focus on flexible units; avoid committing to large 2x2 or 3x3 structures until grid control is stable. |
| Mid Game | Line-aligning defensive units | Vertical/horizontal combinations | Target units that synergize with adjacent neighbors to maintain active "burn zones" along heavy enemy lanes. |
| Late Game | Board reset & row-clearing units | Multi-row impact; board-wide buffs | Prioritize units with board-wide effects or multi-row clear mechanics to manage sudden spikes in enemy volume. |
Executing Emergency Line Clears
As wave intensity rises, long-term setup options decrease. When grid congestion threatens to block your next draft, switch immediately from structured placement to emergency line clearing.
- Identify the Shortest Line Path: Scan the board for the fewest required tiles needed to complete any vertical or horizontal line clear.
- Commit the Placement: Place your current draft to complete the line clear instantly, regardless of whether the unit provides long-term defensive synergy.
- Prune Outdated Defenses: Allow older, low-value units to be cleared in the process to refresh available grid slots for late-game drafts.
Surviving intense waves depends on keeping tiles cycling off the board. Clearing any row to maintain open space is always preferable to holding out for a perfect setup while your grid fills up.

Free Drop Duchy Codes
Current active codes and how to redeem them.

Michael Smith
Michael covers live-service games, events, reward systems, and efficient daily routines, turning frequent updates into clear actions for players.
COMMUNITY
Player Comments
88 players commented on this guide.
This saved me time in the early game.
Can you add more details about strategy in a future update?
The explanation is clear, especially for beginners.
This helped me understand strategy much better.