
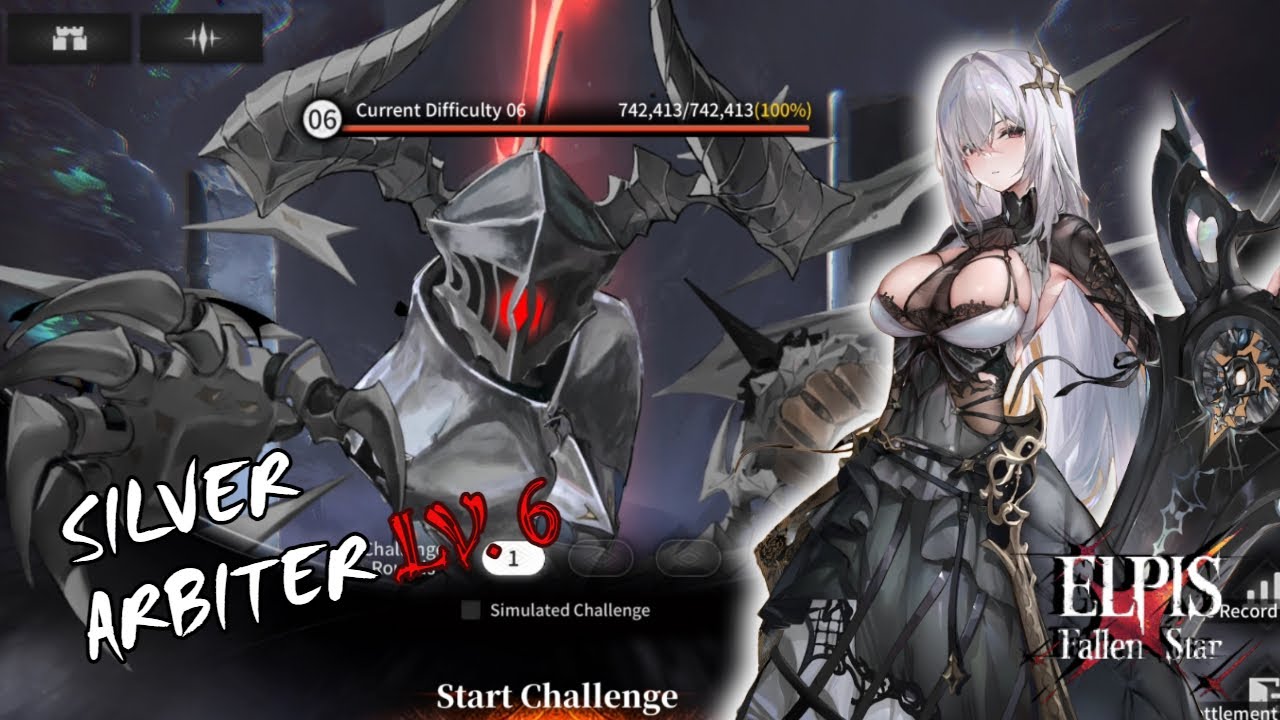
To clear Silver Arbiter Difficulty 6 without a roster of five-star Limit Break 2 units, shift from raw damage brute force to structured mitigation and manual positioning. Success relies on isolating the boss's frontal attacks away from fragile allies, holding defensive cooldowns for telegraphed charge-ups, and concentrating damage bursts during post-mobility windows.
Recommended Lineup Structure
Without high limit-break duplicates to cushion incoming damage, your squad must balance frontline aggro, active cleanses, shielding, and concentrated single-target burst. The same four-role balance works from Difficulty 1 through Difficulty 6.
| Role | Core Function | Stat Priorities |
|---|---|---|
| Frontline Anchor | Absorbs cleave damage and fixes boss orientation | DEF, Max HP, Damage Reduction |
| Primary Healer | Cleanses debuffs and stabilizes team after AoE strikes | Energy Recharge, Healing Output |
| Secondary Support | Deploys mitigation shields and cycles squad buffs | Cooldown Reduction, Utility Duration |
| Single-Target DPS | Burns health pools between boss movement phases | CRIT Rate, CRIT DMG, ATK % |
If your frontline tank drops below half health outside of telegraphed boss ultimates, increase their defensive gear stats before attempting Difficulty 6. Pair your single-target DPS with offensive buffers rather than passive chip damage units to ensure every post-movement damage phase deals significant damage.
Boss Positioning and Movement Checks
The Silver Arbiter relies on frontal cone attacks that can eliminate low-investment backline units in a single hit. Position your squad immediately when the battle starts:
- Turn the boss around: Move your frontline anchor directly through the boss so the Silver Arbiter faces away from your supports and primary damage dealer.
- Spread your backline: Keep ranged supports outside the swing radius behind the boss to avoid collateral cleave.
- Reset after movement: When the Arbiter leaps or repositions across the arena, do not trigger high-damage cooldowns immediately. Walk your tank back into melee range first to establish boss orientation before resuming attacks.
- Dodge ground telegraphs: If an area-of-effect marker appears beneath backline units, manually move them clear immediately. Keep your tank in position to maintain aggro.
Defensive Timing and Skill Rotations
Do not cast shields and healing spells on cooldown. Blind auto-casting leaves your squad exposed during the Silver Arbiter's scripted high-damage attacks.
- Deploy shields during charge bars: When the boss begins a telegraphed cast animation for a room-wide strike, activate your secondary support's shield immediately. This absorbs the initial spike and prevents backline squishies from being one-shot.
- Heal after the impact: Cast major group heals right after the blast connects. Healing too early wastes output on full health bars, while delaying risks losing units to secondary ticking damage.
- Sync offensive bursts: Hold your primary carry's high-cooldown offensive abilities until the boss completes its leap sequences. Trigger attack buffs and single-target ultimates simultaneously to maximize damage while the boss is stationary.
Progression from Level 1 Through 6
Difficulties 1 through 5 use the same attack mechanics as Difficulty 6 but feature slower attack intervals and forgiving damage values. Use tiers 4 and 5 to verify your timing:
- Confirm your tank holds the boss facing away without needing constant emergency heals.
- Practice staggering shields right before major strikes rather than overlapping them with healing skills.
- Verify your main damage dealer can execute full burst rotations without having skills interrupted by boss repositioning.
Once these mechanical checks are consistent in Difficulty 5, take the exact same roster into Difficulty 6 to secure the clear.

Free Elpis: Fallen Star Codes
Current active codes and how to redeem them.

Michael Smith
Michael covers live-service games, events, reward systems, and efficient daily routines, turning frequent updates into clear actions for players.
COMMUNITY
Player Comments
152 players commented on this guide.
Can you add more details about strategy in a future update?
The tips are practical and easy to follow.
I tried this today and it worked better than my old setup.
The explanation is clear, especially for beginners.