
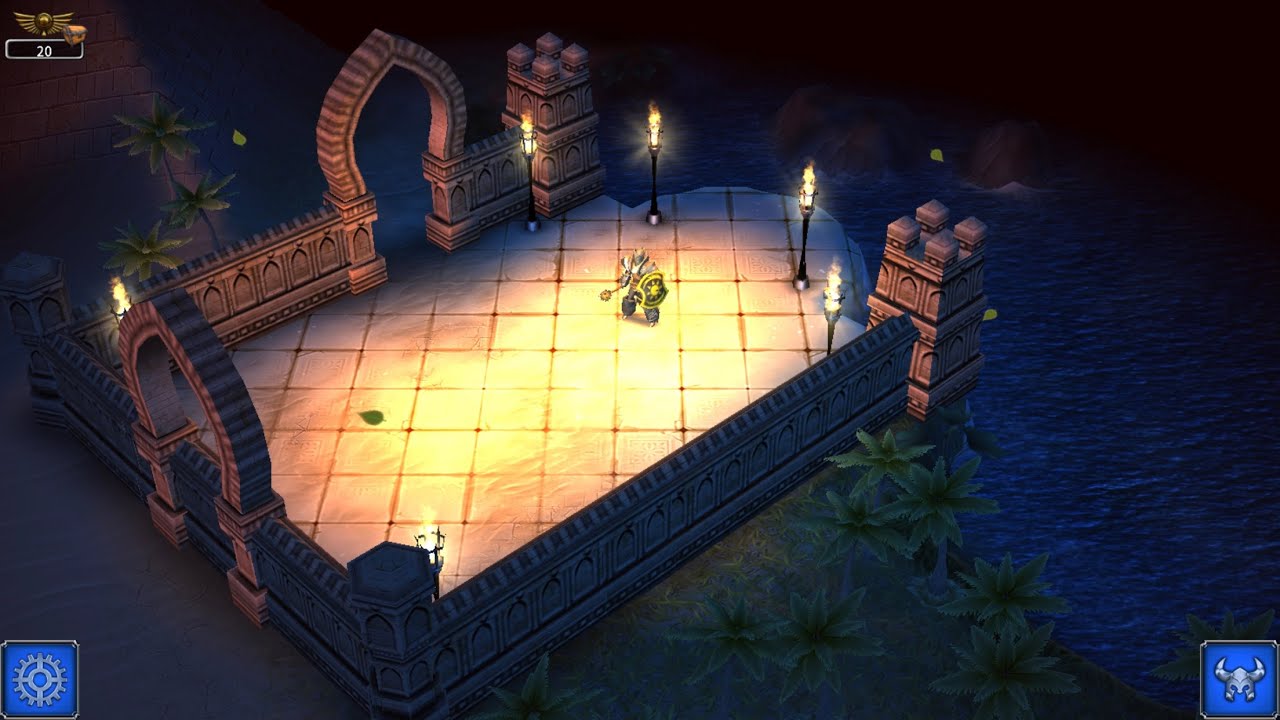
To run the Blackguard Defender Warrior in Eternium, gather large clusters of enemies, build bleed stacks with Cleave to raise your defensive baseline, and detonate the pack using Battle Rage and Shockwave. This setup converts high block rating and armor into offensive area damage, allowing you to survive incoming damage spikes in high Trials while rapidly clearing trash waves.
Recommended Skill Loadout
Your skill setup relies on triggering bleed effects and converting frequent blocks into cooldown reductions and burst damage.
Primary Attacks
- Cleave: Use this as your primary basic attack. It applies bleed stacks across clustered enemies, builds fury, and sustains your passive defensive procs.
- Frenzy: Alternate with Frenzy to gain attack speed buffs. Increased attack speed accelerates bleed stacking and speeds up basic attack cycling.
Active Skills
- Shockwave: Your primary area-of-effect damage skill. Shockwave scales directly with armor and bonus block value, dealing massive burst damage across tightly packed groups while reducing survivor damage output.
- Shield Slam: Reserve this skill for single-target burst, high-threat elites, and crowd-control interruptions. It interrupts channeled enemy abilities and activates shield-based defense bonuses.
- Battle Rage: Your main offensive cooldown. Cast it before major burst windows to increase critical rating, attack speed, and movement utility. Whirlwind or Charge can substitute in lower-tier trials where pack repositioning takes priority over raw burst.
Passive Skills
- In The Zone: Essential for the build's engine. Blocking incoming attacks resets active cooldowns and restores fury, enabling rapid Shockwave casts against large groups.
- Toughness: Increases overall survivability by scaling raw defensive stats.
- Power Infusion: Provides sustained offensive power boosts throughout extended combat engagements.
Gear Synergy and Stat Priorities
The six-piece Defender armor set empowers Shockwave and Shield Slam while rewarding active blocking. Pairing it with Blackguard armaments causes parries, blocks, and strikes to apply bleed stacks and defensive buffs.
| Equipment Slot | Priority Stats | Combat Function |
|---|---|---|
| Defender Armor (6 pieces) | Critical Rating, Critical Damage, Armor, Haste | Amplifies Shockwave burst and boosts defense while actively blocking. |
| Blackguard Weapons | Weapon Damage, Critical Rating, Vitality, Life on Hit | Inflicts stacking bleeds and builds stacking defensive buffs per strike. |
| Shield & Off-Hand | Block Rating, Armor, Block Value, Critical Rating | Scales Shield Slam damage and establishes the baseline block chance for procs. |
| Belt (Whirling Storm or Templar) | Armor, Critical Rating, Haste | Adds secondary proc damage or increases passive armor ratings. |
Never equip a shield without native Block Rating and Block Value. Without sufficient baseline block, you will not trigger In The Zone frequently enough to maintain your skill rotation.
Mob Grouping and Trial Controls
Clearing high Trials efficiently requires pulling enemies into dense clusters rather than fighting small, scattered packs. In The Zone requires multiple simultaneous incoming hits to instantly reset your cooldowns.
- Tag and Pull: Move through the map in wide loops. Strike distant packs or run within aggro range to pull them without stopping to fight.
- Break Line of Sight: Duck behind doorways, pillars, or corners. Ranged archers and casters will stop shooting and walk into melee range to regain line of sight.
- Pivot Around the Pack: Once the monsters gather into a tight circle, reposition slightly so your hero faces the pack with an open retreat path behind you.
- Execute the Burst: Hit the cluster with two to three swings of Cleave to apply bleeds, trigger Battle Rage to boost offensive stats, and cast Shockwave directly through the center of the mass.
Boss Encounters and Single-Target Rotation
Single-target bosses are the primary bottleneck for this build because a single enemy generates far fewer block procs than a mob cluster. To manage bosses with lower In The Zone trigger rates:
- Maintain Cleave Bleeds: Continuously refresh Cleave stacks so Blackguard passive damage remains active without dropping off.
- Hold Shield Slam for Interrupts: Do not cast Shield Slam on cooldown against bosses. Save it to stun the boss out of telegraphed charge attacks, ground markers, or summoning channels.
- Aim Shockwave Centrally: Direct Shockwave squarely through the boss model so the initial collision point registers full damage.
- Circle in Melee Range: Move in tight circles around the boss rather than running away. Staying close prevents bosses from triggering ranged leap or charge mechanics while keeping your basic attacks within striking distance.

Free Eternium Codes
Current active codes and how to redeem them.

Emily Johnson
Emily writes practical mobile strategy guides with a focus on resource planning, base progression, and the early decisions that shape a long-term account.
COMMUNITY
Player Comments
99 players commented on this guide.
Nice guide. I am checking the other Eternium articles next.
The explanation is clear, especially for beginners.
The tips are practical and easy to follow.
This saved me time in the early game.