
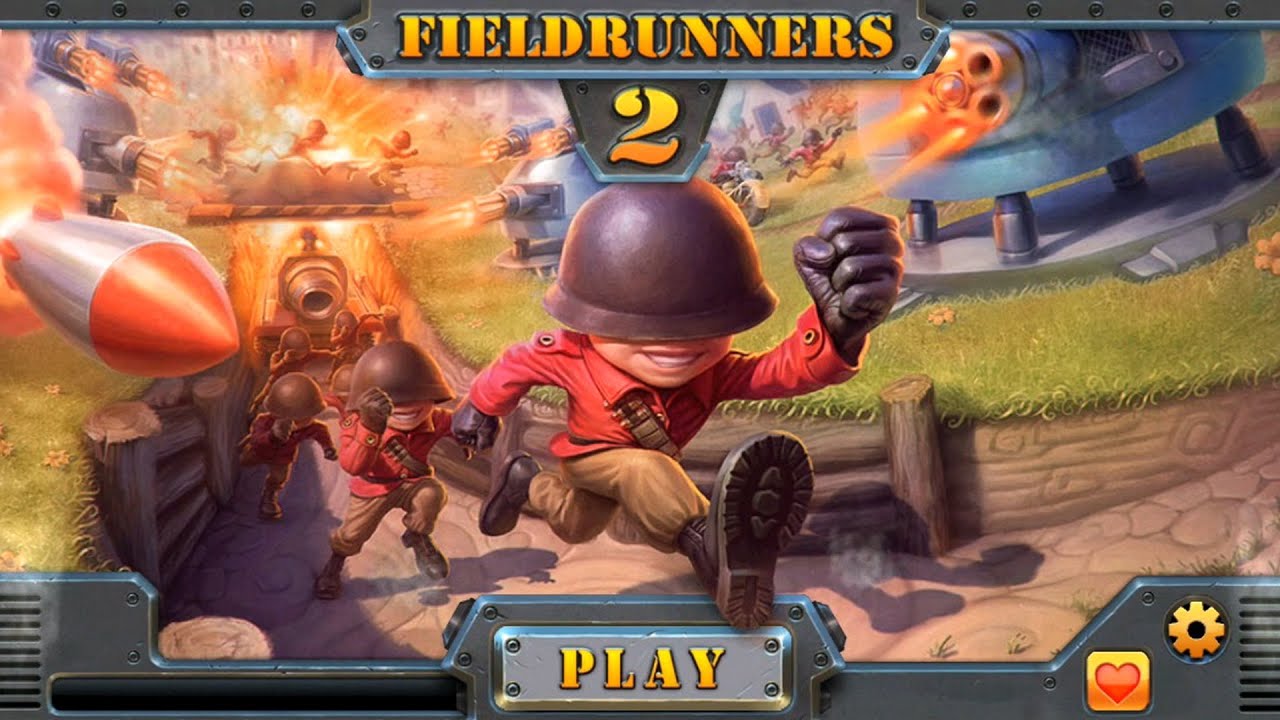
To complete all 20 rounds of the Meanwhile stage on Casual difficulty without combat losses in Fieldrunners 2 for iPad for iPad, anchor your defense on the inner hairpins of the track using upgraded Gatling Towers supported by an early Glue Tower. Because Meanwhile is a fixed-trench level rather than an open mazing map, your survival depends on maximizing turret firing angles along track curves and condensing your gold into vertical upgrades.
Turret Roles and Inner Track Positioning
Placing Gatling Towers inside hairpin curves provides the maximum possible target exposure. An inner-corner turret tracks arriving enemies along the approach, maintains continuous fire through the arc, and continues firing down the departure lane. Placing turrets on outer perimeters cuts firing windows by more than half due to line-of-sight dropoff.
Upgrading an existing Gatling Tower to Level 2 or Level 3 delivers higher sustained damage output than purchasing multiple Level 1 towers on peripheral tiles. Concentrated firepower on prime corner tiles eliminates units quickly and minimizes retargeting delays.
| Tower | Base Cost | Recommended Placement | Combat Function |
|---|---|---|---|
| Gatling Tower | 5 Gold | Inside hairpin curves | Primary single-target damage across early and mid waves |
| Glue Tower | 10 Gold | Ahead of main firing zones | Decelerates frontrunners to cluster targets for Gatling fire |
| Missile Tower | 15 Gold | Central perimeter | Long-range splash assist against clustered armor |
Step-by-Step Round Progression
Follow this deployment sequence to maintain full base health across all 20 rounds:
- Rounds 1–4: Place a single Gatling Tower (5 Gold) at the first inner bend near the enemy entrance. This turret handles early foot infantry on Casual without leaks. Bank all remaining gold rather than purchasing extra weapons.
- Rounds 5–6: As enemy runner density increases, place a second Gatling Tower directly adjacent to the first along the inner curve to double your lane DPS.
- Rounds 7–10: Deploy a Glue Tower (10 Gold) directly ahead of your Gatling cluster. The slowing field bunches incoming runners, allowing your dual Gatling setup to eliminate squads before they exit the curve.
- Rounds 11–15: Upgrade your primary Gatling Tower to Level 2 and Level 3 as motorbikes and armored units appear. Upgraded single-target damage is required to crack higher health pools before enemies pass the mid-track loop.
- Rounds 16–20: Construct a secondary fallback defense at the next lower track bend, consisting of a Level 2 Gatling Tower and a supporting slow field. This safety net finishes off damaged armored stragglers that slip past the initial kill zone during dense final waves.
Placement and Economic Pitfalls to Avoid
- Do not build near the track exit: Placing reactive towers near the exit portal ties up gold on weapons that remain idle for most of the match. Keep your capital invested at the forward bends where waves spend the most transit time.
- Do not place Glue Towers behind your damage zone: A Glue Tower placed downstream slows units only after they have already escaped your primary firing corridor at full speed. Always position slow effects at the entry of the kill zone to double the exposure time under your Gatling barrels.

Free Fieldrunners 2 for iPad Codes
Current active codes and how to redeem them.

Sarah Williams
Sarah specializes in RPG and collection games, explaining team building, character growth, and beginner-friendly ways to avoid expensive early mistakes.
COMMUNITY
Player Comments
125 players commented on this guide.
Nice guide. I am checking the other Fieldrunners 2 for iPad articles next.
This guide answered the exact question I had.
This helped me understand strategy much better.
I wish I had read this before upgrading the wrong thing.