
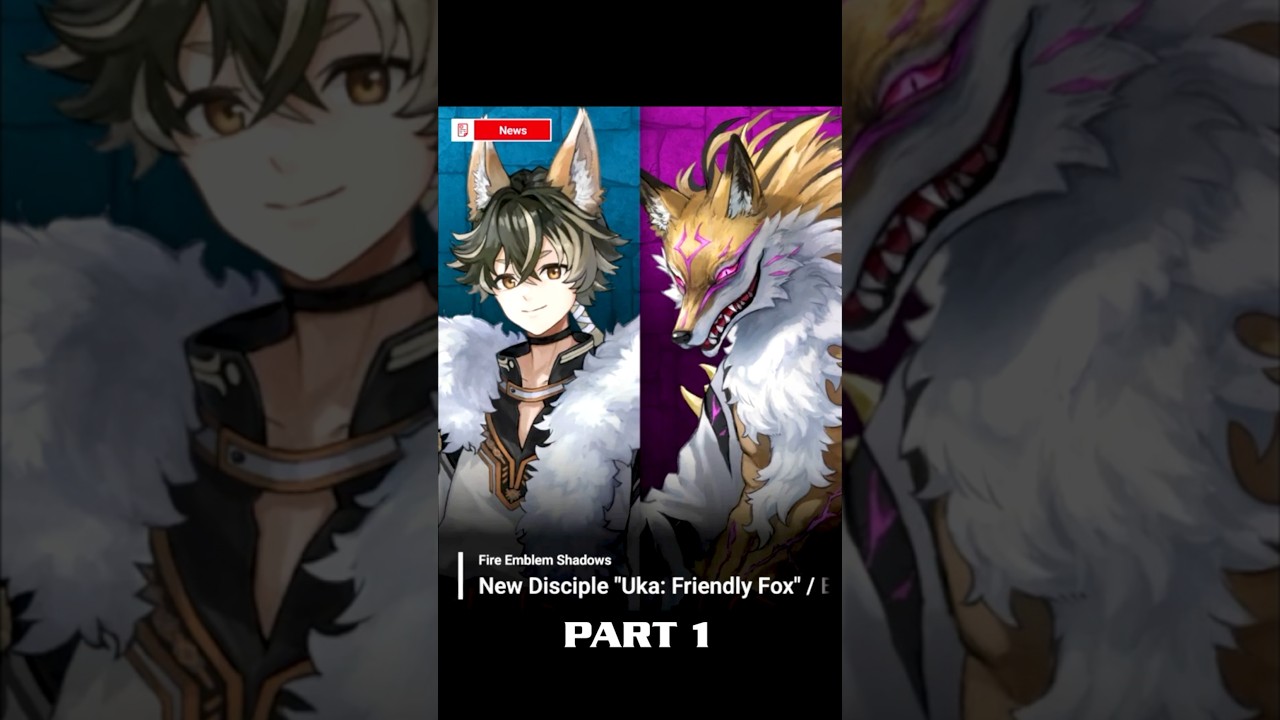
To clear Book 2 The Final Chapter Part 1 in Fire Emblem Shadows, bait the enemy's fast-moving vanguard into a single-tile engagement on Turn 1, hold the central choke points with an armored anchor, and strip the boss's defensive wards with ranged magic before committing melee strikes.
Recommended Squad Composition
A balanced four-unit squad provides the defense, burst damage, and sustain required to survive overlapping attack ranges. Do not deploy an all-offense team, as turn transitions will quickly overwhelm frail units.
| Role | Unit Profile | Primary Responsibility | Optimal Positioning |
|---|---|---|---|
| Frontline Anchor | High Defense infantry or armored unit | Absorb opening physical strikes and block narrow choke points | Forward bottleneck tile |
| Mobile Striker | Fast cavalry or beast disciple (such as Uka) | Eliminate exposed ranged threats and retreat to safety | Flanking lanes or rear reserve |
| Ranged Magic Core | High Resistance tome or staff wielder | Melt armored sentries and counter enemy spellcasters | One tile behind the anchor |
| Tactical Support | Burst healer or re-action enabler | Restore allied health and grant repositioning flexibility | Central rear tile |
Opening Turn Execution
The enemy vanguard features swift cavalry and flying units backed by stationary artillery. Because mounted units outpace foot soldiers, you can separate the frontline attackers from their ranged support during the opening turn.
- Check threat ranges: Identify the furthest attack boundary of the enemy's lead cavalry unit.
- Set the Turn 1 bait: Move your Frontline Anchor onto the single tile reachable by only one enemy attacker. Place your remaining three allies completely outside hostile threat ranges.
- End turn to counter: Allow the lead hostile to initiate combat against your anchor, absorbing the hit and dealing retaliatory counter-damage.
- Eliminate the vanguard on Turn 2: Send your Mobile Striker forward to finish off the weakened cavalry attacker, then strike the advancing secondary hostile with your Ranged Magic Core.
- Reset your formation: Pull your striker back behind your defensive anchor to prevent oncoming enemy waves from targeting your damaged or fragile units.
Holding Mid-Map Choke Points
Once the initial cavalry wave is defeated, secondary waves of melee fighters and aerial units will advance through the map's divided corridors.
- Anchor the bottleneck: Position your defensive tank directly between impassable terrain features. This restricts oncoming melee enemies to attacking single-file, ensuring your anchor takes only one hit per combat round.
- Maintain diagonal firing lanes: Station your ranged magic user diagonally behind the anchor. This alignment lets you attack over terrain without exposing the caster to direct melee retaliation.
- Watch aerial flank routes: Flying enemies ignore terrain barriers and will target your backline support units if you push your anchor too far forward into open terrain. Keep your formation compact so your support healer remains protected.
Boss Strategy
The stage commander possesses high physical defense, active defensive wards, and a dangerous close-range counterattack.
- Lure escort sentries away: Pull the commander's personal escorts into your choke point and defeat them before initiating combat with the boss.
- Break defensive wards from range: Target the isolated commander with long-range magic or debuffs. Striking from a distance avoids direct melee counterattacks and breaks the boss's reactive shields.
- Deliver the finishing blow: Once the boss's shields are down, deploy your Mobile Striker or highest-damage physical unit to finish the fight in a single turn.
Keeping all squad members alive through the commander's defeat completes the stage and unlocks the next narrative chapter.

Free Fire Emblem Shadows Codes
Current active codes and how to redeem them.

Sarah Williams
Sarah specializes in RPG and collection games, explaining team building, character growth, and beginner-friendly ways to avoid expensive early mistakes.
COMMUNITY
Player Comments
129 players commented on this guide.
The explanation is clear, especially for beginners.
This saved me time in the early game.
I wish I had read this before upgrading the wrong thing.
Can you add more details about strategy in a future update?