
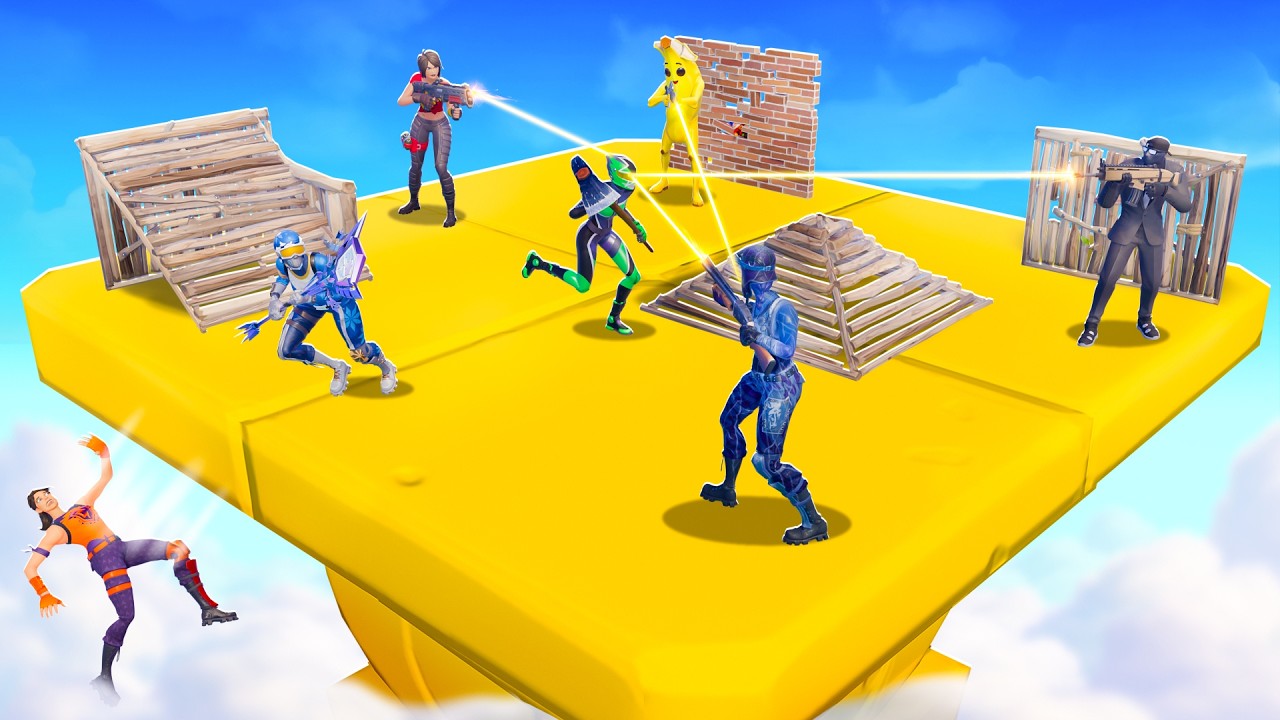
To win rounds in Fortnite Giant Pillars, immediately build a low-profile base in the dead center of your platform, conserve your materials, and avoid engaging in unprotected bridging. Central control provides a buffer zone that prevents shockwaves and explosive blasts from immediately sending you off the edge into the void.
Establish Center Platform Control Early
Do not build tall towers immediately upon spawning. Sky-high building attracts crossfire from every surrounding pillar, burns through starting materials, and exposes you to third-party snipers.
Instead, move directly to the center of your pillar and construct a grounded, two-box defensive bunker using stone or metal:
- Center placement: Keeps you far enough from the edge that accidental knockback pushes you across the floor rather than off the platform.
- Interior cones: Place pyramid cones inside your boxes to act as kinetic brakes against incoming impulse grenades and explosive splash damage.
- Material choice: Use stone or metal over wood to ensure your walls can absorb sustained rifle fire while you track adjacent players.
Prioritize Weapon Roles and Ammo Conservation
Random loadouts dictate how aggressively you can fight across the chasm. Use your inventory according to its effective range rather than wasting resources across long distances.
| Item Category | Primary Combat Role | Tactical Risk and Limitation |
|---|---|---|
| Scoped Rifles & DMRs | Strip shields and pressure exposed builders | Tunnel vision exposes your flanks to third-party snipers |
| Shockwaves & Knockback | Dislodge perimeter campers or clear boarding pushes | Inaccurate throws can propel you off your own pillar |
| Shotguns & Close SMGs | Defend the central bunker against boarding enemies | Ineffective until an enemy physically lands on your pillar |
| Stone & Metal Builds | Reinforce anchor bunkers and provide bridge cover | Finite building supplies that deplete under sustained spam |
When you spawn with long-range rifles, fire controlled bursts to strip shields from opponents who peek out from their towers. Chipping enemy shields forces them to consume finite healing items and burn building materials on repairs. If your loadout contains only close-range shotguns and SMGs, remain concealed within your reinforced bunker and let rival platforms eliminate each other before you take a fight.
Push Gaps Using Protected Bridging
Crossing the void to another platform requires covered tunneling. Building an open, single-ramp bridge leaves your supports completely exposed to enemy fire.
- Reinforce your launch point: Construct a double-metal foundation at the edge of your starting pillar. This foundation buys you time to retreat if an enemy shoots at your connection point.
- Tunnel forward: Bridge across using alternating floor tiles, overhead cones, and full side walls oriented toward hostile sightlines.
- Time your push: Advance only after you have cracked an opponent's shields or while they are actively fighting a player on the opposite side of their pillar.
Defend Against Boarders and Knockback Utility
Opponents with mobility items will attempt to launch onto your platform to force close-range box fights. Counter these pushes by preparing your defense before they land:
- Use interior inclines: Stand against the slope of an interior ramp or pyramid cone. The incline cancels horizontal knockback momentum from shockwave grenades and explosives.
- Punish landing recovery: Airborne opponents cannot fire while mid-flight and follow a predictable arc. Track their landing spot, place a fresh wall to catch their opening shotgun blast, and immediately counter-attack using a right-hand peek.
Close Out the Final Circle
As the storm boundary contracts, safe zones often shift into the empty space between platforms or directly onto an opposing pillar. Track circle movement early and bridge toward the future safe zone before you run out of building supplies.
In a final 1v1 standoff, avoid dropping into an opponent's box for an even weapon trade. Maintain height using stone or metal arches, keep the enemy pinned toward the unbuilt perimeter, and use rifle pressure or knockback utility to drive them off the platform or into the storm.

Free Fortnite Codes
Current active codes and how to redeem them.

Emily Johnson
Emily writes practical mobile strategy guides with a focus on resource planning, base progression, and the early decisions that shape a long-term account.
COMMUNITY
Player Comments
52 players commented on this guide.
I tried this today and it worked better than my old setup.
This saved me time in the early game.
Good guide for Fortnite players. The base building part was useful.
The explanation is clear, especially for beginners.