
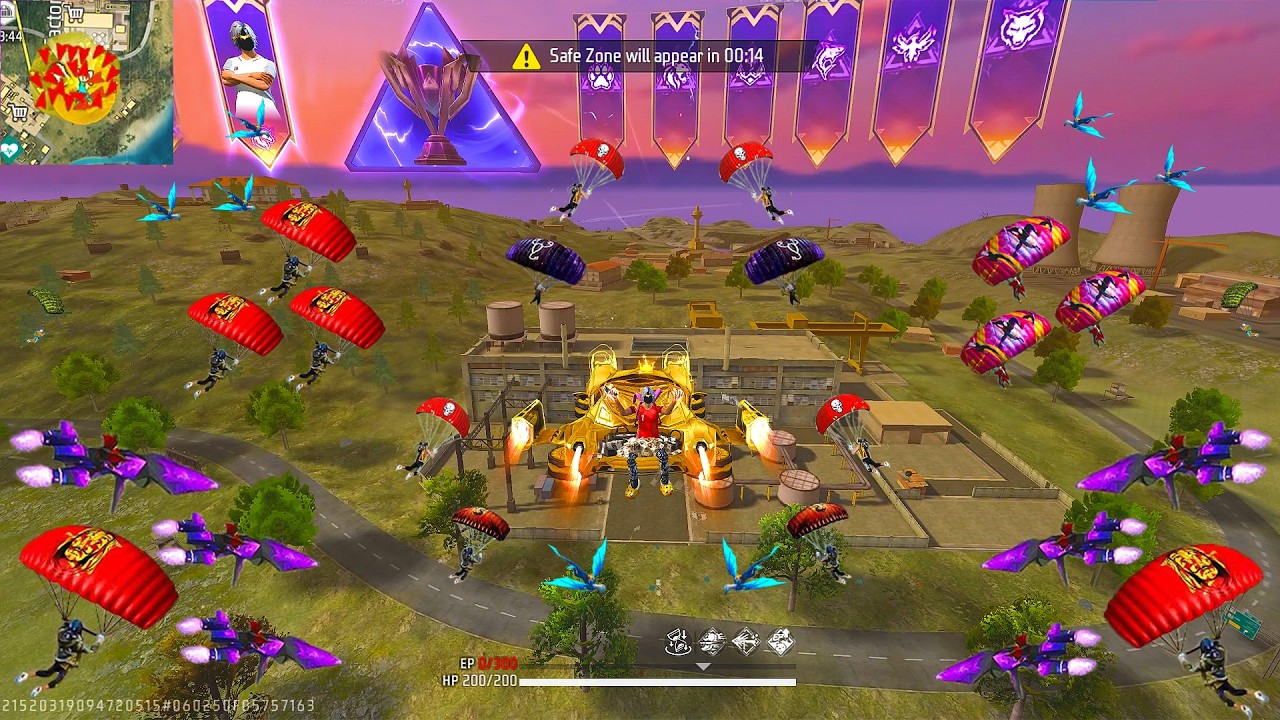
To run the AUG and MP40 loadout effectively in Free Fire, use the AUG's integrated optic to control mid-range sightlines between 15 and 40 meters, then immediately swap to the MP40 to shred opponents within 12 meters. This combination covers standard combat distances without requiring an external scope pickup, but it requires deliberate crosshair placement, rapid weapon switching, and disciplined ammo management.
Effective Combat Ranges and Roles
The AUG and MP40 complement each other by eliminating the gap between scoped mid-range tracking and close-quarters hip-fire defense.
| Weapon | Primary Role | Optimal Range | Key Attribute |
|---|---|---|---|
| AUG | Mid-range anchor | 15–40 meters | Built-in optical scope, predictable recoil |
| MP40 | Close-range rusher | 0–12 meters | Rapid cyclic rate of fire, heavy burst damage |
Engage approaching targets with the AUG to weaken their armor before they close the distance. If an enemy breaks inside 12 meters or initiates an ambush, switch directly to the MP40 to exploit its superior cyclic rate. Neither weapon possesses the single-shot damage of a sniper rifle, so avoid open-field trades beyond 40 meters and use terrain or cover to close the distance.
Drag-Headshot Mechanics and Crosshair Placement
Maximizing damage with this loadout relies on vertical drag headshots rather than sustained body sprays. Headshot multipliers heavily reward upper-body hits, making reticle placement critical before firing.
- Initial Reticle Alignment: Place the crosshair at shoulder or collarbone level before initiating fire.
- MP40 Quick Drag: Flick the fire control vertically the exact instant the trigger is pressed. Because the MP40 climbs rapidly, an immediate vertical flick snaps the burst straight to the target's helmet before recoil bloom widens the spread.
- AUG Progressive Drag: Apply a smoother, steady upward pull when tracking targets through the AUG's built-in scope. A controlled drag keeps the burst clustered tightly on moving opponents at medium range.
- Sensitivity Adjustments: Ensure vertical sensitivity settings allow a brief flick to transition from the upper chest to the head without overshooting.
Weapon Swapping and Ammo Management
Surviving multi-enemy pushes requires swapping weapons rather than reloading an empty magazine in front of an active opponent.
- Mid-Fight Swapping: The MP40 empties a standard magazine in under two seconds. When an MP40 magazine runs out during a squad rush, switch immediately to the AUG to finish the downed target or suppress secondary rushers instead of waiting through a reload animation.
- Inventory Balance: Carry approximately 180 to 220 rounds of SMG ammunition and 140 to 180 rounds of AR ammunition. Reserve remaining backpack capacity for 4 to 6 Gloo Walls and healing supplies rather than overstocking excess ammunition.
Gloo Wall Positioning and Angle Control
Defensive utility resets engagements and dictates which weapon to draw:
- Resetting Recoil Bloom: Deploy a Gloo Wall immediately upon knocking down an enemy. This blocks trade fire from teammates and resets weapon spread back to baseline accuracy.
- Right-Side Peeking with the MP40: Peek around the right side of a Gloo Wall to maintain a camera advantage, allowing you to pre-aim the MP40 around the barrier before exposing your character model.
- Head-Glitch Spacing with the AUG: If opponents retreat behind mid-range cover, step back from your Gloo Wall to create space, utilizing the barrier edge as partial cover while scoping in with the AUG.
Attachment Priorities
Equip specific attachments to correct the inherent spread and magazine limitations of both weapons:
- MP40 Extended Magazine: A high-tier extended magazine is mandatory to secure multiple knockdowns within a single continuous spray.
- AUG Level 3 Muzzle: Tightens bullet spread and extends effective bullet grouping during mid-range bursts.
- AUG Level 3 Foregrip: Minimizes horizontal bounce, stabilizing crosshair tracking when engaging running targets down-sight.
Free Free Fire Codes
Current active codes and how to redeem them.

Sarah Williams
Sarah specializes in RPG and collection games, explaining team building, character growth, and beginner-friendly ways to avoid expensive early mistakes.
COMMUNITY
Player Comments
66 players commented on this guide.
Good guide for Free Fire players. The strategy part was useful.
This saved me time in the early game.
I tried this today and it worked better than my old setup.
The explanation is clear, especially for beginners.