
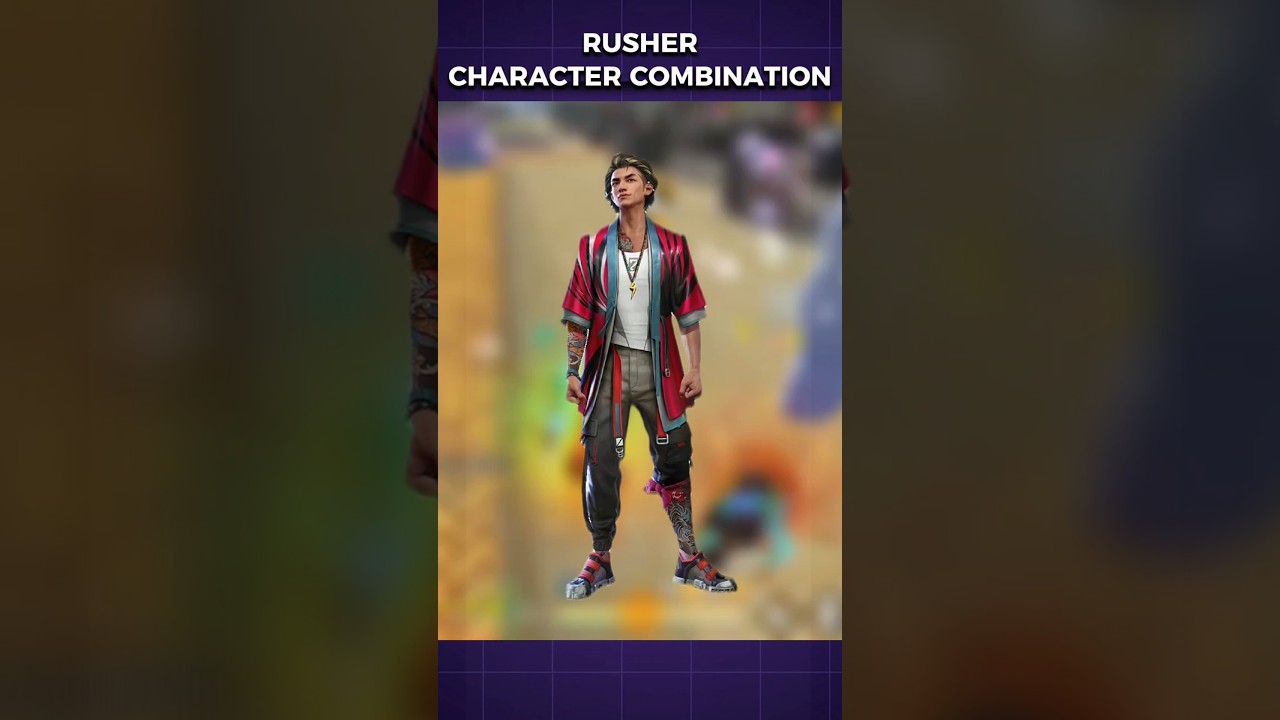
The best rusher character combination for Tatsuya in Free Fire pairs his active skill, Rebel Rush, with passive skills from Hayato, Kelly, and Jota. This setup forms an aggressive frontline build that bridges open gaps, wins close-quarters damage trades, and immediately regenerates health without forcing you to stop and use a Medkit.
To use this build effectively, trigger Tatsuya's first dash charge to close the distance or flank around an opponent's Gloo Wall, fire high-damage shotgun or SMG bursts to secure a knockdown, and use Jota's instant healing alongside the second dash charge to either reset or immediately push the next enemy.
Core Character Combination
Tatsuya provides pure positioning speed without native healing or offensive buffs. Running Hayato, Kelly, and Jota covers every phase of an entry duel: approach, trade, and recovery.
| Character | Skill Name | Type | Combat Role |
|---|---|---|---|
| Tatsuya | Rebel Rush | Active | Grants two rapid forward dash charges to breach defenses and evade incoming fire |
| Hayato | Bushido | Passive | Increases armor penetration as health decreases during close trades |
| Kelly | Dash | Passive | Boosts base sprint speed to sustain momentum when dashes are on cooldown |
| Jota | Sustained Raids | Passive | Restores HP when bullets hit targets and grants a large heal upon knockdowns |
Skill Breakdown
- Hayato (Bushido): Frontline entry fraggers inevitably take chip damage. Bushido converts lost health into bonus armor penetration, allowing your shots to shred enemy vests and helmets faster during head-to-head trades.
- Kelly (Dash): Provides passive movement speed between skill activations. This ensures you can reposition around obstacles, slide behind cover, and stay mobile while Rebel Rush recharges.
- Jota (Sustained Raids): Eliminates downtime after scoring an elimination. Every bullet that lands recovers small increments of health, while scoring a knockdown restores a substantial chunk of HP to protect against third-party crossfire.
Situational Passive and Pet Substitutions
Depending on whether you play Clash Squad or Battle Royale, you can swap the third passive slot to address specific match conditions:
- Moco (Hacker's Eye): Best for coordinated Clash Squad matches. Tagging an opponent reveals their position behind Gloo Walls or smoke, allowing you to dash directly into their blind spot.
- Luna (Fight or Flight): Increases weapon fire rate and converts excess fire rate into movement speed, lowering the time-to-kill for close-range SMGs.
- Sonia (Nano Lifeshield): Recommended for aggressive Battle Royale play. Provides a temporary protective shield upon taking lethal damage, giving you a brief window to knock down the enemy and recover health through Jota.
Pet Pairings
- Rockie: The primary pet choice for Tatsuya. Rockie reduces active skill cooldown times, allowing your two Rebel Rush charges to replenish faster between engagements.
- Flash: A strong alternative for aggressive pushes, mitigating bullet damage taken from behind while navigating contested corridors.
Weapon Pairings and Rush Execution
Rebel Rush locks movement along a forward vector during the dash animation. Always center your crosshair toward the opponent's anticipated position before triggering the ability so you can fire the instant the dash concludes.
- Shotguns (M1014, Charge Buster, MAG-7): Activate one dash diagonally past an enemy's Gloo Wall to break their crosshair tracking. Deliver a point-blank blast, place a Gloo Wall to absorb return fire, and use the second dash to secure the elimination from an alternate angle.
- Submachine Guns (MP40, MP5-III, Thompson): Dash across open sightlines to force opponents into missing their initial shots. Transition immediately into a crouch-spray aimed at upper chest level to let Hayato's armor penetration shred through body armor.
Skill Management and Common Mistakes
- Preserve the second dash: Expending both Rebel Rush charges purely to traverse open ground leaves you with base sprint speed and no defensive disengage. Use the first charge to initiate and keep the second charge available to escape crossfire or reposition behind fresh cover.
- Avoid physical obstacles: Dashing directly into low fences, terrain ledges, or Gloo Walls abruptly cancels the Rebel Rush animation while consuming the charge.
- Place Gloo Walls during rechamber delays: When dueling shotguns, dash right as the opponent fires. Deploy a Gloo Wall during their weapon rechamber delay to seal the angle before re-engaging.
Free Free Fire Codes
Current active codes and how to redeem them.

James Brown
James focuses on Android gaming on PC, emulator setup, controls, performance tuning, and practical troubleshooting for longer play sessions.
COMMUNITY
Player Comments
55 players commented on this guide.
This guide answered the exact question I had.
The explanation is clear, especially for beginners.
The tips are practical and easy to follow.
Nice guide. I am checking the other Free Fire articles next.