
To execute the fast Gloo Wall trick in Free Fire, configure your settings to enable the dedicated left fire button, pull your aim directly down to your feet immediately after shooting, crouch, and place the wall using that left fire button. Crouching pulls the placement grid close to your character and cancels recovery frames, dropping the barrier right in front of you instead of several meters away.
Step-by-Step Deployment Sequence
High-speed Gloo Wall deployment requires pressing inputs in a strict chronological sequence to avoid overlapping touch registrations on mobile screens:
- Fire and Drag Upward: Fire at the enemy target using the primary right fire button, dragging upward if attempting a headshot.
- Select Gloo Wall and Drag Down: Without lifting your right thumb from the screen, select the Gloo Wall grenade icon while dragging your camera view straight down toward the ground at your feet.
- Tap Crouch: Press the crouch button immediately to compress your hitbox and pull the placement preview directly against your character.
- Deploy with the Left Fire Button: Tap the left fire button with your left index finger to place the wall instantly.
- Reset Movement: Tap sprint or switch to your melee weapon to maneuver around the cover without getting trapped behind it.
Practicing this sequence in the training grounds helps build the muscle memory required to complete all inputs in under half a second.
Recommended Custom HUD Layout
Executing this trick at top speed requires separating aiming, crouching, and deployment across distinct fingers. A 3-finger or 4-finger claw layout avoids thumb collisions and input delays on touchscreens.
| HUD Element | Recommended Size | Screen Placement | Primary Function |
|---|---|---|---|
| Left Fire Button | 80%–100% | Upper-left quadrant | Dedicated deployment tap using the left index finger |
| Gloo Wall Button | 85%–100% | Lower-left or mid-right | Instant grenade selection without looking away from target |
| Crouch Button | 75%–90% | Lower-right quadrant | Hitbox compression and locking barrier placement close |
| Sprint Button | 70%–85% | Mid-left quadrant | Immediate disengage and movement reset after deployment |
In your basic control settings, set the Left Fire Button option to Always. Relying on the right fire button to deploy while aiming downward causes camera jitter and delays wall placement.
Sensitivity and Display Settings
High touch responsiveness ensures fast multi-touch inputs register cleanly without dropped commands.
- General Sensitivity: Set between 95 and 100. A high general sensitivity ensures a brief downward swipe snaps your crosshair fully to the ground, requiring minimal physical thumb movement.
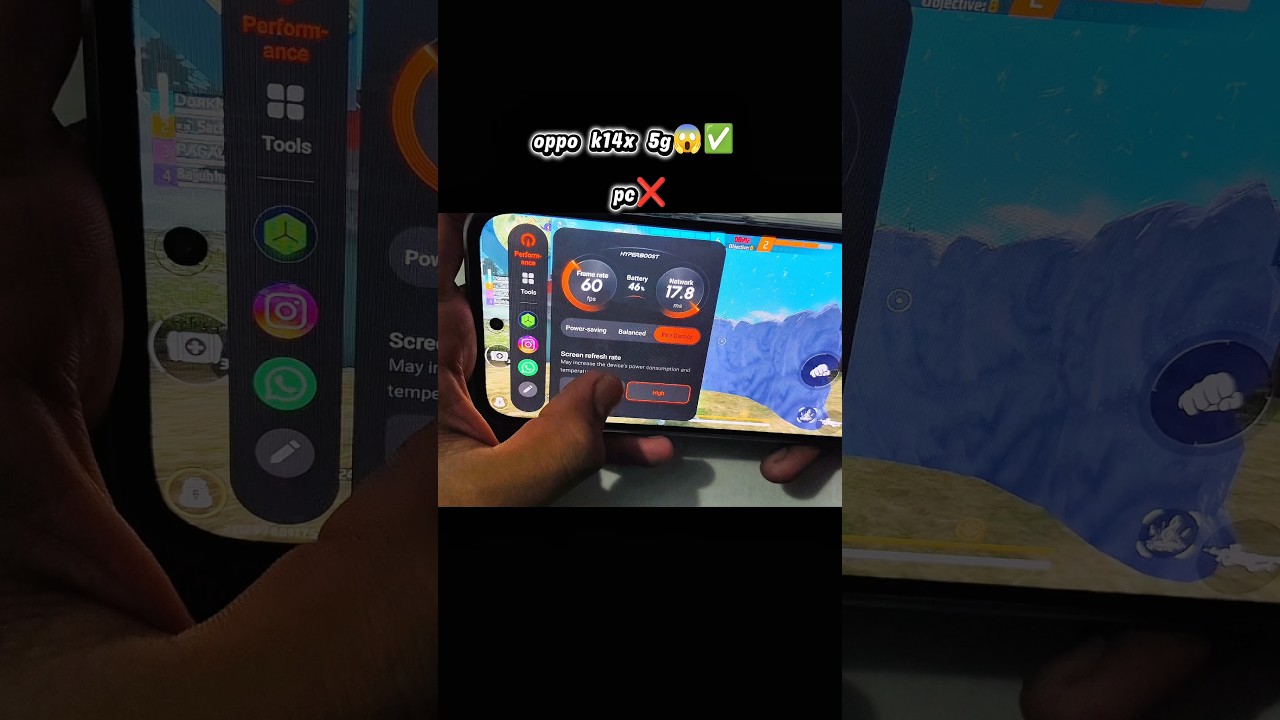
- Display Frame Rate: Select High in the display menu to ensure smooth input response.
- Graphics Quality: If your device experiences thermal throttling or frame drops during combat, reduce visual quality to Standard or Smooth while keeping high frame rates enabled.
Common Placement Mistakes
- Deploying Too Early: Tapping the fire button before the crosshair reaches the ground will spawn the barrier behind the opponent or floating in the air. Keep your aim locked onto the dirt at your feet before hitting deploy.
- Overlapping Touch Inputs: Pressing crouch and fire at the exact same millisecond can cause missed touch inputs. Ensure the crouch registers an instant before the left fire button tap.
- Exposing Flanks: A single straight wall leaves you vulnerable to crossfire from wide angles. When under attack from multiple enemies, quickly flick your camera 45 degrees after the first drop and tap the left fire button again to create an angled double barrier.

Free Free Fire Codes
Current active codes and how to redeem them.

Emily Johnson
Emily writes practical mobile strategy guides with a focus on resource planning, base progression, and the early decisions that shape a long-term account.
COMMUNITY
Player Comments
44 players commented on this guide.
I tried this today and it worked better than my old setup.
This helped me understand strategy much better.
Nice guide. I am checking the other Free Fire articles next.
Good guide for Free Fire players. The strategy part was useful.