
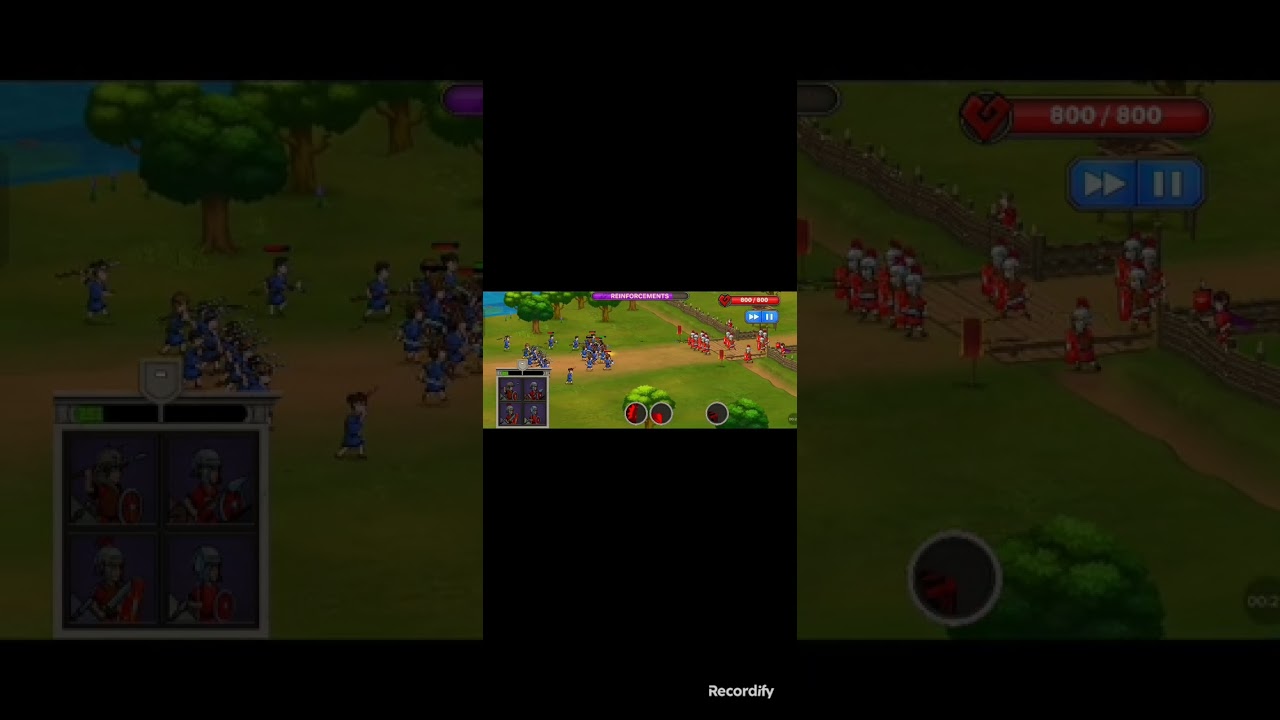
To beat Invasion Map 10 in Grow Empire: Rome, establish a frontline choke point midway across the battlefield using Roman Spearmen to absorb cavalry charges and Roman Legionaries to block armored infantry. This stalls advancing troops outside gate range, exposing enemy catapults to long-range wall artillery while concentrating hostile clusters for hero area-of-effect (AoE) abilities.
Troop Selection and Deployment Pacing
Map 10 introduces heavy cavalry charges supported by armored shield bearers and trailing artillery. Avoid deploying all units at once, which depletes tactical energy and leaves your wall undefended once that wave falls. Instead, stagger deployments based on incoming threats:
- Roman Spearmen: Deploy first. Their anti-cavalry multipliers absorb the initial charge, preventing enemy riders from rushing through to your gate.
- Roman Legionaries: Send these immediately behind spearmen to form your primary defensive anchor. Their shields and high defense hold the line against armored infantry.
- Auxiliary Shock Units: Summon these only after the frontline engages to provide burst damage against pinned targets.
- Reinforcement Timing: Summon replacement cohorts when the vanguard drops below half health or when elite units enter the lane.
Defensive Tower Roles and Priorities
Hostile catapults and battering rams drain wall durability rapidly if left unchecked. Standard wall archers lack the armor penetration needed for heavy siege weapons, making dedicated tower upgrades essential.
| Tower Element | Primary Target | Tactical Role on Map 10 |
|---|---|---|
| Wall Archers | Light infantry and cavalry | Provides rapid physical damage to thin out unarmored flankers before they reach melee. |
| Ballista Towers | Armored infantry and siege engines | Fires armor-piercing single-target shots to dismantle enemy catapults from distance. |
| Boulder / Catapult Tower | Clustered infantry packs | Delivers heavy AoE damage to dense troop formations pinned at the choke point. |
Prioritize gold upgrades for ballista critical strike chance, attack speed, and wall archer range. Extending your archers' range allows them to soften incoming foot soldiers before they clash with your frontline, while ballistas provide the counter-battery fire needed against out-of-range artillery.
Hero Skill Rotations and Cooldowns
Running multiple pure-damage heroes without crowd control risks defensive collapse during mid-wave enemy surges. Bring a balanced hero setup featuring stat boosters like Julius Caesar alongside heroes equipped with stuns or knockbacks.
- Hold Skills Early: Do not spend active hero cooldowns on opening skirmishers.
- Strike at Convergence: Wait until the enemy vanguard meets your legionaries and secondary siege units enter the pocket. Trigger AoE stuns or damage skills at this point to hit multiple enemy tiers at once.
- Interrupt Elite Attacks: Save targeted stuns to interrupt attack animations from the Map 10 elite commander.
Phase-by-Phase Battle Sequence
- The Opening Skirmish: Hold active hero skills. Spawn a single cohort of Roman Spearmen to intercept the initial cavalry charge while wall archers eliminate light infantry.
- The Mid-Wave Siege Incursion: As enemy catapults and shield bearers arrive, activate ballista burst abilities and offensive commander buffs. Deploy fresh legionaries to keep the enemy locked under tower fire.
- The Elite Commander Assault: When the Map 10 boss pushes forward, unleash remaining crowd-control abilities to disrupt their attacks. If the frontline begins to collapse, summon Tavern mercenaries immediately for emergency defense, then focus manual tower fire on the boss until the stage is clear.

Free Grow Empire: Rome Codes
Current active codes and how to redeem them.

Sarah Williams
Sarah specializes in RPG and collection games, explaining team building, character growth, and beginner-friendly ways to avoid expensive early mistakes.
COMMUNITY
Player Comments
103 players commented on this guide.
Good guide for Grow Empire: Rome players. The strategy part was useful.
The tips are practical and easy to follow.
The explanation is clear, especially for beginners.
I wish I had read this before upgrading the wrong thing.