
 Bloons Blitz
 Tower Placement and Efficiency Guide
To maximize efficiency in Bloons Blitz, position damage units inside hero buff zones, optimize track coverage, and adjust targeting settings.

Browse newly published mobile game guides from AAYYY. Find walkthroughs, team builds, event strategies, progression tips, and practical answers organized by game.
Guides are prepared by named contributors using available official announcements, public source material, existing guide research, and relevant game context. Each published guide remains subject to editorial review.
Publishing & corrections. This archive is ordered by Published, the date a guide first went live. An Updated label is reserved for material revisions after source changes or corrections. Meet the editorial team or read our standards and corrections policy.
Bloons Blitz
To maximize efficiency in Bloons Blitz, position damage units inside hero buff zones, optimize track coverage, and adjust targeting settings.
 Bloons Blitz
To maximize performance in Bloons Blitz, pair wide area hero abilities with slowing towers and hold cooldowns until waves reach peak density.
 Bloons Blitz
Place towers along inner curves of the track and trigger active abilities during peak bloon density to clear early waves in Bloons Blitz.
 Bloons Blitz
To survive waves in Bloons Blitz, scale income early, keep a cash safety threshold, and build versatile towers for Lead, Camo, and dense waves.
 Bloons Blitz
Keep your hero central, hold major abilities for high density bloon clusters, and upgrade core defense towers to Tier 2 in Bloons Blitz.
 Bloons Blitz
To complete a Mortar Monkey only run in Bloons Blitz, cluster your towers centrally, lead incoming bloon packs manually, and prioritize splash size.
 Bloons Blitz
To survive fast waves in Bloons Blitz, place splash units near lane fronts, reach mid tier upgrades early, and combine slow effects with high damage.

 Flick Shot Rogues
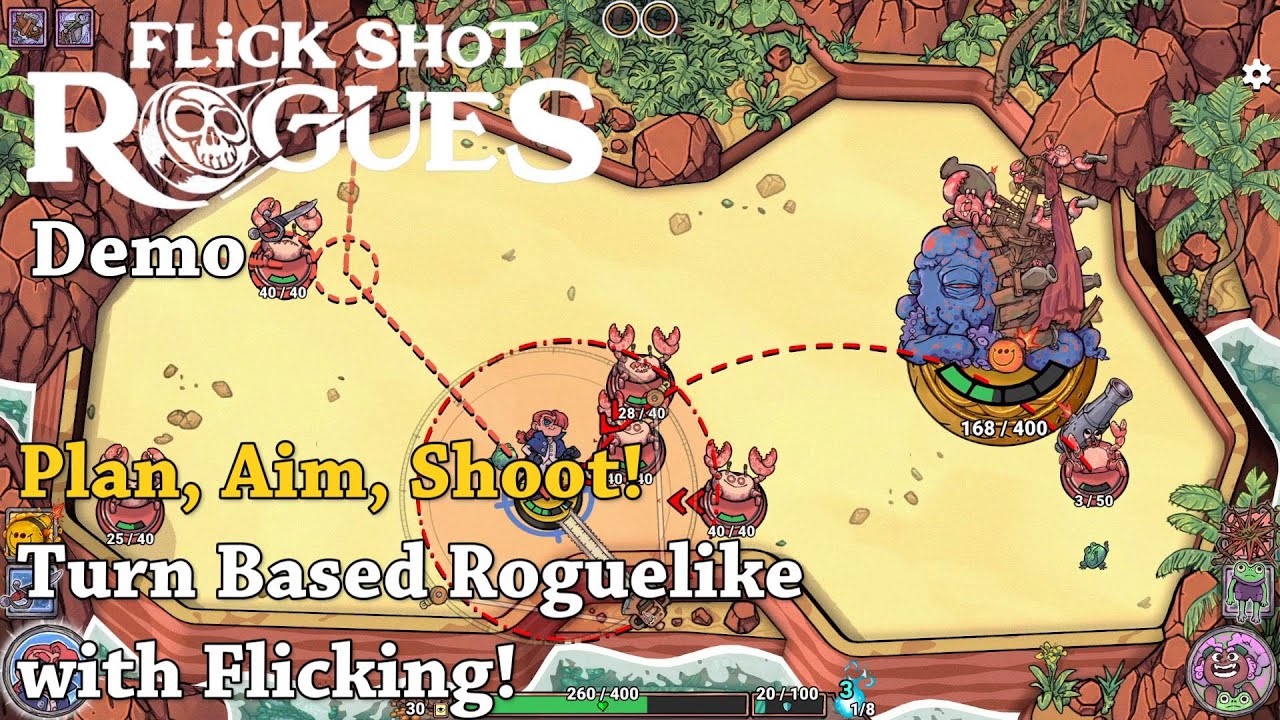
To clear rooms in Flick Shot Rogues, position near walls, eliminate ranged threats first, and use shallow or high parabolic arcs around cover.
 Flick Shot Rogues
To survive encounters in Flick Shot Rogues, plan launch trajectories around landing points rather than target impacts to safely deal collision damage.
 Flick Shot Rogues
To defeat the Frogomancer in Flick Shot Rogues, circle the room to evade tracking projectiles and bounce shots off side walls to hit it safely.
 Flick Shot Rogues
To prevent self damage in Flick Shot Rogues, move laterally after every shot and avoid firing multi projectile volleys into tight corners.
 Flick Shot Rogues
Clear stages in Flick Shot Rogues by line previewing bounce trajectories, prioritizing high threat targets, and ending turns behind cover.
 Flick Shot Rogues
To maximize impact in Flick Shot Rogues, flick your hero into enemy hitboxes or clusters to inflict kinetic damage and interrupt attacks.
 Flick Shot Rogues
Prioritize extra projectile upgrades early in Flick Shot Rogues and bounce shots off walls to clear fast enemies while maintaining shot range.
 Flick Shot Rogues
Maximize overall damage in Flick Shot Rogues by aiming shots off arena walls to trigger multi target ricochets and controlling landing zones.
 Flick Shot Rogues
Clear Doom 5 in Flick Shot Rogues by stacking ricochet traits, positioning near room edges, and sustaining ammo with kill based refills.
 Flick Shot Rogues
To clear waves without wasting ammunition in Flick Shot Rogues, bait enemies near explosive hazards or traps before firing a single trigger shot.
 Flick Shot Rogues
To clear early runs in Flick Shot Rogues, prioritize flat damage upgrades over utility traits and kite enemy waves along outer room edges.
 Flick Shot Rogues
Aim behind enemies and use wall ricochets in Flick Shot Rogues to clear rooms while controlling your hero's final resting spot away from danger.
 Flick Shot Rogues
Clear dense enemy groups in Flick Shot Rogues Rocket Monster Mash by targeting room centers, adjusting flick speed, and prioritizing ranged foes.