
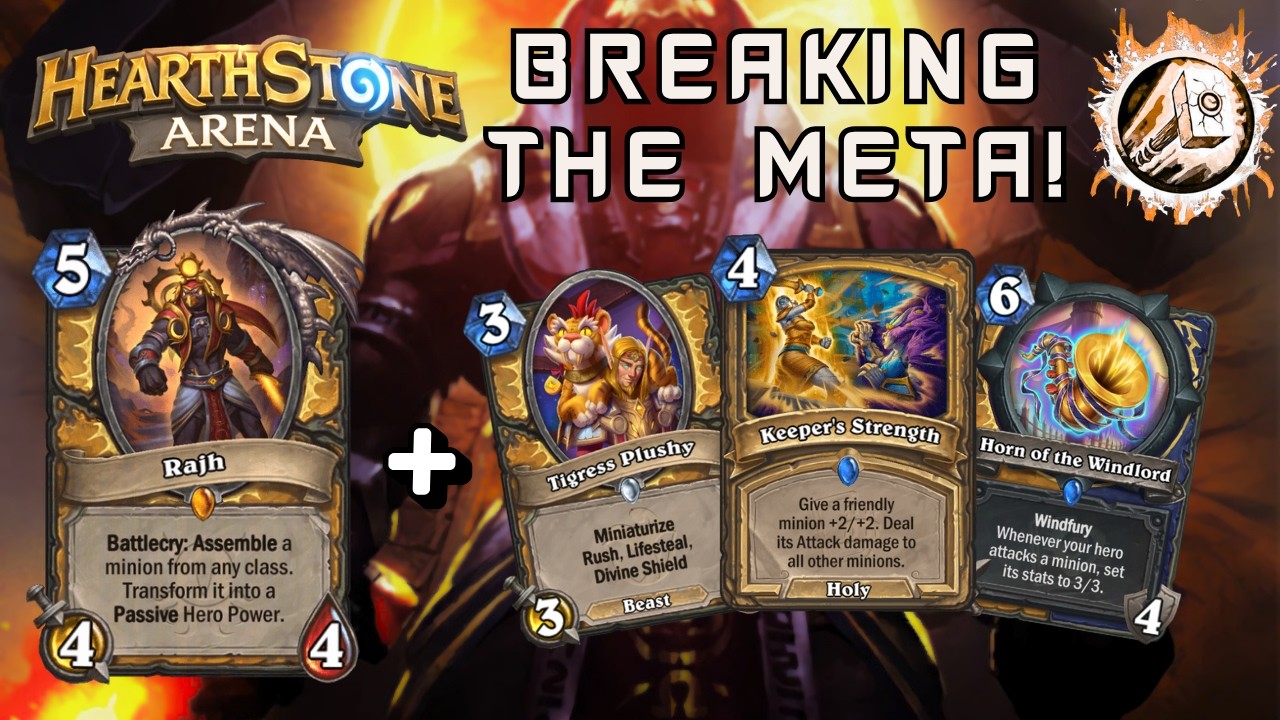
To maximize a Paladin run built around Sunwatcher Rajh in Hearthstone Arena, secure early board initiative through a dense early curve and modular Assemble cards, then deploy Rajh onto an established board to snowball your advantage. Dropping Rajh without board support invites cheap single-target removal, while playing him alongside sticky minions forces awkward trades and creates lethal board states.
Draft Priorities for Arena Paladin
Paladin relies heavily on minion presence to make use of combat buffs and persistent threat engines. During the draft, aim for at least five reliable two-drops and four solid three-drops. Skipping turns two or three severely weakens Paladin, as falling behind on tempo prevents you from capitalizing on mid-game swing turns.
| Priority Tier | Target Cards | Tactical Function |
|---|---|---|
| High (Premium) | Sunwatcher Rajh, Assemble generators, Divine Shield curve minions | Captures early tempo and creates snowballed boards that demand hard removal |
| Medium (Core) | Weapons, targeted unit buffs, Rush minions | Secures favorable trades without sacrificing your primary minion stats |
| Situational | Expensive late-game bombs without immediate board impact, passive Secrets | Inefficient in fast matchups; risks staying unplayed while losing early board control |
Assemble cards provide tactical flexibility throughout the draft. Against aggressive opponents, pick defensive keywords such as Taunt to protect your hero's health total. When facing slower control decks, select offensive or sticky keywords to maintain steady damage pressure.
How to Deploy Sunwatcher Rajh
Sunwatcher Rajh functions as both a high-priority removal target and a rapid stat multiplier, but his value depends entirely on board context.
- Never play Rajh on an empty board: Classes with efficient single-target removal, such as Mage or Priest, can neutralize Rajh easily if he is your sole minion.
- Anchor behind sticky minions: Deploy Rajh when you already control one or two resilient threats, particularly minions protected by Divine Shield. This forces the opponent to spend multiple attacks or burn premium removal just to reach him.
- Bait removal first: Force out hard removal spells in the mid-game with secondary threats before committing Rajh to the board.
Early-Game Trading and Mid-Game Pressure
Securing board control across turns one through four dictates whether your deck can maintain the offensive initiative required for a 12-win run.
- Trade for minion survival: Value trading takes priority over early hero damage. Preserve your minion count so your opponent must constantly react to your board.
- Develop bodies before casting buffs: Play additional minions instead of buff spells unless a buff enables an existing minion to remove an enemy threat and survive.
- Transition to face damage on turns five through seven: If you hold three or more minions and the opponent lacks immediate board clears, redirect non-essential attacks to the enemy hero to set up a two-turn lethal sequence.
- Hold reserve threats: Do not overextend all your resources into potential board clears. If your current board already forces awkward plays, keep backup minions in hand to rebuild immediately if wiped.
Key Matchup Adjustments
- Against Aggressive Classes (Demon Hunter, Hunter): Select Taunt options from Assemble choices to absorb incoming damage. Use your weapon charges to clear opposing minions rather than sacrificing your own minions' health.
- Against Control Classes (Priest, Blood Death Knight): Apply consistent board pressure to win before their high-value attrition tools come online. Force them to spend board sweepers inefficiently against partial boards.
- Against Tempo Mirrors (Paladin, Shaman): Prioritize complete board clears over chip damage. Denying your opponent an anchor minion stops them from utilizing positional battlecries and targeted stat buffs.

Free Hearthstone Codes
Current active codes and how to redeem them.

James Brown
James focuses on Android gaming on PC, emulator setup, controls, performance tuning, and practical troubleshooting for longer play sessions.
COMMUNITY
Player Comments
96 players commented on this guide.
The explanation is clear, especially for beginners.
I wish I had read this before upgrading the wrong thing.
This guide answered the exact question I had.
The tips are practical and easy to follow.