
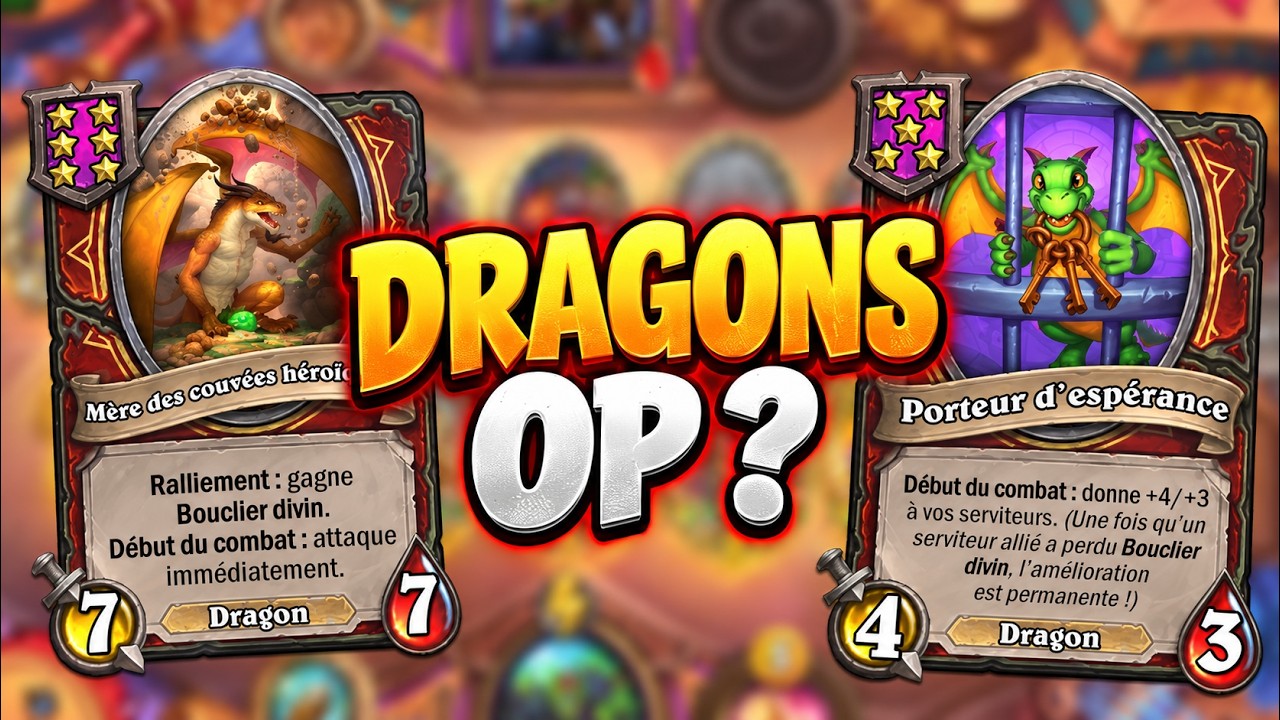
To play the Divine Shield Dragon composition in Hearthstone Battlegrounds, stabilize on Tavern Tier 3 with combat-buffing Dragons, then level aggressively to Tavern Tier 6 to find Nadina the Red. Divine Shield allows high-Attack Dragons to absorb massive hits from raw-stat boards and negate deadly Poisonous or Venomous attacks during opening trades.
Core Minion Priorities
The archetype relies on a core group of midgame Dragon anchors to generate tempo, capped by a late-game Deathrattle piece that refreshes shields across your entire lineup.
| Minion | Tavern Tier | Primary Role | Tactical Function |
|---|---|---|---|
| Bronze Warden | Tier 3 | Midgame Anchor | Innate Divine Shield and Reborn provide up to three hits per round. |
| Amber Guardian | Tier 3 | Shield Enabler | Start of Combat trigger grants Divine Shield and stats to another friendly Dragon. |
| Tarecgosa | Tier 3 | Scaling Anchor | Permanently retains stat enhancements and buffs gained during combat. |
| Nadina the Red | Tier 6 | Board Reset | Deathrattle gives Divine Shield to all friendly Dragons. |
Bronze Warden provides natural durability, absorbing early hits and holding Attack buffs reliably due to Reborn. Amber Guardian solves the defensive vulnerability of unshielded Dragons by granting a shield and extra stats at the start of combat. Because Amber Guardian selects a target at random from friendly Dragons, keep your board focused purely on Dragons so the buff never misses your core damage units.
Tarecgosa acts as the primary stat scaler. Because it permanently retains in-combat buffs, pairing Tarecgosa with combat triggers rapidly snowballs its attack and health. In the endgame, Nadina the Red provides a full board reset, allowing surviving units to trade a second time with fresh shields.
Combat Positioning Sequence
Board order determines whether your shields trade efficiently or get wasted during combat. Follow this left-to-right setup to maximize resets:
- First Attacker: Place a high-Attack, naturally shielded minion in slot one to pop enemy Taunt shields or eliminate high-threat targets before your board takes damage.
- Nadina the Red: Position Nadina in the second or third attacking slot. Your first Dragon must attack and lose its initial shield before Nadina attacks and dies. If Nadina dies while your other Dragons still hold shields, her Deathrattle refresh is wasted.
- Protected Scalers: Place Tarecgosa and secondary damage dealers in the middle slots so they attack after Nadina dies and reapplies shields.
- Taunt Anchor: Place a high-Health, Taunted Dragon on the far-right flank. This draws incoming hits away from fragile scaling units and reduces the risk of Cleave damage hitting your central attackers.
Tavern Tier Curve and Leveling Timing
Surviving the midgame requires knowing when to roll for stabilization and when to push Tavern tiers.
- Tiers 1 to 2: Buy standard tempo units and pairs to preserve your Health pool and Armor.
- Tiers 3 to 4: Roll to secure Amber Guardian, Bronze Warden, and Tarecgosa. Tripling into a Golden Amber Guardian or running duplicate copies provides enough immediate combat power to stop midgame health loss.
- Tier 5 to 6: Do not linger on Tier 4 once your board stabilizes with four to five functional Dragons. Level steadily to Tier 6 to roll for Nadina the Red. Without Nadina's board-wide reset, the composition falls off against late-game opponents with massive health pools.
Countering Tech Cards
Opponents facing Divine Shield boards often purchase neutral area-of-effect tech, such as Tunnel Blaster, to strip Divine Shields from both boards before attacks begin.
Counter this strategy by using Tavern-phase buffs to increase your Dragons' base Health well above the damage threshold of low-damage deathrattles. Raising baseline Health ensures low-tier buffers survive ping effects, while Nadina's subsequent mid-combat death re-establishes full shield protection after initial enemy tech clears.

Free Hearthstone Codes
Current active codes and how to redeem them.

James Brown
James focuses on Android gaming on PC, emulator setup, controls, performance tuning, and practical troubleshooting for longer play sessions.
COMMUNITY
Player Comments
116 players commented on this guide.
I wish I had read this before upgrading the wrong thing.
Good guide for Hearthstone players. The strategy part was useful.
Nice guide. I am checking the other Hearthstone articles next.
This helped me understand strategy much better.