
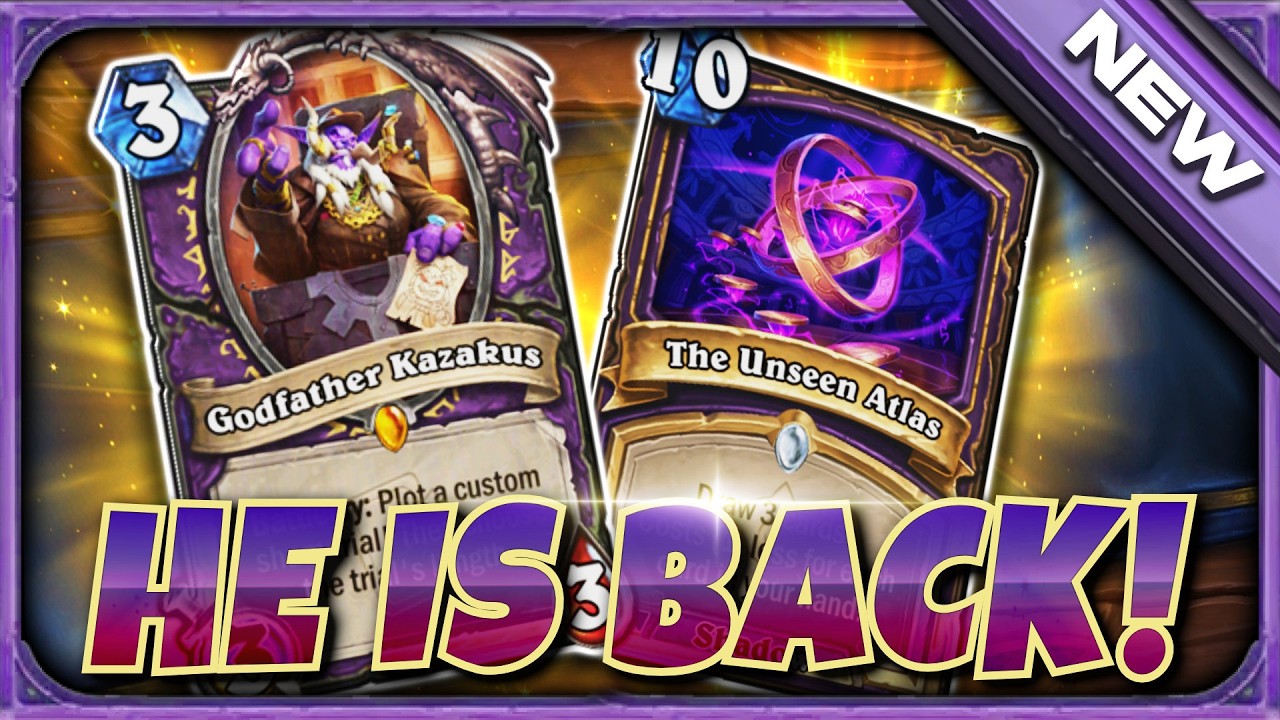
To run Kazakus Warlock in Hearthstone, you must exclude all other 4-cost cards from your deck so that Kazakus, Golem Shaper triggers consistently. The deck relies on using Warlock's Life Tap hero power to draw Kazakus reliably by turn 4, then deploying custom-crafted golems to seize the board and close out matches in the mid-game.
Deckbuilding Constraint: The 4-Cost Restriction
Kazakus, Golem Shaper requires that your deck contains no other 4-cost cards when his Battlecry resolves. Incorporating Kazakus requires cutting standard 4-mana defensive Warlock tools such as Hysteria and Cascading Disaster.
To offset this gap, build your list around efficient early removal and proactive 3-drops:
| Deck Aspect | Traditional Control Warlock | Kazakus Warlock |
|---|---|---|
| 4-Mana Cards | Runs multiple tools (Hysteria, Cascading Disaster) | Strictly Kazakus, Golem Shaper |
| Pacing | Reactive removal and late-game fatigue | Proactive mid-game tempo and board initiative |
| Early Game Plan | Hoard board clears for wide waves | Clear early threats with 1- and 2-mana spells |
| Hero Power Priority | Tap for late value | Tap early to secure Kazakus on curve |
Rely on low-cost spells like Drain Soul and minions like Armor Vendor to stay alive while cycling through your deck. Life Tap allows you to see more cards by turn 4 than most classes, significantly improving your odds of playing Kazakus on curve.
Choosing Golem Sizes and Traits
When you play Kazakus, you discover a golem size (1-cost, 5-cost, or 10-cost) followed by two distinct bonus traits. Base your choice on the current game state and your mana curve.
5-Cost Golems (Primary Choice)
Crafting a 5-mana 5/5 golem is the standard line because it curves directly into turn 5 after playing Kazakus on turn 4.
- Direct damage or removal: Dealing 3 damage to two random enemy minions or 3 targeted damage helps clear opposing mid-game threats immediately.
- Board stickiness: Divine Shield or Stealth forces inefficient trades from your opponent and keeps your minion on the board.
- Card advantage: Drawing two cards replenishes your hand without requiring additional health loss from Life Tap.
1-Cost Golems (Survival Tool)
Choose a 1-mana 1/1 golem against aggressive decks when you face lethal pressure. Pairing a 1-drop with Poisonous or Taunt allows you to play Kazakus and immediately contest an attacking minion on turn 5 or later.
10-Cost Golems (Late-Game Attrition)
Reserve 10-mana 10/10 golems for slow control matchups where the opponent relies on heavy removal. A 10-drop with a Battlecry that duplicates itself or deals large area damage gives you a durable threat after your opponent has exhausted their primary board clears.
Mulligan Priorities
Your opening hand strategy depends on whether you face aggressive tempo decks or slower control strategies.
Versus Aggressive Decks
Prioritize early survival tools to mitigate incoming face damage before turn 4:
- Armor Vendor: Contests turn-1 plays and provides armor to absorb damage.
- Drain Soul: Removes early threats while restoring health.
- School Headmaster and 3-drops: Places bodies on the board to contest trades.
- Kazakus, Golem Shaper: Keep only if you already hold a viable turn-1 or turn-2 defensive response.
Versus Control and Midrange Decks
Look for card draw and proactive curve pieces to set up early tempo:
- Kazakus, Golem Shaper: Always keep. Playing Kazakus on turn 4 establishes the pace for the rest of the match.
- Backfire: Cycles through three cards to dig for your core pieces.
- Free Admission: Draws minions and reduces their mana costs to enable faster board deployments.
Executing the Mid-Game Plan
Do not use Life Tap automatically on turn 2 if your hand already has a smooth play sequence into turn 4. Because the deck cuts some defensive tools, spending health unnecessarily puts you within reach of enemy burn.
Once you deploy your custom golem, look to pivot from reactive plays to proactive board pressure between turns 5 and 8. Back up your golem with low-cost removal to clear opposing blockers, force the enemy to spend resources responding to your threats, and close out the match before entering late fatigue.
Free Hearthstone Codes
Current active codes and how to redeem them.

Sarah Williams
Sarah specializes in RPG and collection games, explaining team building, character growth, and beginner-friendly ways to avoid expensive early mistakes.
COMMUNITY
Player Comments
122 players commented on this guide.
The explanation is clear, especially for beginners.
This helped me understand strategy much better.
The tips are practical and easy to follow.
This saved me time in the early game.