
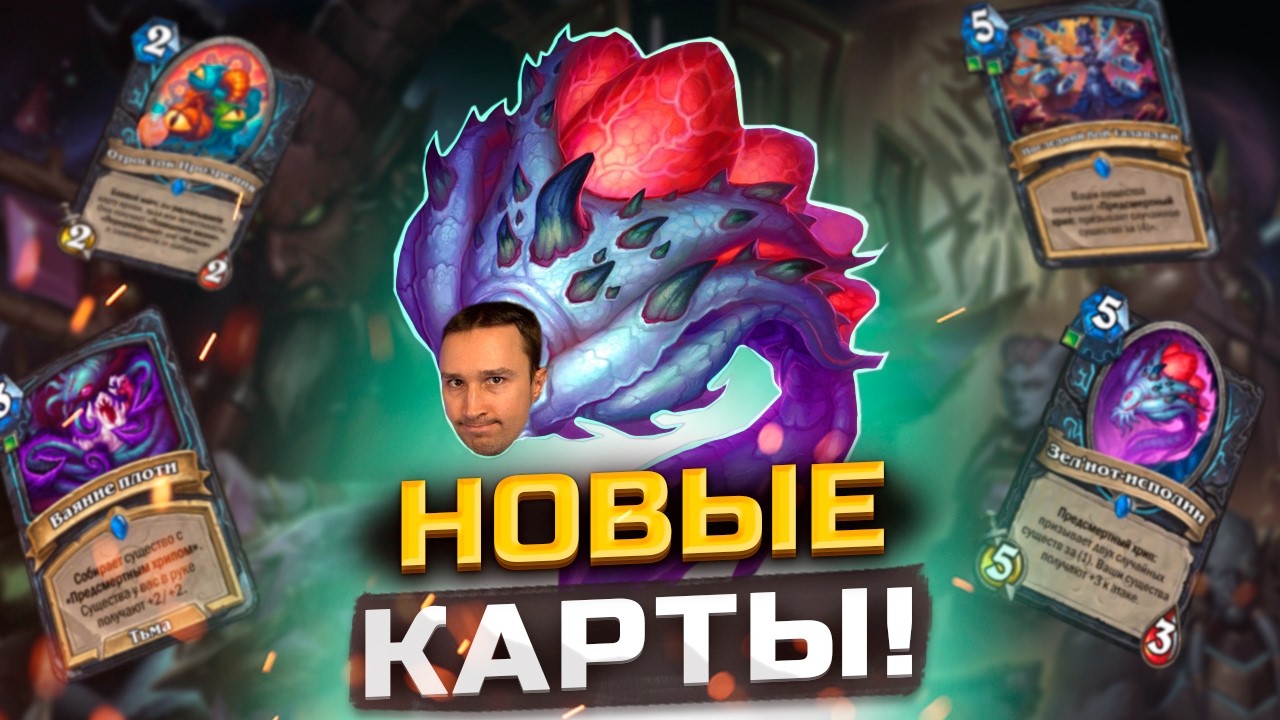
To win with Swarm Death Knight in Hearthstone, secure the board on turn one, preserve minion presence across removal phases, and convert wide boards into lethal burst damage before turn eight. The deck functions by turning low-cost minions and tokens into Corpse resources, which then fuel powerful board buffs and swing turns.
Mulligan Priority
Hard-mulligan for proactive one-drop minions and self-contained token generators. Passing turn one delays early damage compounding and slows down your downstream Corpse generation.
- Always keep: Low-cost one-drops, especially resilient Undead minions that generate recurring tokens or leave bodies behind through Reborn or Deathrattles.
- Conditional keeps: Smooth two-drop followers if your hand already contains a dedicated turn-one play.
- Always toss: Reactive removal spells, mid-game reloads, and expensive Corpse-spending finishers.
| Mulligan Priority | Deck Role | Ideal Turn |
|---|---|---|
| Primary 1-Drops | Early board anchor and Corpse generator | Turn 1 |
| Reborn / Token Minions | Multi-body generation and trade resilience | Turn 2 |
| Wide-Board Buff Spells | Lethal converter and trade enabler | Turn 4+ (with 4+ minions) |
| Mid-Game Swarm Reloads | Hand refill and board rebuild after clears | Turns 5–6 |
Managing the Corpse Economy
Every summoned token serves as both chip damage and future currency. Ghouls, disposable skeletons, and Reborn fragments must generate enough Corpses to pay for your payoff cards.
- Avoid low-value Corpse drains: Do not spend Corpses on marginal early-game effects if doing so starves your key mid-game board buffs.
- Trade to fuel triggers: If your hand contains a high-impact Corpse spender, trade low-health minions into larger opposing threats to build an immediate surplus.
- Hold conditional cards: Do not play cards with threshold-based Corpse Battlecries if your counter is empty, as under-statted plays surrender tempo.
- Count before attacking: Tally your exact Corpse count before committing attacks to prevent locking yourself out of a planned follow-up play.
Board Positioning and Trading Decisions
Token placement determines your resilience and maximizes positional buffs.
Place sticky minions with Reborn or multi-phase Deathrattles on the far edges of your board. Keep expendable 1/1 tokens in the center where they can absorb directional bonuses or be sacrificed cleanly without breaking adjacencies.
When evaluating trades each turn, apply the two-turn lethal rule:
- Calculate total potential damage: Add current board attack, available hand buffs, weapon swings, and Hero Power damage. If the total equals or exceeds the opponent's Health, attack the enemy hero directly.
- Assess opposing threats: If an enemy minion can trade into multiple tokens for free, sacrifice your lowest-value minion into it to protect the rest of your board.
- Ignore inefficient trades: If the opposing minion cannot cleanly clear your units, bypass it and direct all attacks to the enemy hero to force defensive reactions.
Setting Up Lethal Windows
Swarm Death Knight loses effectiveness if matches drag past turn eight against defensive decks. Look for burst lethal windows between turns four and six.
An opponent at twenty Health is often within lethal range if you untap with four or five active minions. Before spending mana each turn, calculate whether applying a wide-board attack buff achieves immediate lethal. If you fall short by a small margin, fill the board to force the opponent to spend their entire mana pool reacting to only part of your threats.
Playing Around Board Sweepers
Overcommitting your entire hand into area-of-effect removal is the primary failure condition against control decks.
Apply enough pressure with three or four cheap units to force an opponent into using a sweeper. Hold secondary token generators in hand while your existing board presents a lethal clock. Casting a high-cost board clear usually consumes the opponent's full turn, preventing them from developing a minion of their own.
Once the board is wiped, deploy your banked reload cards immediately. Prioritize follow-up minions that feature Reborn or Deathrattle mechanics to make your second wave resilient against consecutive removal spells.
Free Hearthstone Codes
Current active codes and how to redeem them.

Sarah Williams
Sarah specializes in RPG and collection games, explaining team building, character growth, and beginner-friendly ways to avoid expensive early mistakes.
COMMUNITY
Player Comments
117 players commented on this guide.
The tips are practical and easy to follow.
This guide answered the exact question I had.
I wish I had read this before upgrading the wrong thing.
The explanation is clear, especially for beginners.