
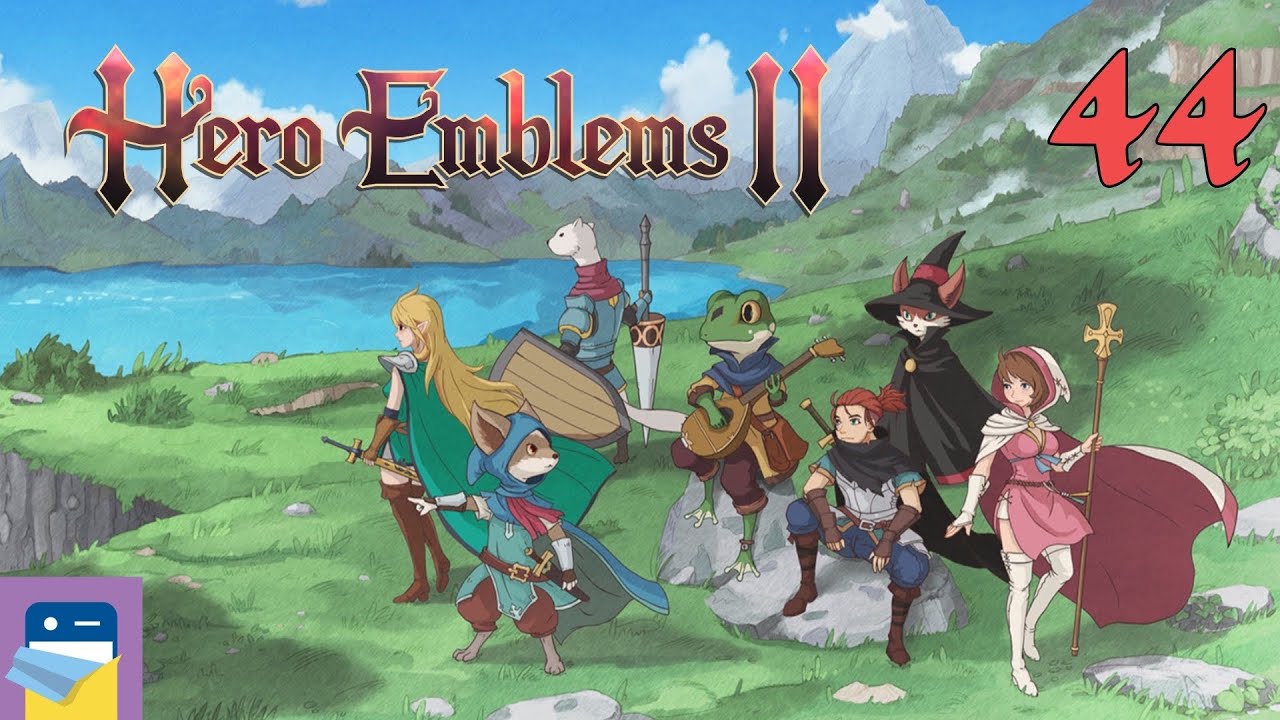
To beat the Sun Gate Golden Dragon in Hero Emblems II, deplete its DP barrier before its attack countdown expires, save Howard and Zack's offensive burst skills for the broken-shield phase, and clear burn debuffs using Trisa's recovery matches. Breaking the dragon's DP bar before it attacks cancels its incoming solar breath, preventing massive party-wide damage and board corruption.
Party Roles and Setup
Equip accessories that grant passive burn resistance or accelerate skill point recovery to reduce incoming fire damage and keep your recovery loop active. Before starting the stage, assign party roles around shield breaking, damage burst, and hazard management.
| Character | Role | Skill Focus | Priority Task |
|---|---|---|---|
| Zack | Physical DPS | High-damage single-target strikes | Match sword tiles to shred boss DP |
| Howard | Magic DPS | High-multiplier burst spells | Trigger spells during vulnerability windows |
| Alston | Tank | Armor and DP reinforcement | Match shields before boss attack turns |
| Trisa | Healer | Multi-target recovery and cleanse | Match hearts to heal and remove burn debuffs |
Bring curative potions and status cure items into the dungeon. If heart tiles are unavailable on the grid, inventory items provide an immediate backup to cure lingering burns or restore critical HP.
Preparing in Wave Encounters
The standard enemy waves before the Golden Dragon use solar skills that turn grid spaces into charred hazard tiles. Matching through hazard tiles inflicts self-damage, while ignoring them restricts board movement.
- Clear normal tiles beneath hazards: Make matches in the lower rows to drop charred tiles to the bottom edge without triggering self-damage.
- Stall on Wave 3: When only one weak enemy remains in the third wave, make basic 3-gem defense or attack matches instead of triggering high-damage skills.
- Rebuild resources: Use this stall time to restore party HP with Trisa, refill Alston's DP shield, and position special skill emblems on the grid before triggering the boss encounter.
Countering the Dragon's DP Barrier and Attacks
The Golden Dragon begins the fight by activating a fortified DP barrier and starting a multi-turn action timer. If the countdown reaches zero while the barrier is active, the boss executes a party-wide solar breath attack that pierces Alston's defense and inflicts severe burns across your team.
- Focus physical attacks on the barrier: Prioritize Zack's sword matches during the countdown. Physical strikes rapidly deplete the blue DP bar.
- Reinforce defense at turn one: If the countdown gauge sits at one turn and the barrier cannot be broken in time, match Alston's shield emblems immediately to reduce incoming damage.
- Interrupt the boss: Reducing the dragon's DP to zero before the attack timer expires interrupts its queued attack completely, canceling the solar breath and leaving the boss defenseless.
Maximizing the Vulnerability Phase
When the Golden Dragon's DP bar drops to zero, it enters a vulnerable state where attacks deal direct HP damage without defensive reduction.
- Trigger stored offensive skills: Fire Howard's offensive magic and Zack's special attacks only after the shield is completely gone. Using burst skills while the DP barrier is active wastes their damage potential.
- Combine special emblems: Merge adjacent special emblems on the grid, such as combining a 5-match ultra emblem with Howard's magic icon, to deal massive unmitigated damage.
- Prepare for the barrier reset: Continue offensive chains until the dragon begins channeling to restore its DP bar, at which point offensive skills should be held again for the next break.
Managing Burn Hazards and Board Space
Retaliation attacks from the Golden Dragon frequently place burning hazard tiles across the grid. Burn debuffs sap party HP at the start of every hero action, creating an immediate wipe risk if left active.
- Match four or more hearts: Connecting four or five recovery emblems triggers Trisa's enhanced cleanse, healing party HP while removing active burn debuffs.
- Cascade outer columns: If the board becomes heavily cluttered with hazard tiles and no heart matches are available, execute vertical 3-matches along the outermost columns. This shifts the grid down and pulls clean tiles from the top, opening space to assemble recovery chains and setup your next shield-break rotation.
Free Hero Emblems II Codes
Current active codes and how to redeem them.

Emily Johnson
Emily writes practical mobile strategy guides with a focus on resource planning, base progression, and the early decisions that shape a long-term account.
COMMUNITY
Player Comments
70 players commented on this guide.
This guide answered the exact question I had.
This saved me time in the early game.
Can you add more details about heroes in a future update?
I wish I had read this before upgrading the wrong thing.