
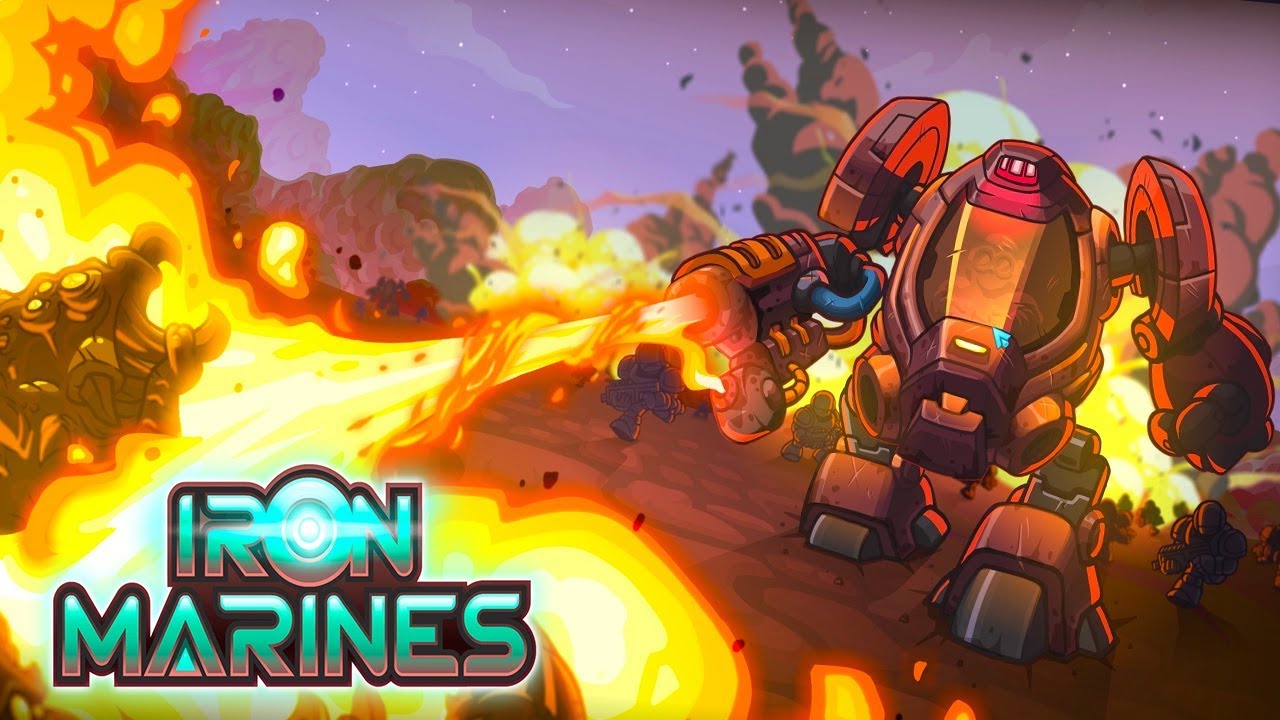
Deploy the Flamer mech at narrow choke points whenever you face high-density biological swarms in Iron Marines+. The Flamer functions as an armored frontline walker that projects a continuous, piercing cone of thermal fire. Because its flame arc hits every overlapping target in front of it and applies a lingering burn, it stops melee rushes from overwhelming your defensive lines.
How the Flamer Operates
The Flamer is the primary area-of-effect unit in the Mech division. Unlike single-target Rangers or slow-firing Snipers, the Flamer ignores target saturation by damaging every hostile caught inside its expanding attack cone.
- Piercing Area Damage: Continuous flame streams pass through frontline enemies to hit second-line targets simultaneously.
- Burn Status: Hostiles caught in the cone suffer continuous base damage plus residual burn damage over time, finishing off low-health runners.
- Heavy Armor Chassis: Armored plating absorbs initial melee impacts, giving the walker enough durability to maintain fire while enemy lines close in.
- Range Limitations: The Flamer relies on short engagement distances and modest movement speed, leaving it vulnerable if caught in open terrain by ranged hostiles.
Choke Points and Threat Positioning
To maximize thermal efficiency, station your Flamer where natural terrain restricts enemy movement. Narrow canyon passes, ramps, and doorways compress wide enemy formations directly into your attack arc.
| Threat Type | Enemy Behavior | Strategic Response |
|---|---|---|
| Fell Swarmers | Tight packs rushing into melee | Anchor the walker on narrow ramps and hold the choke line. |
| Infested Nests and Eggs | Static spawners producing creep | Edge forward to maximum cone range to burn spawns and structures at once. |
| Heavy Armored Brutes | Direct charge with high impact | Place behind hero shields and kite backward to prolong burn exposure. |
| Ranged Spitters | Acid artillery firing from range | Shelter behind terrain corners and advance under cover to avoid poke damage. |
Take advantage of elevation whenever ramps or cliffs overlook incoming paths. Firing downward prevents swarming units from surrounding the walker. Placing a Flamer in front of a squad of Snipers creates a stable defense: the Flamer clears light frontline swarms while the Snipers eliminate heavy single targets from safety.
Morphing Between Flamer and Brawler
You do not need to rebuild squads to adapt to changing mission phases. In Iron Marines+, deployed Mechs can change combat roles in the field by spending Ether, preserving their field position and veterancy.
- Maintain the Flamer role during defensive hold objectives, creep-clearing pushes, and multi-directional insectoid swarm waves.
- Assess incoming threats before spending resources. If single-target bosses or heavy robotic artillery appear, the Flamer's short range becomes a liability.
- Select the Mech and spend Ether to morph into a Brawler. The Brawler gains targeted melee burst damage and leap mobility to close gaps quickly.
- Morph back to a Flamer once the heavy target falls and the battlefield returns to high-volume infantry defense.
Keep an eye on your Ether bank during chaotic fights. Swapping roles consumes Ether that might otherwise be needed for tactical drop weapons.
Tech Tree and Hero Synergies
Upgrade investments and hero choices significantly raise the Flamer's combat ceiling:
- Durability Upgrades: Prioritize reinforced walker armor in the Tech Tree so your frontline Mechs can absorb extended melee contact without falling.
- Thermal Upgrades: Research upgrades that increase burn duration and flame intensity to clear swarms faster.
- Ether Recycling: Tech investments that lower unit transformation costs allow more frequent morphs between Flamers and Brawlers.
- Taggins: Activating Taggins's invulnerability shield lets a Flamer walk directly into dense hives or choke points without taking damage.
- Kosmos: Use gravitational singularities to pull scattered enemies into a tight cluster, allowing a single Flamer to melt the entire group in seconds.
Avoiding Common Tactical Mistakes
Avoid moving Flamers into wide-open terrain without support. Because the walker moves slowly and has a short firing arc, mobile ranged units can kite it without taking return damage. Never send an unsupported Flamer into the fog of war to scout.
If ranged artillery pins your walker down, immediately fall back behind high-ground ramps or base turrets to force the enemy closer. Alternatively, spend Ether to morph the walker into a Brawler and leap directly onto the artillery before it dismantles your frontline.

Free Iron Marines+ Codes
Current active codes and how to redeem them.

Sarah Williams
Sarah specializes in RPG and collection games, explaining team building, character growth, and beginner-friendly ways to avoid expensive early mistakes.
COMMUNITY
Player Comments
108 players commented on this guide.
I wish I had read this before upgrading the wrong thing.
Good guide for Iron Marines+ players. The strategy part was useful.
I tried this today and it worked better than my old setup.
This helped me understand strategy much better.