
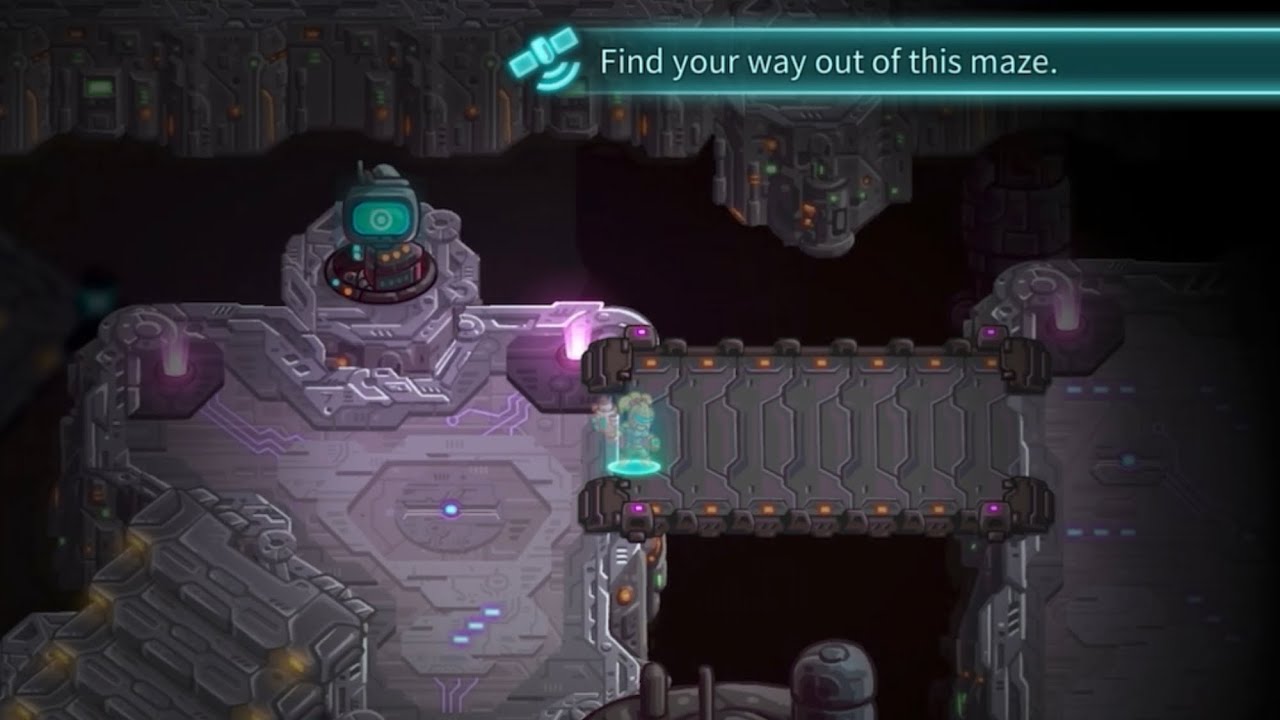
To clear The Great Escape challenge on Veteran difficulty in Iron Marines+, advance slowly behind a durable frontline, pick off ranged acid spitters before attacking egg hives, and pull newly freed allied pods backward into your formation immediately upon release. Because this Spec Ops mission severely restricts your reinforcement resources, preventing squad attrition is the single most critical factor for reaching the evacuation beacon alive.
Recommended Squad Composition and Upgrades
Veteran difficulty grants alien swarms heavy burst damage and increased attack speed. To counter this without burning through limited reinforcement currency, deploy a balanced squad that pairs resilient tanks with long-range marksmen:
- Frontline Defense (Bouncers or Guardians): Absorb initial charges from burrowers and melee crawlers using personal shields and knockback abilities.
- Long-Range Elimination (Snipers): Pick off acid spitters and flying overseers from outside their firing range to keep your frontline healthy.
- Mid-Range Support (Rangers or Marines): Deliver baseline damage to burst down vulnerable spawning sacs before continuous waves overwhelm your squad.
Before starting the mission, invest tech tree points into passive squad armor increases, hero ability cooldown reduction, and post-skirmish health regeneration.
Target Priority and Hive Engagement
Rushing into territory invites multi-angle pincer ambushes. Creep forward using your hero or tanky melee squad to bait patrolling enemies toward your stationary line. Do not attack an alien hive while mobile enemies remain active. Eliminate escorts first, reposition your snipers, and then destroy the structure to shut down enemy spawns.
| Threat Tier | Target Type | Action |
|---|---|---|
| High | Ranged Spitters / Acid Throwers | Eliminate first using Sniper focus fire or direct hero burst abilities. |
| High | Alien Hives / Egg Sacs | Destroy immediately after perimeter guards fall to stop endless waves. |
| Medium | Fast Melee Stalkers | Block with Bouncer shields and knockbacks while ranged units finish them. |
| Low | Minor Crawlers | Rely on ambient ranged fire and defensive area-of-effect abilities. |
Rescuing Trapped Squads Without Ambushes
Friendly pods trapped behind biological barriers expand your army size, but destroying a barrier triggers scripted ambushes from the surrounding fog. Prepare the area before opening each cage:
- Form a defensive wall: Position your Bouncers or Guardians directly between the trapped pod and unexplored territory.
- Break the barrier: Use a ranged squad to pop the pod from a safe distance.
- Retreat inward: Immediately order the newly rescued units to fall back behind your tanks rather than moving forward.
- Rebalance roles: If squad role swapping is available, change redundant or fragile rescued units into Snipers to boost your defense against incoming aerial swarms.
Pushing the Final Evacuation Gauntlet
The path to the dropship concentrates multiple alien spawn points in a single choke point.
Halt your entire formation just outside the final clearing and wait until all hero cooldowns and shield abilities are fully refreshed. Once ready, push your hero into the center to draw the initial volley from elite defenders. Drop your defensive drones, shields, or crowd-control stuns into the lane bottleneck, focus your snipers on elite alien juggernauts, and move the full unit cluster onto the extraction beacon to complete the mission.

Free Iron Marines+ Codes
Current active codes and how to redeem them.

Sarah Williams
Sarah specializes in RPG and collection games, explaining team building, character growth, and beginner-friendly ways to avoid expensive early mistakes.
COMMUNITY
Player Comments
85 players commented on this guide.
Nice guide. I am checking the other Iron Marines+ articles next.
I wish I had read this before upgrading the wrong thing.
I tried this today and it worked better than my old setup.
This helped me understand strategy much better.