
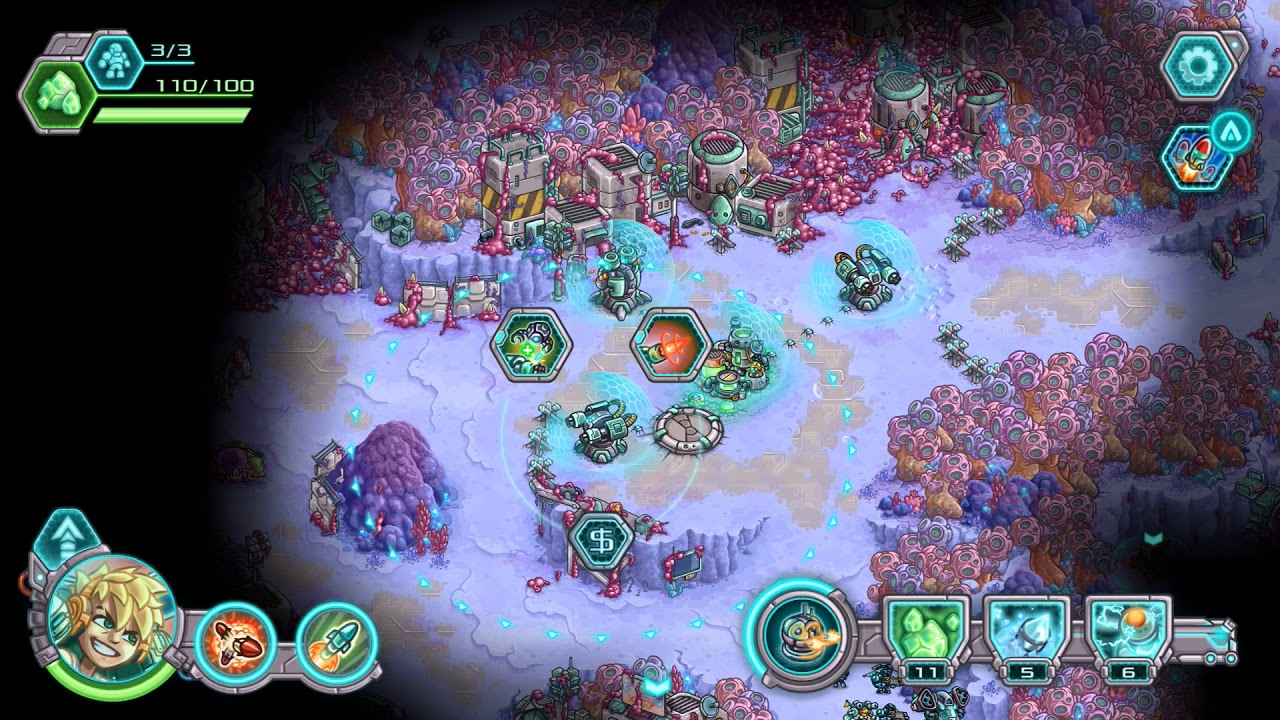
To beat Mission 5: Search and Rescue on Sagan-1 in Iron Marines+, secure your base with an immediate Etherium Refinery, eliminate nearby alien burrows before interacting with survivor beacons, and fortify path junctions with turrets to protect your flanks during the final extraction.
Establish Your Base and Secure Ether Income
Alien skirmishers attack your landing zone shortly after drop-in. Do not push through the fog of war until your base foundation is stable:
- Drop your primary command base at the landing zone immediately.
- Build an Etherium Refinery on the nearest open Ether node to secure resource generation for unit reinforcements and upgrades.
- Station your hero at the main entrance perimeter to absorb incoming melee leaps while your base defenses and starting squad eliminate hostile scouts.
- Reinvest your initial Ether returns into filling out your squad roster before moving toward the first rescue beacon.
Squad Composition and Unit Roles
Relying purely on light infantry leads to fast squad wipes against dense swarms. Pair a durable frontline unit with focused ranged damage.
| Unit Role | Recommended Unit | Primary Tactical Function |
|---|---|---|
| Frontline Tank | Brawler Mech or Hero | Absorbs incoming melee leaps and blocks chokepoints |
| Direct-Fire DPS | Space Marine or Ranger Squad | Clears fast light swarms with sustained fire |
| Heavy Precision | Sniper Squad | Destroys high-health alien burrows from long range |
| Static Defense | Gatling or Missile Turret | Holds cleared corridors against wandering patrols |
Keep your hero or Brawler mech slightly ahead of your ranged units. Activate your hero's defensive shields the moment enemy swarms close into melee distance, giving your Snipers and Marines time to clear the wave.
Clearing Rescue Beacons Safely
Interacting with a survivor pod triggers a scripted ambush. If you trigger a beacon while surrounding alien nests remain active, your squad will be caught in a pincer attack.
- Clear all visible alien burrows and roaming patrols along your retreat route before touching the rescue beacon.
- Group your units tightly near the objective rather than spreading them across multiple approach lanes.
- Ensure hero abilities are off cooldown before initiating the rescue.
- Position your squad behind natural rock bottlenecks so ambushers are forced into a narrow firing lane.
- Focus down fast melee rushers first, let squad health recover out of combat, and collect dropped Ether pods before moving to the next objective.
Fortifying Sagan-1 Chokepoints
Sagan-1 features fixed building pads along narrow canyon routes between your main base and the rescue objectives. Securing these pads prevents alien waves from cutting off your units:
- Gatling Turrets: Place these on pads covering tight passes where large packs of unarmored swarms funnel through.
- Missile Turrets: Build these on pads that overlook wider avenues frequented by armored units, flyers, or heavy burrowers to take advantage of long-range splash damage.
- Repairs: Check turret health between objective pushes. Repairing a damaged turret costs significantly less Ether than rebuilding a destroyed structure.
Defending the Final Extraction Zone
Once all survivors are secured, pull your entire army back to the designated extraction landing zone for the final timed standoff:
- Consolidate all combat units directly on the extraction pad rather than defending outer canyon paths.
- Rely on previously built chokepoint turrets to delay one flank while your main force covers the heaviest attack corridor.
- Focus all squad fire on large alien brutes the moment they enter range.
- Trigger your hero's defensive shield or crowd-control skills to stall heavy enemies until the evacuation dropship lands.

Free Iron Marines+ Codes
Current active codes and how to redeem them.

Sarah Williams
Sarah specializes in RPG and collection games, explaining team building, character growth, and beginner-friendly ways to avoid expensive early mistakes.
COMMUNITY
Player Comments
135 players commented on this guide.
Nice guide. I am checking the other Iron Marines+ articles next.
I wish I had read this before upgrading the wrong thing.
This guide answered the exact question I had.
Can you add more details about early game in a future update?