
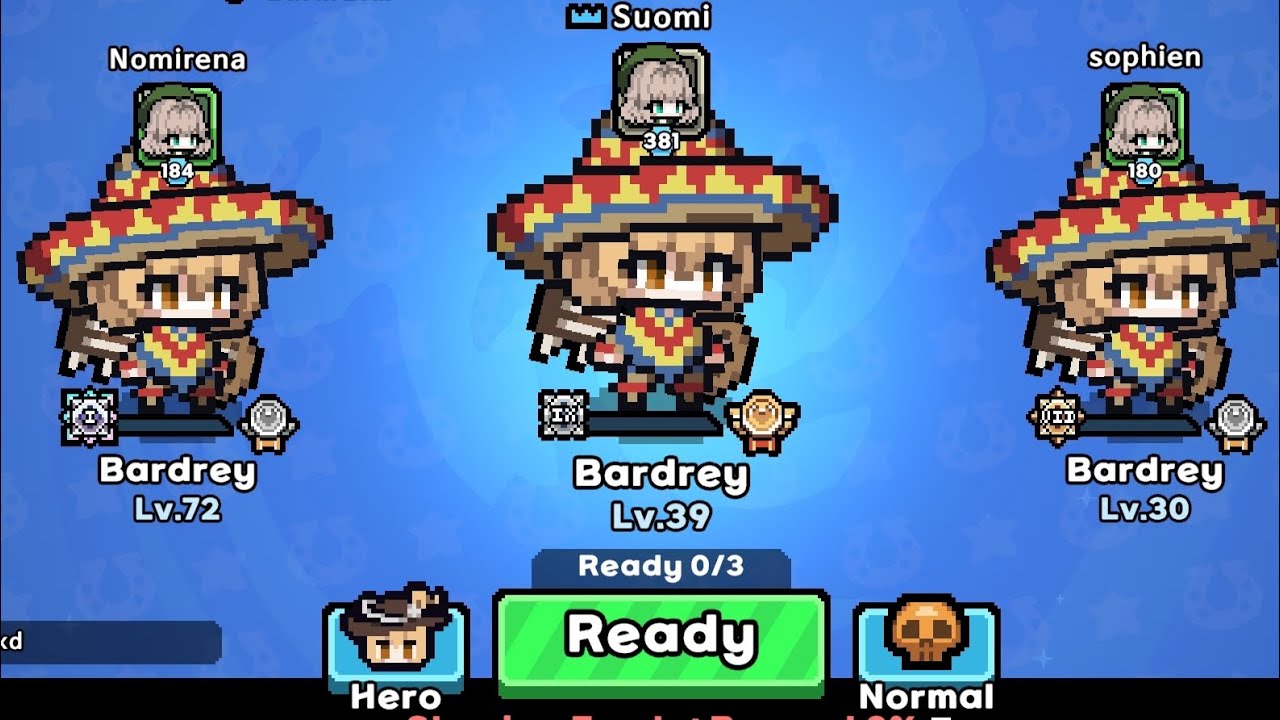
To play Bardrey effectively in ISEKAI GATE, hold a mid-to-long-range position between incoming monster spawns and the gate, building early attack speed and kiting advancing waves in lateral arcs. Because Bardrey relies on sustained projectile output and piercing attacks rather than high base health, your immediate priority in each run is scaling basic attack frequency, controlling lane choke points, and saving burst skills for armored elites.
Recommended Mid-Run Upgrade Priorities
Bardrey's primary damage comes from her basic projectile attack. Selecting upgrades that multiply fire rate and projectile volume prevents fast runner mobs from slipping past your defensive line.
| Upgrade Category | Priority Tier | Tactical Role |
|---|---|---|
| Attack Speed & Multi-Shot | S-Tier | Increases projectile volume and applies steady hit-stun to swarms |
| Cooldown Reduction | A-Tier | Maintains high uptime on piercing skills and crowd-control knockbacks |
| Critical Rate & Crit DMG | A-Tier | Increases single-target damage to eliminate elites before they reach melee range |
| Movement Speed | B-Tier | Improves spacing and retreat safety against rushing enemy types |
| Flat Health / Defense | C-Tier | Low-priority fallback; select only when offensive upgrades are unavailable |
Prioritize attack speed and multi-shot perks during the early waves. Once your basic attack cadence reliably halts basic swarms, pick cooldown reduction to minimize downtime on secondary piercing skills. Avoid picking defensive stats in the early-to-mid match; Bardrey survives through distance and kiting rather than tanking hits.
Positioning and Wave-Kiting Tactics
Standing directly on top of the gate perimeter reduces your retreat space and exposes the structure to stray cleave damage. Instead, establish an active combat position forward and diagonal to the primary spawn path:
- Pull aggro to the outer lane: Stand off-center to draw the frontline toward the outer boundary, keeping the central route to the gate clear.
- Kite in lateral arcs: Move across the lane in shallow sideways arcs rather than backpedaling in a straight line. Lateral movement condenses monster packs into tight columns, maximizing the efficiency of your piercing attacks.
- Hold the center axis on split waves: If enemies emerge from dual paths, pull back to the midline between both lanes and use wide-angle skill shots to stall both groups at once.
- Avoid boundary walls: Never allow yourself to be pinned against outer barriers, which cuts off your kiting arc and eliminates your retreat angles.
Cooldown Management for Elites and Bosses
Using high-damage piercing abilities on depleted fodder waves leaves Bardrey vulnerable when armored targets arrive. Clear standard minions using basic attacks and low-cost control tools, preserving your burst rotation for major threats.
- Engagement Sequence: When an elite appears, open with a slowing or displacement skill at maximum range to fix its approach path. Immediately follow with your piercing burst skill while continuing to lay down basic projectile fire.
- Countering Gap-Closers: If an elite prepares a charge or leap telegraph, hold your mobility skill until the red indicator locks in. Dodge perpendicular to or through the attack vector to reset your firing angle without retreating toward the gate.
- Bypassing Frontline Blockers: Armored elites often advance behind dense waves of trash mobs that absorb normal basic attacks. Re-angle your hero laterally or fire a piercing active skill straight through the mob cluster to maintain continuous damage on the priority target.
- Preventing Gate Leaks: Do not advance deep toward spawn portals to finish off low-health stragglers. Pushing too far forward leaves the shortest line to the gate completely open to off-screen spawns and fast-moving runners. Maintain your defensive perimeter and monitor the mini-map to catch stray leaks before they damage the gate.

Free ISEKAI GATE Codes
Current active codes and how to redeem them.

James Brown
James focuses on Android gaming on PC, emulator setup, controls, performance tuning, and practical troubleshooting for longer play sessions.
COMMUNITY
Player Comments
76 players commented on this guide.
This guide answered the exact question I had.
The explanation is clear, especially for beginners.
Can you add more details about strategy in a future update?
The tips are practical and easy to follow.