
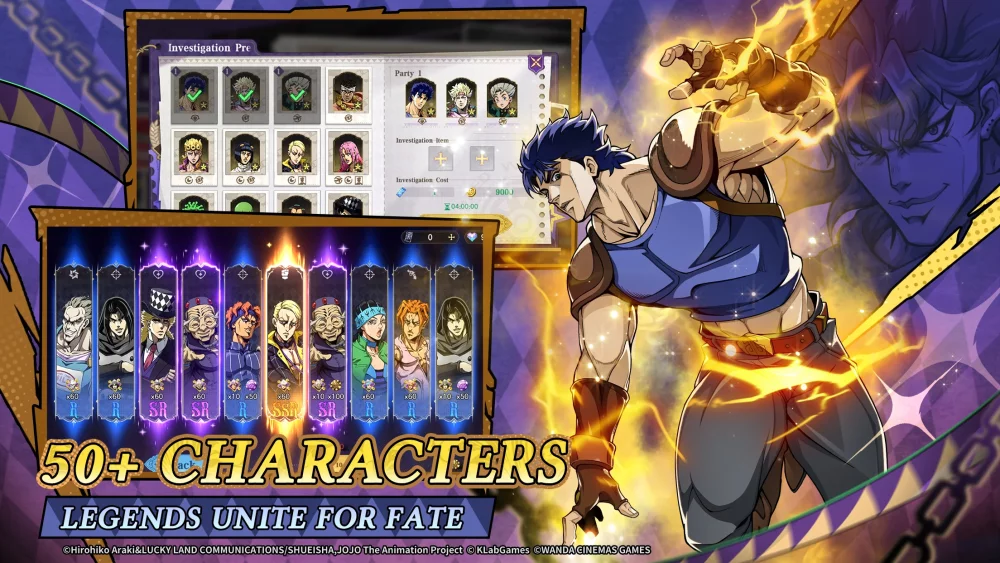
Success in JoJo's Bizarre Adventure: GS is defined by the strength of your roster. As a multigenerational RPG, the game places immense weight on the quality of your Stand users and characters. Securing SSR-tier units is the most effective way to clear endgame content, dominate in tactical combat, and progress through the story. However, relying on blind luck is a recipe for resource depletion. This guide provides an expert breakdown of how the gacha system functions, how to track your internal pity counter, and the strategies required to consistently pull the units you need.
Decoding the SSR Summoning Loop
At its core, the JoJo's Bizarre Adventure: GS summoning system is built on a mathematical loop. Every single pull you make—whether it results in an SSR, SR, or lower-tier unit—contributes to your account's internal "pity" counter. Understanding this loop is the single most important habit for any player, whether free-to-play or a light spender.
The "Pity" system acts as a safety net. It guarantees that after a specific number of pulls without an SSR, the game will force a high-rarity drop. To master this, you must treat your currency (Gems) as a long-term investment rather than a disposable resource. Never spend your Gems the moment you hit the threshold for a single pull. Instead, view your Gem stash as a "pity fund." By accumulating enough for a full "hard pity" cycle, you move from relying on RNG to forcing the game to grant you the units you desire.
Strategic Banner Selection and Timing
Not all banners in JoJo's Bizarre Adventure: GS are created equal. The game frequently rotates featured banners, often coinciding with limited-time events or character releases.
- Check the Rates: Always access the "Summon Details" or "Drop Rates" tab before spending. This screen confirms whether a featured SSR has a "rate-up" status, meaning they have a higher probability of appearing compared to other SSR units in the pool.
- Meta Relevance: Before pulling, research the character's synergy. An SSR might look flashy, but if they do not fit your current team composition or provide a necessary role (such as a primary DPS or support), your Gems are better saved for a banner that offers a direct upgrade to your account's capabilities.
- Avoid "Bait" Banners: Developers often release banners just before a highly anticipated meta-changing unit. If a banner doesn't offer a significant power spike, skip it. Discipline here is what separates top-tier players from those who constantly struggle to clear high-difficulty content.
Managing Pity for Maximum Efficiency
The most common mistake new players make is "summoning fatigue"—spending 10 or 20 pulls on a banner, failing to get an SSR, and then switching to another banner. This essentially resets your progress toward pity across multiple banners, wasting the safety net you were building.
- The "Commitment" Rule: If you decide to pull on a banner, be prepared to commit enough resources to reach the pity threshold. If you cannot reach the pity, you are effectively gambling on a low-percentage chance.
- Post-Pull Strategy: The moment you pull an SSR, the pity counter resets. If your goal was to obtain a specific "featured" unit and you hit the pity, assess your remaining resources. If you have already secured the goal, stop pulling immediately. Saving for the next banner update is more valuable than trying to chase "dupes" (duplicate units) unless you are a competitive whale looking for maximum constellation/rank-up bonuses.
Resource Optimization and "Dry Spell" Prevention
To ensure you are never caught empty-handed when a top-tier character drops, follow a strict resource management protocol:
- Prioritize Free Tickets: Always use event-specific tickets or free daily/weekly summons before touching your Gem supply. These act as "pity probes." Occasionally, you may get lucky and pull an SSR with these free resources, saving your hard-earned Gems for a rainy day.
- Track Your Count: Keep a simple log (or use a mobile notepad) of how many pulls you have performed since your last SSR. Knowing you are 60 pulls into a 90-pull pity cycle changes your decision-making entirely. You are no longer "hoping" for a pull; you are "calculating" when it will arrive.
- Daily Consistency: The game provides Gems through daily missions, achievements, and event participation. These steady streams are the lifeblood of a successful summoning strategy. By logging in daily and clearing all available content, you maximize the speed at which you reach your next pity milestone.
Common Pitfalls to Avoid
Even experienced players fall into traps that drain their resources. Avoid these common mistakes to keep your account health high:
- The "One More Pull" Fallacy: Never pull just because you feel "lucky" or because you have an odd number of Gems. Pity is a mathematical certainty, not a gambler’s instinct.
- Ignoring Team Synergy: Don't pull for a character just because they are an SSR. JoJo's Bizarre Adventure: GS requires strategic team building. An SSR that doesn't synergize with your current team's Stand abilities will only slow down your progress.
- Neglecting Event Rewards: Often, the best way to get summoning currency is through active participation in seasonal events. Don't focus only on the gacha screen; focus on the gameplay loops that reward you with the currency to pull.
Conclusion
Mastering SSR summons in JoJo's Bizarre Adventure: GS is a test of patience and calculation. By tracking your pity, focusing your spending on high-value, meta-defining banners, and resisting the urge to pull impulsively, you can build a formidable roster. Treat your Gems as a strategic asset, respect the pity counter, and always look at the long-term health of your team. With these strategies, you’ll find yourself consistently adding the strongest Stands and characters in the game to your collection.

Free JoJo's Bizarre Adventure: GS Codes
Current active codes and how to redeem them.

Emily Johnson
Emily writes practical mobile strategy guides with a focus on resource planning, base progression, and the early decisions that shape a long-term account.
COMMUNITY
Player Comments
107 players commented on this guide.
Nice guide. I am checking the other JoJo's Bizarre Adventure: GS articles next.
This saved me time in the early game.
This guide answered the exact question I had.
I tried this today and it worked better than my old setup.