
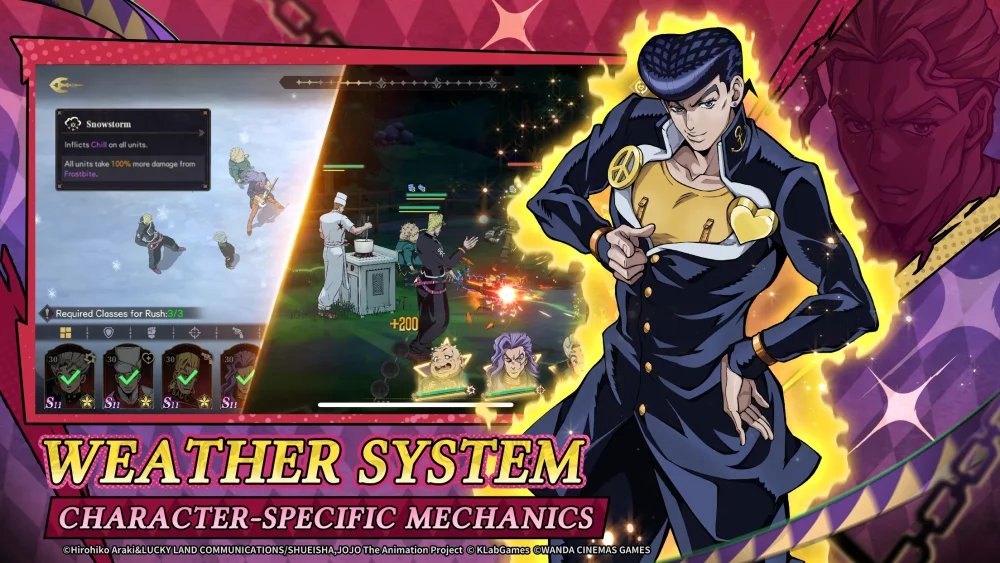
To achieve the highest possible damage score during the Dio Brando event in JoJo's Bizarre Adventure: GS, you must move beyond basic ability spamming and master the art of tactical skill synchronization. The Dio Brando encounter is a DPS-gating challenge that rewards players who understand how to stack multipliers during specific vulnerability windows. By optimizing your team composition for burst damage and aligning support buffs with your primary DPS ultimates, you can bypass the boss's damage mitigation thresholds and climb the leaderboard.
The Foundation of High-Score DPS Teams
The secret to topping the charts in JoJo's Bizarre Adventure: GS is shifting your mindset from "survivability" to "pure offensive utility." Because the Dio Brando event is timed, every second spent healing or shielding is a second lost in potential damage.
Ideal Team Archetypes
- The Hyper-Carry: Your primary damage dealer should focus on high-scaling ultimate abilities. Characters with multi-hit capabilities or "ignore defense" passives perform best here.
- The Debuffer: You need at least one unit capable of applying "Defense Down" or "Damage Taken Increase" debuffs. These are multiplicative, meaning they apply after your base attack stats, resulting in massive damage spikes.
- The Battery/Buffer: Prioritize units that provide Attack % buffs or Energy Regeneration. These characters ensure your hyper-carry can cycle their ultimate abilities at least twice within the encounter window.
Avoid bringing tanks or dedicated healers. If your team is dying before the timer ends, look for ways to increase your DPS to end the fight faster, rather than stalling with defensive units.
Mastering the Perfect Skill Rotation
Timing is the difference between a mediocre run and a top-tier score. You must treat your ability usage as a choreographed sequence rather than a list of available actions.
The Standard "Burst Window" Rotation
- Preparation: Open with your support characters to apply all defense-down and damage-amplification debuffs. Wait for the visual indicator (debuff icons) to appear above Dio Brando’s health bar.
- Energy Recharge: If your team has energy-generating skills, fire these immediately after the debuffs are applied to ensure your hyper-carry has enough gauge to trigger their ultimate.
- The Strike: Activate your hyper-carry’s ultimate ability while all debuffs are active. Ensure you are not caught in an animation lock from a secondary character, as this can delay your primary damage window.
- Repeat: Save your cooldown reduction items or passives for the second half of the fight to squeeze in one final ultimate cycle before the timer expires.
Understanding Dio Brando’s Vulnerability Windows
In JoJo's Bizarre Adventure: GS, the Dio Brando boss features periodic phases where his damage reduction fluctuates. Ignoring these cues is the most common mistake players make.
- Field Markers: Look for glowing floor indicators or changes in Dio Brando’s stance. These visual cues often signal a period of lowered defense. Holding your ultimate abilities for these specific 5–10 second windows can increase your total damage output by 30% or more.
- Minion Management: Dio Brando may spawn minor enemies. Unless these enemies provide a specific "Damage Taken" buff to the boss upon defeat, ignore them entirely. Your goal is to maximize DPS on the primary target; focusing on adds is a common trap that will tank your leaderboard score.
Common Mistakes That Kill Your Score
Even with the right units, small mechanical errors can ruin an otherwise perfect run. Avoid these common pitfalls to stay competitive:
- Animation Clipping: Do not spam your skill icons. If you trigger three abilities at once, the game may prioritize the animation of the first, delaying the damage-procs of the others. Let the animations play out to ensure the damage calculations sync correctly.
- Buff Overwriting: Some support characters apply similar buffs that do not stack. Check your unit details to see if your attack buffs are additive or multiplicative; stacking two identical "Attack Up" buffs often results in one being wasted.
- Ignoring Investment: No amount of strategic rotation can overcome an under-leveled character. Ensure your primary damage dealer has their skill trees maxed out and their signature Stands leveled to their current cap.
Strategic Trade-offs and Decision Making
The biggest decision you will face is the "Glass Cannon" versus "Sustainability" trade-off. In JoJo's Bizarre Adventure: GS, the scoring system favors speed above all else.
If you find yourself failing the encounter, do not immediately swap to a healer. Instead, look at your gear. Are you running enough "Critical Damage" artifacts on your DPS? Often, the solution is not to stay alive longer, but to kill the boss before he can trigger his final phase mechanics.
Expert Tips for Success:
- Pre-loading: Use your supports to apply debuffs the moment the fight begins.
- Cooldown Awareness: Never waste an ultimate ability if your debuff windows are on cooldown. Wait the extra two seconds for the debuff to rotate back up; the multiplicative damage increase is worth the wait.
- Consistency: Practice your rotation on easier difficulty tiers first. Muscle memory is essential for executing the sequence perfectly during the high-pressure leaderboard runs.
By focusing on buff stacking, ignoring unnecessary adds, and timing your ultimate windows, you will see a significant increase in your performance against Dio Brando. Success in JoJo's Bizarre Adventure: GS is less about raw power and more about how effectively you can force your numbers to multiply within the game's limited time constraints.

Free JoJo's Bizarre Adventure: GS Codes
Current active codes and how to redeem them.

Sarah Williams
Sarah specializes in RPG and collection games, explaining team building, character growth, and beginner-friendly ways to avoid expensive early mistakes.
COMMUNITY
Player Comments
98 players commented on this guide.
The explanation is clear, especially for beginners.
Nice guide. I am checking the other JoJo's Bizarre Adventure: GS articles next.
The tips are practical and easy to follow.
I tried this today and it worked better than my old setup.