
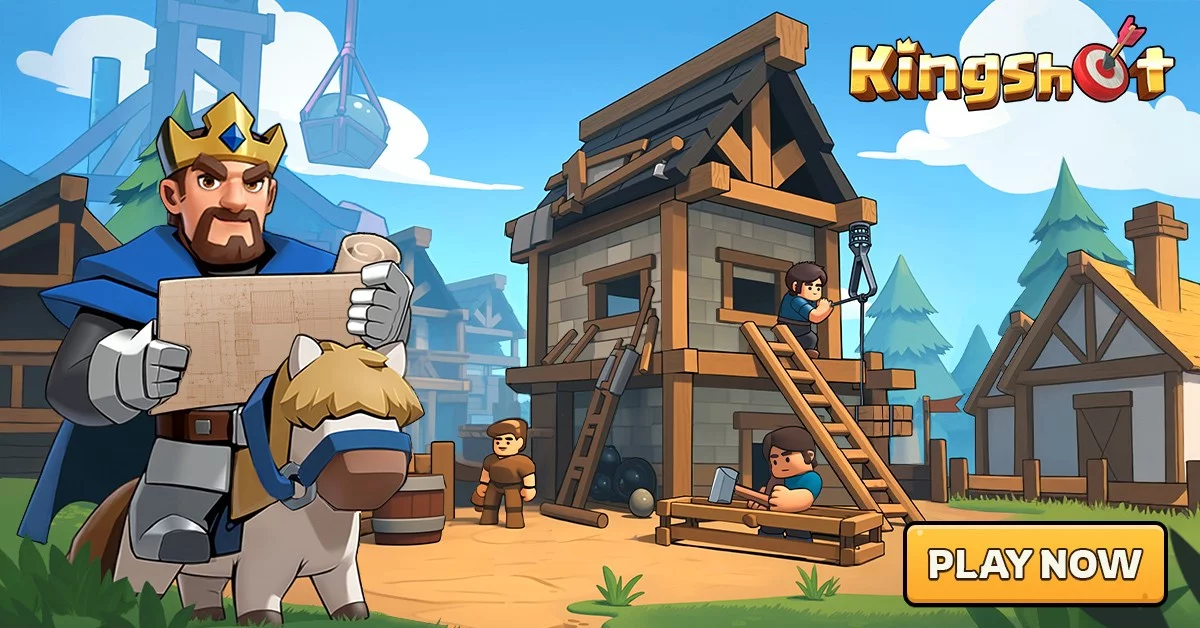
Success in Kingshot combat relies heavily on strategic positioning and understanding the flow of battle rather than relying solely on raw power. By mastering the movement and placement of your troops, you can effectively counter enemy maneuvers and preserve your resources during high-stakes engagements. This guide focuses on the practical application of positioning techniques that turn the tide in competitive scenarios, helping you maintain field control even when facing superior numbers or entrenched defensive formations.
Understanding Tactical Positioning in Kingshot
Winning in Kingshot requires more than just high-level heroes; it requires a disciplined approach to how you engage on the battlefield. Positioning is the most reliable way to mitigate damage and ensure your primary damage dealers can operate without being focused down by enemy units.
- Flanking Maneuvers: Always attempt to engage the enemy from an angle that minimizes their ability to retaliate with area-of-effect abilities.
- Target Prioritization: Position your mobile units to intercept enemy backline healers or support heroes before they can sustain the enemy front line.
- Resource Conservation: By choosing your battles based on favorable terrain and positioning, you avoid unnecessary troop losses that would otherwise require expensive healing or recruitment.
Strategic Benefits of Controlled Engagements
Controlled engagement is the cornerstone of a successful Kingshot strategy. When you dictate where and how a fight happens, you force your opponents into unfavorable conditions.
Defensive Positioning
When on the defensive, placing your high-durability heroes at the front is only half the battle. You must ensure that your support units are positioned just out of range of enemy crowd control, allowing them to cycle abilities consistently. This creates a "stalling" effect that can drain the enemy's offensive momentum.
Offensive Positioning
On the offensive, speed is essential. Use your fastest units to break the enemy formation early. Once the formation is broken, your damage dealers can focus on isolated targets.
| Feature | Strategic Impact |
|---|---|
| Hero Placement | Increases survival rates for key damage dealers. |
| Formation Density | Prevents massive losses from enemy area-of-effect skills. |
| Engagement Timing | Allows for cooldown synchronization across your team. |
Avoiding Positioning Mistakes
Common mistakes often lead to quick losses in Kingshot. Avoid clustering your units too tightly, as this makes them prime targets for enemy skill combinations. Additionally, never commit your entire force to a single point if the enemy has superior defensive buffs active. Instead, probe their defenses to identify weak points in their formation before committing your primary combat units to a full-scale assault.

Free Kingshot Codes
Current active codes and how to redeem them.

Sarah Williams
Sarah specializes in RPG and collection games, explaining team building, character growth, and beginner-friendly ways to avoid expensive early mistakes.
COMMUNITY
Player Comments
101 players commented on this guide.
Good guide for Kingshot players. The strategy part was useful.
I tried this today and it worked better than my old setup.
Can you add more details about strategy in a future update?
This saved me time in the early game.