
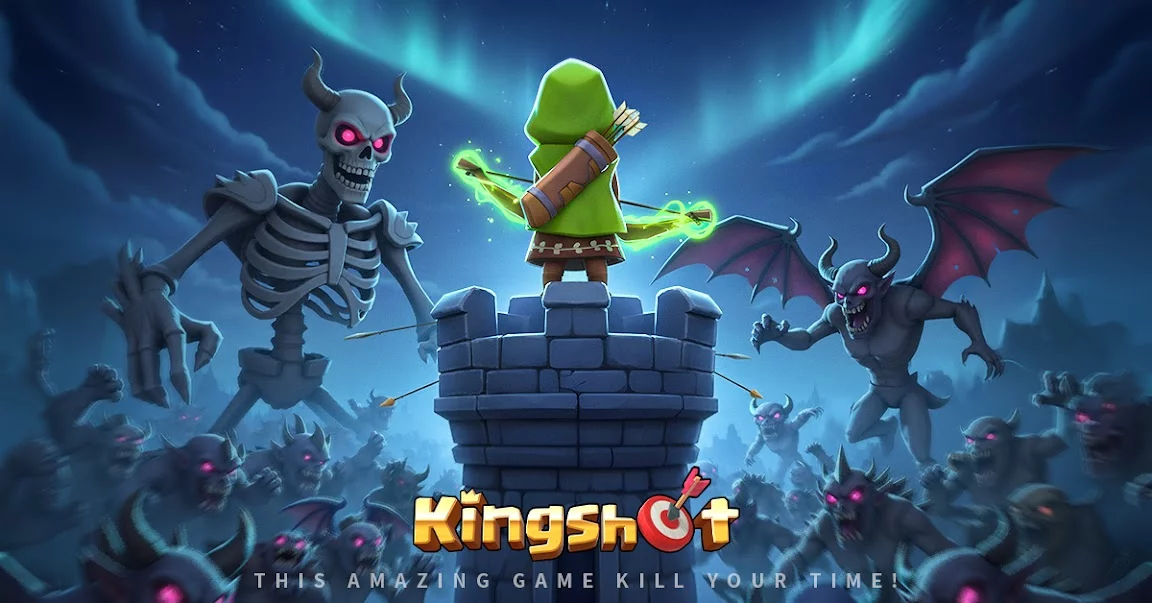
In the Kingshot Overlord event, the Goatman stands as a definitive "gear check" and tactical test. This boss is designed to punish idle players who rely on passive formations or low-investment squads. To defeat him, you must shift your strategy from sustained attrition to high-intensity burst windows. The core objective is to recognize the Goatman’s "Rampage" cycle and interrupt it before he can close the distance to your vulnerable backline units.
Understanding the Goatman Threat Profile
The Goatman is classified as a berserker-type boss. His combat behavior is dictated by a scaling threat mechanic: the longer the encounter lasts, the higher his attack speed and damage output become. This creates a "soft enrage" timer where failing to kill him within the first 60 to 90 seconds typically leads to a squad wipe.
Unlike standard dungeon bosses in Kingshot, the Goatman possesses a unique charge mechanic. He will periodically target your unit with the lowest physical defense, regardless of proximity, and initiate a "Stampede." If this charge connects, it deals massive physical damage and applies a "Knockback" status effect, which prevents your heroes from attacking for several seconds. Understanding this behavior is the first step toward building a sustainable defense.
Hero Selection: The Burst Damage Meta
Because the Goatman scales over time, your team composition must prioritize "Burst DPS" over "Sustained DPS." Heroes that require a ramp-up period to reach their peak damage—such as those relying on multiple stacks of poison or bleed—are generally suboptimal for this specific encounter.
Top-Tier Hero Archetypes for the Goatman:
- The Executioners: Heroes with skills that deal bonus damage to targets below 50% health. These are essential for pushing through the boss’s final health gate when his Rampage speed is at its highest.
- Armor Shredders: The Goatman has high physical resistance. Bringing at least one hero capable of applying a "Defense Down" debuff will increase your entire team's effective DPS by 20–30%.
- Stun/Interrupt Specialists: Timing a stun exactly when the Goatman begins his wind-up animation for a charge can cancel the ability entirely, saving your backline from unnecessary displacement.
Tactical Positioning and the "Bait and Switch"
Positioning is the most overlooked aspect of the Kingshot Overlord event. If you deploy your heroes in a standard horizontal line, you are essentially inviting the Goatman to plow through your entire squad with a single charge.
Instead, utilize a V-formation:
- The Bait: Place your highest-durability tank in the furthest forward position, slightly offset to the left or right of the center. The Goatman will prioritize this target for his initial charge.
- The Pivot: As soon as the charge animation begins, use your movement skills or position your damage dealers at a 45-degree angle to the boss. This forces the Goatman to turn his model to face your DPS, wasting precious seconds where he isn't attacking.
- Backline Safety: Keep your healers and ranged damage dealers at the maximum possible distance. Because the Goatman’s charge has a fixed range, you can often position your squishy units just outside of his hit-box detection, allowing them to fire freely without being targeted.
Managing Resources and Attrition
The Kingshot Overlord event is notoriously resource-heavy. Many players make the mistake of attempting the Goatman encounter repeatedly with under-leveled squads, leading to massive troop loss and wasted stamina.
Follow these rules to minimize resource consumption:
- The Three-Attempt Rule: If you cannot reduce the Goatman’s health by at least 40% in your first two attempts, you lack the required gear level. Stop immediately. Further attempts will only result in high troop casualties without securing the event rewards.
- Focus, Don’t Spread: Invest your gold and upgrade materials into your primary damage dealer’s weapon level. In Kingshot, a single level-capped DPS hero is significantly more effective than four moderately leveled heroes.
- Consumable Timing: Save your attack-speed or damage-buff consumables for the boss’s "Stagger" phase. When you successfully interrupt his charge, he remains stationary for 3 seconds—this is your primary window to dump all cooldowns and buffs.
Avoiding Common Strategic Mistakes
Even with a high-level roster, players frequently fail due to mechanical errors. Here is how to avoid the most common pitfalls:
- Ignoring the Stagger Bar: Every boss in this event has a hidden stagger gauge. Using heroes with "Heavy" attack types or displacement skills will fill this bar faster. If you ignore this and focus solely on raw damage, you will never trigger the boss’s vulnerable state.
- Over-Healing: Do not bring two dedicated healers. The Goatman’s damage output is so high that you cannot out-heal his hits. Instead, bring one high-burst healer and use the extra slot for an additional damage dealer or a crowd-control unit.
- Auto-Battle Dependency: The AI in Kingshot does not understand the Goatman’s charge patterns. It will rarely trigger interrupts at the right time. For the Overlord event, manual control is mandatory to ensure your abilities land during the boss’s vulnerable phases.
Final Decision Making: When to Retreat
If you reach the 2-minute mark and the boss is still above 30% health, you are in a "Death Spiral." At this point, the boss’s attack speed has likely increased to the point where your healers cannot keep up with the incoming damage. Rather than letting your entire squad perish, retreat manually. You will retain your remaining units, saving on the significant gold and time costs required to train new troops. Use this saved time to refine your formation or craft slightly better gear before making another attempt.
By prioritizing burst damage, utilizing a bait-and-switch formation, and knowing when to concede, you will find that the Goatman becomes a manageable challenge rather than an insurmountable roadblock in your Kingshot journey.

Free Kingshot Codes
Current active codes and how to redeem them.

Sarah Williams
Sarah specializes in RPG and collection games, explaining team building, character growth, and beginner-friendly ways to avoid expensive early mistakes.
COMMUNITY
Player Comments
137 players commented on this guide.
The tips are practical and easy to follow.
This helped me understand updates much better.
I tried this today and it worked better than my old setup.
This saved me time in the early game.