
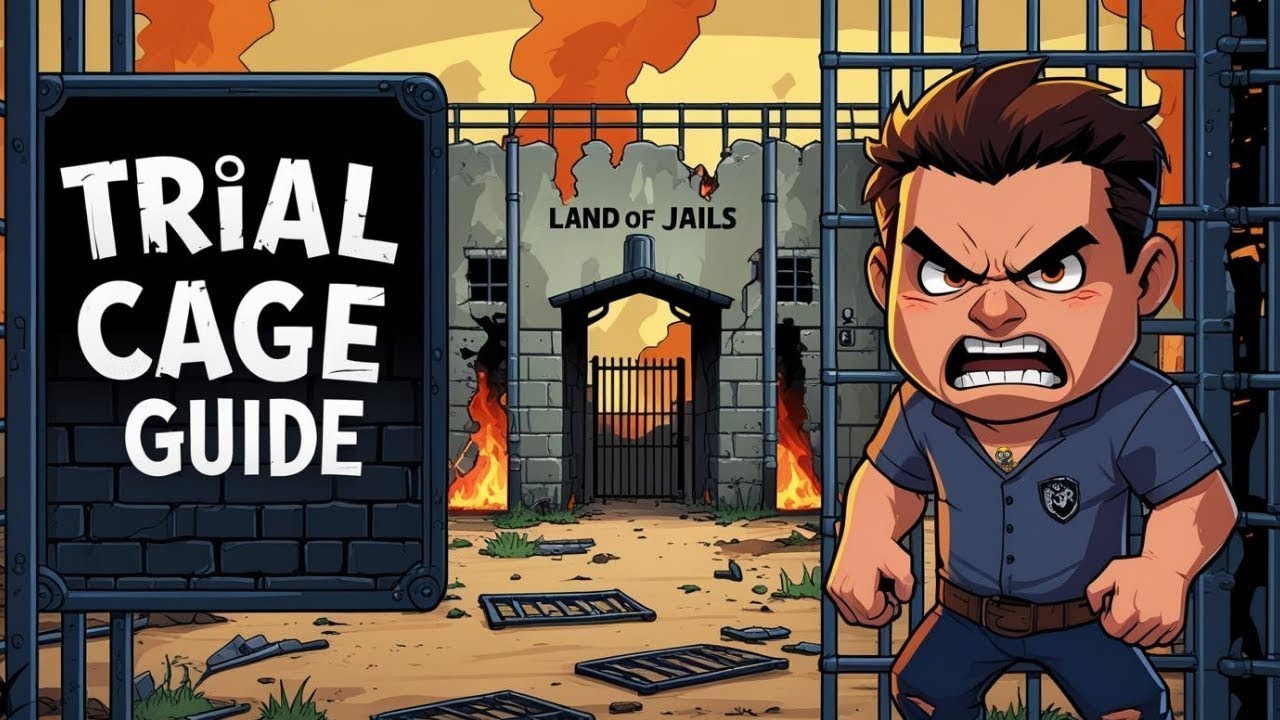
In Lands of Jail, the Trial Cage stands as the premier litmus test for your prison management and tactical combat prowess. Unlike the standard skirmishes encountered on the Isle of the Banished, the Trial Cage demands a shift from defensive endurance to high-octane offensive efficiency. To succeed, players must move beyond simply fielding their highest-level units and instead cultivate a team built on synergy, timing, and crowd manipulation.
This guide provides the expert framework needed to optimize your roster, manage combat flow, and push through the most difficult tiers of the Trial Cage to maximize your loot output.
The Core Mechanics of the Trial Cage
The Trial Cage is a time-gated, wave-based survival mode. Its difficulty scales exponentially, meaning the gap between a successful clear and a timeout is often measured in milliseconds.
At its heart, the Trial Cage tests Damage-Per-Second (DPS) Density. You aren't just trying to survive; you are trying to clear the board before the timer expires. Every second wasted on an isolated enemy or inefficient targeting ripples into future waves, leaving you with less time to deal with the inevitable surge of high-health elite enemies.
- The Timer Constraint: The clock is your primary enemy. If you find yourself consistently failing at the 90% completion mark, your issue is not durability—it is raw throughput.
- Density Scaling: As you progress through waves, the game increases both the quantity and the armor rating of enemies. This necessitates an evolution in your strategy from "burst damage" to "sustainable sustained damage."
- The Reward Threshold: Higher tiers provide multiplicative increases in resource drops. Farming lower tiers for "easy wins" is rarely as efficient as optimizing a team that can reliably clear mid-to-high tier levels.
Building Your Optimal Trial Cage Roster
The most common mistake players make in Lands of Jail is prioritizing individual hero rarity over team-wide synergy. In the Trial Cage, a team of synergistic mid-tier heroes will almost always outperform a team of uncoordinated legendary units.
The "Triple-Threat" Archetype
For consistent performance, aim for a balanced composition that covers these three essential roles:
- The AoE Anchor: This is your primary DPS. You need at least one hero capable of dealing damage in a wide radius. This unit is responsible for clearing "trash mobs" instantly, preventing them from clogging the battlefield.
- The Crowd Controller (CC): In higher waves, enemies move in packs. A CC hero—someone with a gravity well, stun, or slow—is mandatory. By grouping enemies together, you increase the efficiency of your AoE skills, effectively turning a single spell into a screen-clearing event.
- The Mitigation/Support Hybrid: Avoid pure healers unless you are struggling with survivability. Instead, prioritize support heroes who provide attack speed buffs or armor-shredding debuffs. In the Trial Cage, the best defense is clearing the threat before it can land a hit.
Mastering Combat Flow and Ability Timing
While the early waves of the Trial Cage can be handled with auto-combat, the high-tier stages require manual intervention. The difference between a win and a loss often comes down to when you press your ultimate ability buttons.
The "Clumping" Strategy
Never fire your high-cooldown ultimate abilities as soon as they become available. Wait for the enemy spawn patterns to stabilize. Observe the map—enemies usually path toward your units in clusters. Wait until they are tightly packed, then deploy your AoE rotation. This prevents "overkill," where you waste a massive ability on a single low-health target while the rest of the pack swarms your position.
Resource Management and Ability Sequencing
- Staggering Ultimates: Do not blow your entire team’s ability rotation at once. Sequence them so that your CC hero initiates the grouping, followed immediately by your highest DPS burst.
- Prioritize Target Switching: If your AI is wasting damage on a shielded enemy, manually tap the target to redirect your team's focus toward the squishier, high-damage threats that can interrupt your flow.
Scaling for End-Game Difficulty
As you reach the upper tiers of the Trial Cage, you will encounter enemies with specific elemental or physical resistances. If your standard team stops progressing, it is time to perform a "Resistance Audit."
Adjusting for Enemy Resistances
Inspect the enemy types in the lobby screen before starting. If the upcoming waves feature high-armor units, you must swap in a hero with armor penetration or magic-based damage. If you do not have a secondary team built, focus your resource investments on "flex" units—heroes who can transition between damage types or roles with minor gear swaps.
Gear and Stat Optimization
When upgrading gear for your Trial Cage team, prioritize these stats in order:
- Attack Speed: Faster basic attacks lead to faster ultimate recharge rates.
- Critical Hit Chance: Essential for scaling your burst damage.
- Cooldown Reduction: Minimizing the downtime between your AoE crowd-control abilities is the single most effective way to handle the late-game surge.
Strategic Mistakes to Avoid
To ensure long-term success on the Isle of the Banished, avoid these common traps:
- The "Glass Cannon" Trap: It is tempting to dump all resources into one massive DPS dealer. However, if that unit is stunned or crowd-controlled by the enemy, your entire run ends. Always maintain a secondary DPS or a support unit capable of picking up the slack.
- Over-Investing in Rerolling: Don't waste your limited currency on frequent team re-rolls. Focus on perfecting the gear and levels of a core group of five heroes. A level-maxed, well-geared core team will always beat an under-leveled "meta" team.
- Ignoring Passive Synergies: Always check your hero passives. Some heroes gain massive stat boosts when paired with units from the same faction. These passive buffs are often the difference-maker in the Trial Cage, providing just enough extra damage to clear a wave before the timer expires.
Conclusion: Turning the Trial Cage into a Reliable Resource Farm
Mastering the Trial Cage in Lands of Jail is not about one lucky pull or a single high-level hero; it is about the deliberate application of tactical knowledge. By focusing on AoE synergy, timing your abilities to capitalize on enemy clumping, and strategically adjusting your roster based on enemy resistances, you can transform the Trial Cage from a frustrating hurdle into a consistent, daily source of vital end-game resources.
Remember, progress is incremental. If you hit a wall, use the rewards from your current peak to refine your gear, adjust your hero synergy, and return to push further. Your efficiency in the Trial Cage is the hallmark of a successful Warden on the Isle of the Banished.

Free Lands of Jail Codes
Current active codes and how to redeem them.

Emily Johnson
Emily writes practical mobile strategy guides with a focus on resource planning, base progression, and the early decisions that shape a long-term account.
COMMUNITY
Player Comments
156 players commented on this guide.
Nice guide. I am checking the other Lands of Jail articles next.
This saved me time in the early game.
Can you add more details about resources in a future update?
This helped me understand resources much better.