
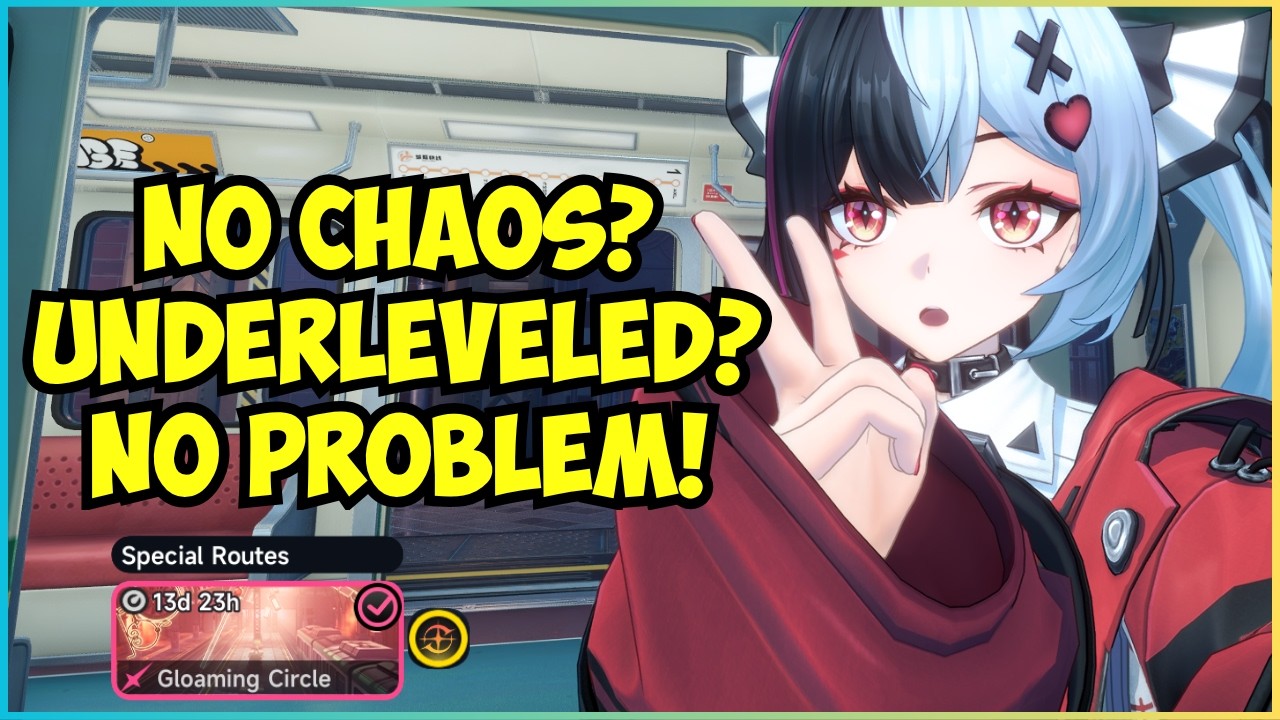

Completing the Gloaming Circle in Neverness to Everness while underleveled is entirely possible by focusing on strategic buff selection and disciplined movement rather than raw power. By avoiding Chaos-dependent builds and focusing on specific stage-based modifiers, players can push through the Eighth, Ninth, Tenth, and Eleventh Stops, ultimately reaching the Terminal Station. This guide details how to navigate these encounters effectively without requiring high-level character stats or specific meta-defining gear sets.
Prioritizing Offensive Buffs Over Raw Stats
When tackling the Gloaming Circle underleveled, your success hinges on the bonuses you select between stages. Because your base damage output will naturally be lower than the recommended thresholds, you must compensate with multiplicative damage increases. Focus on buffs that trigger upon specific combat actions, such as perfect dodges or elemental reactions, rather than flat stat increases.
These buffs allow you to scale your damage output regardless of your character's current level. Look for options that amplify critical damage or provide flat elemental bonuses to your primary DPS character. Selecting these early in the run creates a compounding effect that remains relevant through the final stages, effectively bridging the gap between your gear and the mission's requirements.
Managing the Eighth and Ninth Stops
The Eighth Stop serves as your initial test of endurance. At this stage, focus on maintaining distance from elite mobs. Underleveled players often fall here by trying to tank damage that they are not equipped to mitigate. Use your mobility to kite enemies; by keeping them grouped but at a distance, you can utilize area-of-effect abilities to clear waves efficiently without needing to engage in high-risk melee trades.
Moving into the Ninth Stop, prioritize targets that provide crowd control or healing to enemy units. By neutralizing these support-type enemies first, you prevent the encounter from dragging on, which is vital when you lack the sustain to win a war of attrition. Focus your ultimate abilities on these high-priority targets to reduce the total time spent in the arena, minimizing your exposure to incoming damage.
Strategic Execution at the Tenth Stop
The Tenth Stop is a significant difficulty spike where mechanical precision becomes mandatory. At this point in the Gloaming Circle, you should have accumulated enough bonuses to see a noticeable impact on your kill speed. However, one mistake often leads to a wipe. Concentrate on learning the telegraphs of the boss or the specific elite spawns present at this level.
If you find yourself struggling to survive, pivot your playstyle to prioritize defensive windows. Only commit to full attack rotations during the boss’s recovery frames. Because you are underleveled, you cannot afford to trade hits. Treat this stage as a rhythm-based encounter where damage is a secondary concern to proper positioning and timely dodges. The objective is to maximize the uptime of your activated buffs while minimizing the time enemies have to retaliate.
Conquering the Eleventh Stop and Terminal Station
The Eleventh Stop and the subsequent Terminal Station require a shift toward aggressive resource management. By now, your buff pool should be optimized for burst damage. Reserve your most powerful cooldowns for the start of the final wave in these stages. Clearing the initial threat immediately reduces the complexity of the fight, allowing you to focus on single-target damage for the remainder of the encounter.
For the Terminal Station, keep a close watch on your stamina and ability cooldowns. If your character set includes healing or shield-generating passives, ensure these are prioritized during your rotations. The final stage is less about raw output and more about sustained execution. By staying calm and adhering to the spacing strategies used in earlier stops, you can clear the Terminal Station even with a sub-optimal, underleveled roster.
Limitations and Trade-offs
While this method proves that level gaps are not an insurmountable barrier in Neverness to Everness, it does require a high degree of patience and trial-and-error. The primary trade-off is time; these runs will take significantly longer than those performed by players at the recommended level. You are essentially trading your manual skill and time investment for the lack of stat-based scaling.
Additionally, this approach relies on having a flexible roster that can pivot based on the random buffs offered during the run. If you are extremely limited in the number of characters you have leveled, you may find that certain buff combinations are less effective for your specific team composition. Always evaluate the synergy between your current team and the proposed buffs before locking them in at each stop.

Emily Johnson
Emily writes practical mobile strategy guides with a focus on resource planning, base progression, and the early decisions that shape a long-term account.
COMMUNITY
Player Comments
131 players commented on this guide.
This saved me time in the early game.
I wish I had read this before upgrading the wrong thing.
Can you add more details about strategy in a future update?
The explanation is clear, especially for beginners.