
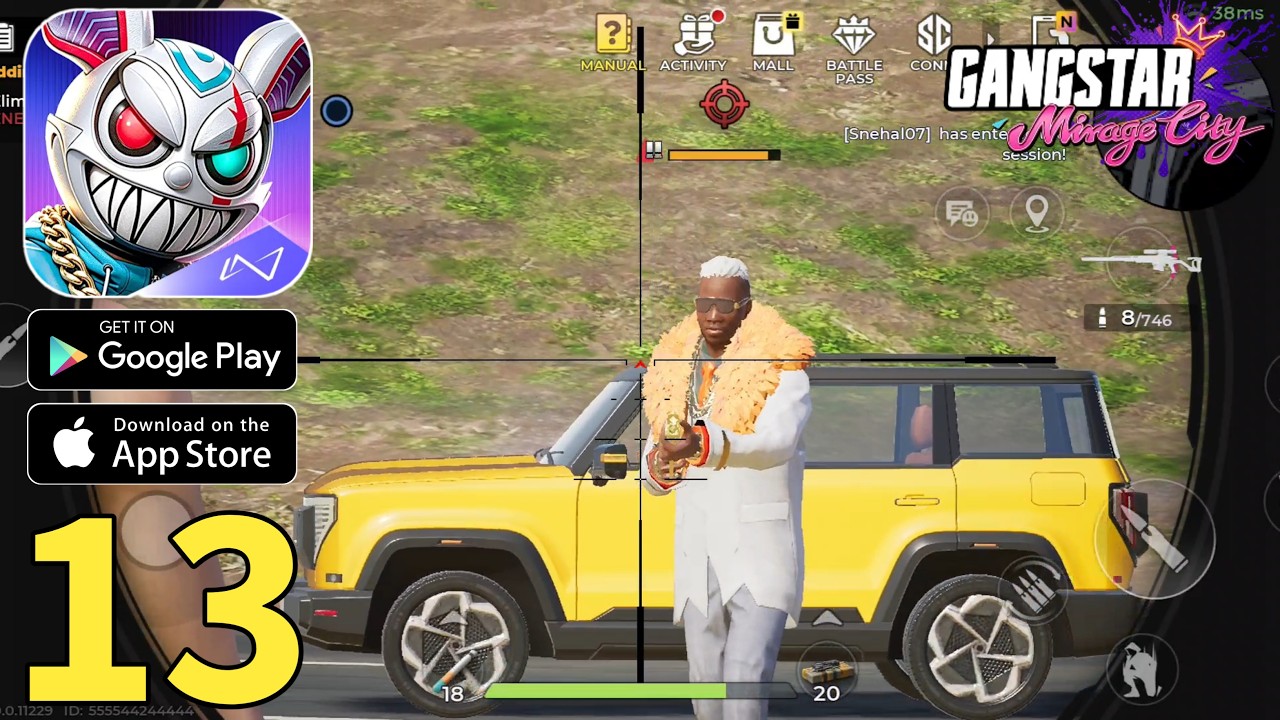

To complete the final mission in Gangstar Mirage City, eliminate long-range threat targets first, shift continuously between full-body cover points, and save high-caliber explosive weaponry strictly for elite armored combatants and vehicles. Remaining stationary in this encounter triggers enemy flanking maneuvers, while staying out in the open rapidly drains your health and armor reserves.
Enemy Elimination Priority
The final mission forces you to deal with distinct enemy types operating simultaneously. To minimize incoming damage, eliminate threats in this order:
- High-Value Long-Range Targets: Eliminate snipers and RPG-wielding enemies stationed on rooftops and balconies first. Check your mini-map regularly to spot their locations, as their burst damage poses the highest risk to your survival.
- Mid-Range Flanking Units: Neutralize ground attackers that attempt to move around your flank while you engage distant targets.
- Melee Combatants: Clear out aggressive melee units once your immediate perimeter is free of heavy firearms fire.
Tactical Cover and Architecture
Gangstar Mirage City uses dynamic AI that punishes defensive camping. To sustain your position during heavy firefights:
- Use Full-Body Cover: Position yourself behind thick environmental structures that conceal your head and feet completely. Avoid thin walls or low barriers that leave parts of your character exposed.
- Exploit Vertical Layouts: Move up staircases, onto elevated walkways, or into parking garages. Shooting from higher elevation increases your vision of target locations while reducing the accuracy of enemy return fire.
- Avoid Dead-End Alleys: Do not allow yourself to be backed into narrow corridors without an exit. If an area becomes overcrowded, retreat immediately to wide intersections or public squares that provide multiple escape routes.
Vehicle Defense and Mobility
Vehicles are not just for transport; they are mobile visual barriers and rapid repositioning tools during intense street fights.
| Vehicle Tactic | Action & Execution | Failure Condition |
|---|---|---|
| Line-of-Sight Break | Enter a vehicle to break direct target lock and escape dense crossfire. | Staying in place allows enemies to disable the car quickly. |
| Hit-and-Run Positioning | Drive through enemy lines to reach safer cover across the combat zone. | Getting trapped in narrow alleyways with no room to turn. |
| Emergency Evacuation | Abandon the vehicle immediately when smoke appears or the engine stutters. | Remaining inside a smoking vehicle leads to death from vehicle explosion. |
Ammo and Resource Management
Your ammo and health items are limited across the multi-phase combat encounter. Manage your inventory carefully:
- Standard Firearm Management: Rely on standard pistols and submachine guns to deal with basic grunts.
- Heavy Weapon Conservation: Reserve high-damage weapons, including shotguns and explosive launchers, for late-phase elite guards and enemy vehicles.
- Environmental Pickups: Keep track of health packs and ammo drops scattered across the combat map. When your health drops, prioritize reaching a pickup point rather than extending your assault while vulnerable.

Michael Smith
Michael covers live-service games, events, reward systems, and efficient daily routines, turning frequent updates into clear actions for players.
COMMUNITY
Player Comments
116 players commented on this guide.
This guide answered the exact question I had.
Can you add more details about strategy in a future update?
The explanation is clear, especially for beginners.
Good guide for HOT players. The strategy part was useful.