
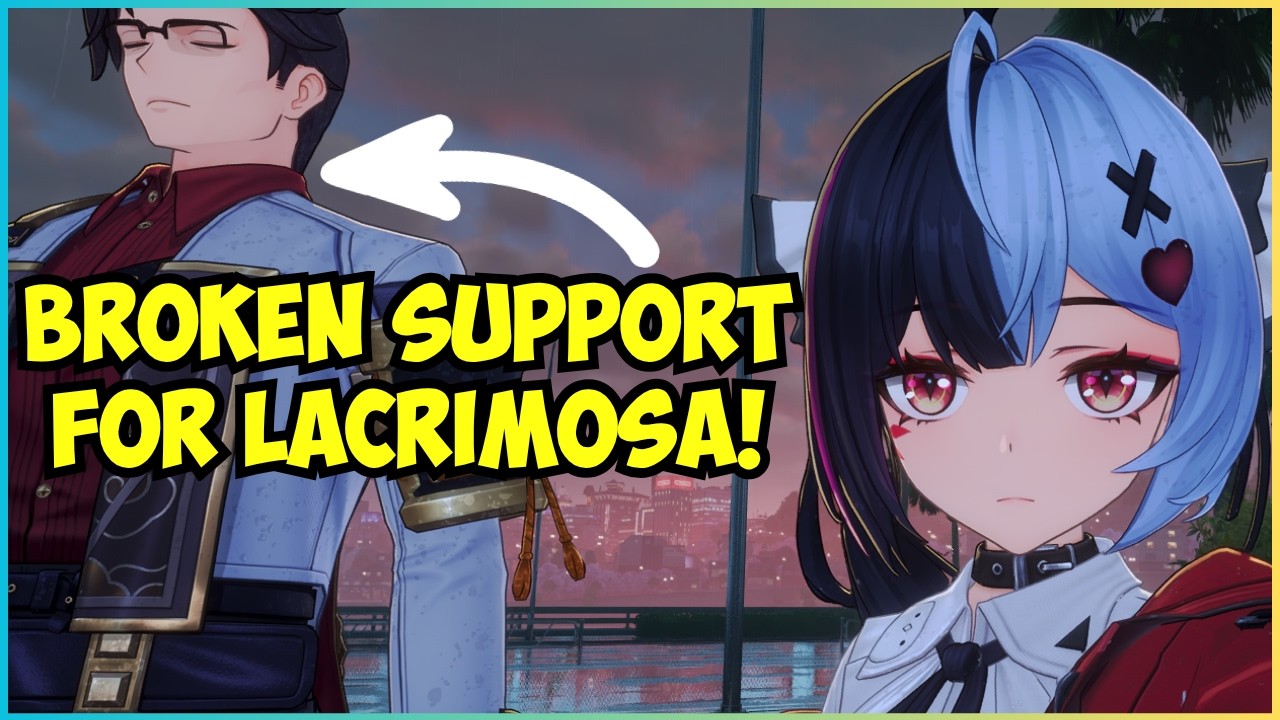

Adler stands out as the premier support unit for Lacrimosa in the Neverness to Everness 1.1 update, effectively outclassing other popular support characters like Sakiri and Daffodil. When tackling demanding content such as the 9th and 10th stops of "Beyond the Rails" or high-risk anomaly commissions, Adler’s utility provides the necessary stability and buff efficiency to clear stages that might otherwise stall your progression. Investing in his kit is essential for maximizing your team’s output in endgame encounters.
Why Adler Outperforms Other Supports
Adler’s superiority stems from his specific ability to synergize with Lacrimosa’s mechanics, which becomes increasingly evident as you reach the later stages of the game. While characters like Sakiri or Daffodil offer valuable utility, they often lack the specialized synergy required for the most difficult challenges currently present in version 1.1. Adler provides a unique balance of defensive stability and offensive amplification that allows Lacrimosa to maintain peak performance even under heavy pressure.
Choosing Adler is a strategic decision for players focused on endgame optimization. By replacing secondary support options with Adler, you gain a more reliable backbone for your compositions. This is not merely about individual character strength but about how his skill set mitigates the specific environmental hazards found in high-risk anomaly missions, ensuring that your primary damage dealers can operate with fewer interruptions or health deficits.
Strategic Role in Beyond the Rails
The "Beyond the Rails" mode serves as a primary benchmark for character viability, and Adler’s performance in the 9th and 10th stops highlights his necessity. In these advanced stages, combat intensity spikes significantly, requiring supports who can handle sustained damage output while simultaneously enabling the team's core mechanics. Adler excels here because his kit is designed to handle the scaling difficulty of these specific progression milestones.
When you reach these late-game stops, you will notice that team survivability often dictates your success more than raw damage output. Adler’s ability to manage party integrity while providing consistent buffs makes him the most reliable choice for clearing these stops. Unlike other supports that might leave your team vulnerable during the transition between combat phases, Adler maintains a consistent presence that stabilizes the flow of battle, allowing for a more controlled approach to high-stakes encounters.
Managing High-Risk Anomaly Commissions
High-risk anomaly commissions represent the peak of difficulty in Neverness to Everness 1.1, and utilizing Adler is the most effective way to navigate them. These missions often feature complex modifiers that punish suboptimal team compositions. Adler’s kit provides the flexibility needed to adapt to these shifting variables, ensuring that your team remains optimized regardless of the specific anomalies active during the commission.
To get the most out of Adler in these scenarios, focus on the following:
- Buff Uptime: Prioritize gear and ability cooldown reductions to ensure Adler’s supportive buffs are active during the most critical windows of enemy aggression.
- Positioning: Use Adler to anchor your team during multi-wave encounters, ensuring that Lacrimosa remains within range of his supportive radius.
- Resource Management: Allocate your upgrade materials toward Adler’s essential skills first, as his impact on team efficacy significantly outweighs the incremental gains from leveling secondary DPS units.
Trade-offs and Limitations
While Adler is currently the best support for Lacrimosa, it is important to understand the trade-offs involved in committing to his build. Relying heavily on one support unit can sometimes leave you with less flexibility if a future patch introduces new mechanics that favor different playstyles. However, within the current 1.1 meta, the benefits of his kit far outweigh the potential long-term limitations, especially for players looking to clear the most challenging content currently available.
Players should be aware that Adler requires a specific investment in his skill path to reach his full potential. He is not a "plug-and-play" character that requires zero effort; his true value is unlocked when his abilities are properly leveled and his equipment is optimized for his role as a support anchor. If you are currently struggling with endgame content, shifting your focus toward maximizing Adler’s supportive capabilities is the most logical step to improve your overall results.

James Brown
James focuses on Android gaming on PC, emulator setup, controls, performance tuning, and practical troubleshooting for longer play sessions.
COMMUNITY
Player Comments
46 players commented on this guide.
This helped me understand strategy much better.
I wish I had read this before upgrading the wrong thing.
I tried this today and it worked better than my old setup.
Can you add more details about strategy in a future update?