
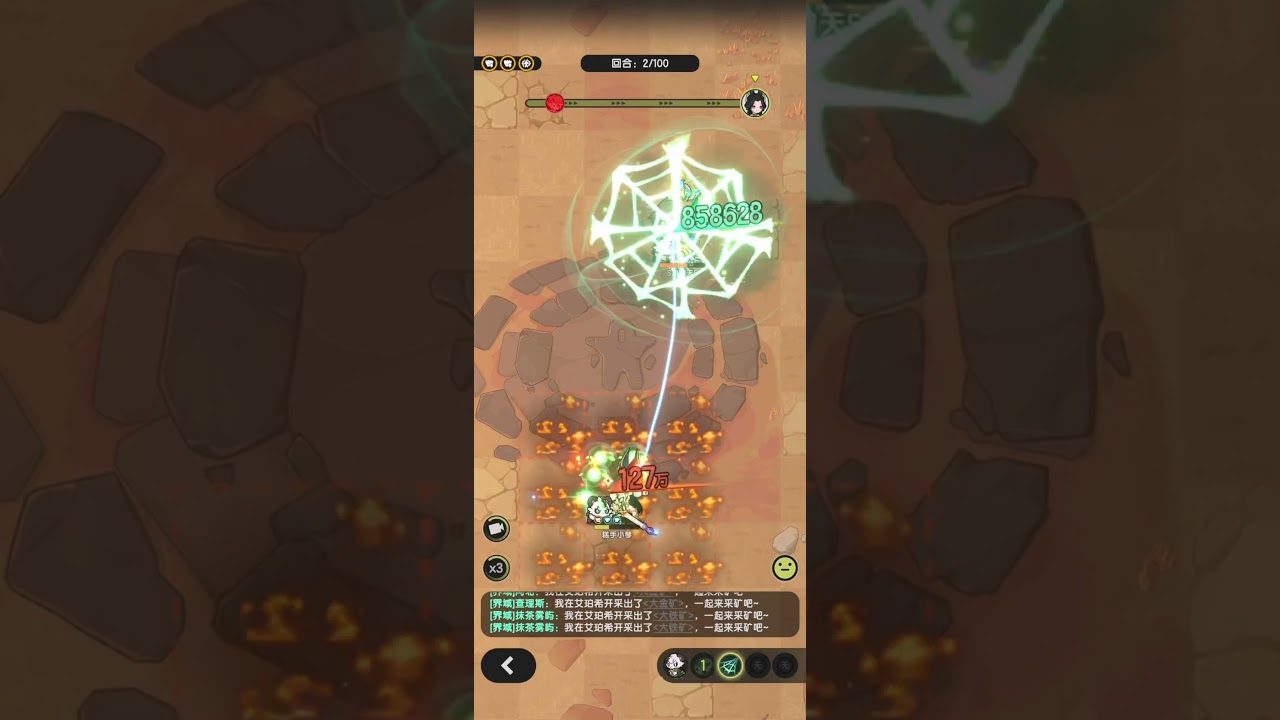

In Sword x Staff, running a full action bar of four or five active skills can actively reduce your damage output. The Beauty of Balance mechanic grants scaling offensive multipliers when you leave active skill slots empty, making a trimmed loadout far more effective for single-target burst damage and sustained boss fights.
To increase your DPS immediately, unequip your weak secondary attacks and utility spells, leaving only your primary burst ability and an optional debuff enabler on your bar.
Why Running Fewer Skills Increases Damage
Equipping skills in every available slot introduces rotation inefficiencies that lower overall combat performance. Beauty of Balance rewards restraint by converting empty skill slots into direct damage bonuses while eliminating rotation bottlenecks.
| Factor | Full Skill Bar | Beauty of Balance Setup |
|---|---|---|
| Animation Lock | Secondary skills interrupt basic attack flow | Minimal casting time preserves basic attack uptime |
| Cooldown Cycling | Low-tier skills delay primary burst abilities | Immediate recast of core burst skills off cooldown |
| Passive Scaling | Standard baseline skill damage | Direct damage multiplier scaling from empty slots |
| Resource Economy | Resource starvation from spamming filler spells | Ample resources reserved strictly for peak nukes |
During auto-combat or manual queues, weak utility abilities force your character through long animations that deal negligible damage. These animations delay resource regeneration, disrupt basic attack cadences, and postpone recasting your primary burst skill. By leaving non-essential slots empty, you ensure that combat time is divided strictly between your highest-scaling burst attack and empowered basic hits.
How to Configure a Minimal Loadout
Trimming your skill bar requires selecting abilities that maximize burst scaling without cluttering your rotation.
- Equip your primary burst skill: Choose the single ability with your class's highest damage coefficient or elemental scaling. This serves as your main damage source.
- Equip one mandatory enabler (optional): If your core burst requires a specific status effect—such as defense shred, burn, or chill—to achieve full damage, keep one fast utility skill to apply it. If your primary burst operates at full efficiency independently, leave this slot empty as well.
- Strip all filler abilities: Remove secondary strikes, minor crowd-control abilities, shields, and low-yield area-of-effect spells.
- Verify mechanic activation: Open your character status menu to confirm that the Beauty of Balance condition is active and reflecting its damage multiplier.
This setup limits your combat cycle to casting your main burst, performing basic attacks while it cools down, and immediately recasting the burst once available.
Gear and Encounter Adjustments
Running a trimmed bar shifts a large portion of your interstitial damage onto basic attacks. To prevent damage lulls between burst cooldowns, make the following adjustments:
- Invest in attack speed and critical rate: Because filler skills no longer mask cooldown windows, prioritize secondary gear stats and passive talents that improve basic attack speed and standard hit damage.
- Add cooldown reduction: Faster cooldown recovery allows you to cycle your main nuke more frequently, narrowing the gap between burst windows.
- Swap loadouts for mob encounters: Beauty of Balance is optimized for single-target targets such as guild bosses and elite enemies. If an encounter features large waves of weak enemies that overwhelm basic attacks, switch back to an area-of-effect loadout before returning to your trimmed build for the boss phase.
To confirm the performance of your setup, run a two-minute benchmark on a training dummy with your full loadout, then test again with two equipped skills under Beauty of Balance. If your damage drops, raise your attack speed or cooldown reduction until your basic attacks cycle smoothly between burst casts.

Emily Johnson
Emily writes practical mobile strategy guides with a focus on resource planning, base progression, and the early decisions that shape a long-term account.
COMMUNITY
Player Comments
111 players commented on this guide.
Good guide for HOT players. The strategy part was useful.
The explanation is clear, especially for beginners.
Can you add more details about strategy in a future update?
This helped me understand strategy much better.