
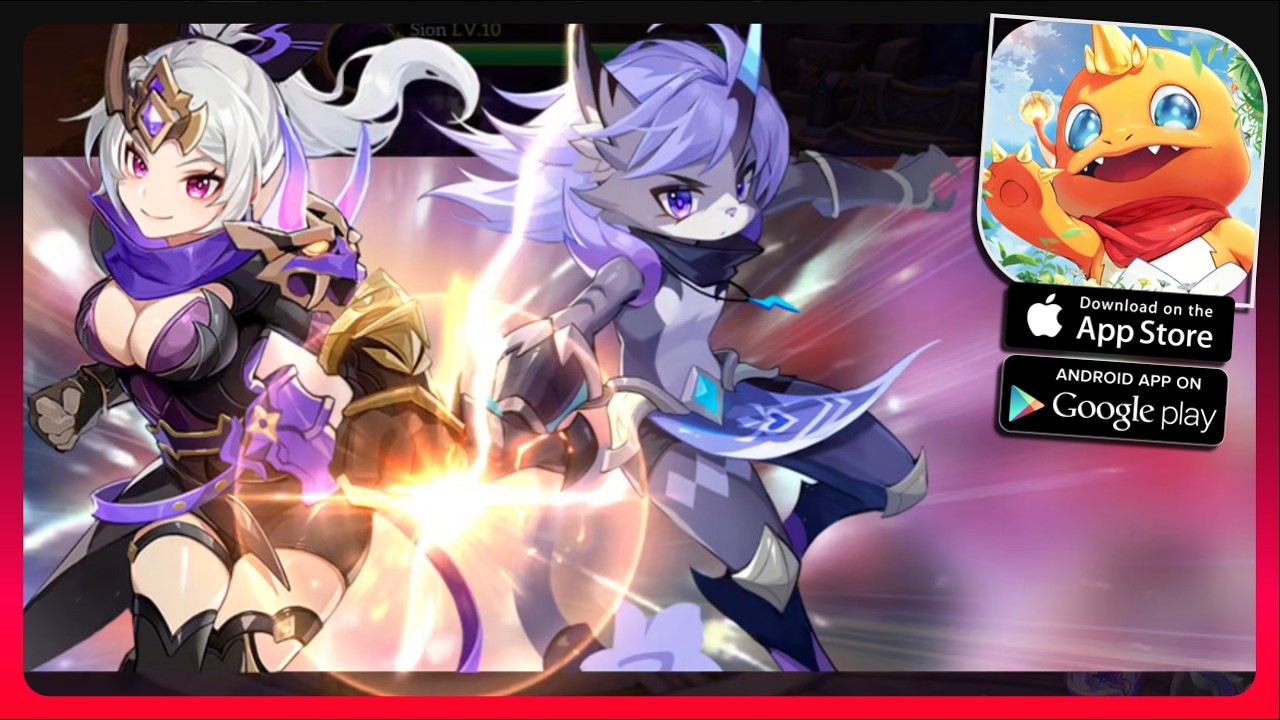
The Shadow Dancer in Magicmon: World functions as an agile melee burst assassin designed to flank enemies, eliminate priority targets quickly, and disengage before taking counter-damage. Because the class lacks baseline durability, effective play requires opening from blind spots, canceling attack animations into high-damage finishers, and relying on companion pets to control enemy attention.
Skill Rotation and Attack Sequencing
Shadow Dancer abilities rely on landing fast hits during vulnerability windows. Basic attacks deal physical damage that scales with critical strike chance and attack speed, meaning your highest damage occurs immediately upon closing the distance.
Execute your primary single-target burst in this sequence:
- Flank Approach: Path around the frontline or visual field to target backline casters or isolated elites.
- Gap-Close Dash: Use your dash to close the distance instantly and inflict an initial stagger on the target.
- Multi-Hit Flurry: Deploy your multi-strike flurry immediately while the enemy recovers from the stagger.
- Execution Finisher: Cancel the recovery animation of your secondary dagger slice by casting your execution skill.
- Evasive Disengage: Use your retreat skill laterally to exit before the target or nearby adds retaliate.
Save dash cooldowns for mobile enemies and spellcasters rather than initiating against stationary frontline tanks. When fighting groups of standard monsters, walk them into a tight cluster before using circular sweeping attacks. If an elite or boss ignores your initial stagger, disengage immediately instead of using basic attacks without cooldown support.
Positioning and Evasion Tactics
Survival depends on active repositioning rather than relying on healing. The Shadow Dancer features high movement velocity and brief invulnerability frames during specific acrobatic dashes, allowing you to pass through telegraphed boss indicators without dropping offensive tempo.
- Target the back: Always circle behind enemies during active animations. Back-attacks grant damage multipliers while keeping you out of frontal cleaves.
- Evade laterally: When an enemy triggers an area-of-effect blast, dodge sideways along the hazard's outer edge instead of backward. Rolling backward risks cornering you against arena walls or moving you out of your pet's aura, while lateral evasion keeps you close enough to re-engage the moment the hazard ends.
- Preserve exit routes: Avoid spending evasive skills purely for chip damage so you always have a movement tool ready when reinforcements arrive.
Pet Synergies
Because the Shadow Dancer has minimal crowd control and low health, your pet setup must divert attention and create opening windows.
| Pet Archetype | Key Tactical Contribution | Recommended Field Role |
|---|---|---|
| Defensive Brawler / Tank | Draws initial aggro, groups monster clusters | Field Anchor: pulls targets and holds boss facing away from you |
| Frost / Stun Controller | Freezes targets, interrupts enemy casting | Combo Enabler: locks targets in place for execution flurries |
| Buffer / Sustain Support | Increases physical critical damage, cleanses debuffs | Support Anchor: maintains offensive uptime and stat scaling |
When starting an encounter, trigger your defensive pet's taunt ability roughly two seconds before engaging. This delay forces enemies to commit their high-impact attacks toward the pet, leaving the rear exposed for your flanking rotation.
Dungeon and Boss Strategy
Dungeon bosses feature interrupt resistance and persistent floor hazards that punish long combo commitments. Limit your offensive sequences to short burst windows rather than attempting full basic-attack chains during active telegraphs.
When a boss summons supporting adds, break away from the boss immediately. The Shadow Dancer's burst profile allows you to clear secondary minions before they overwhelm the field or restore the boss's health. Once minion waves are clear, hold your ultimate ability until your controller pet triggers a stun or breaks the boss's stagger gauge, ensuring all critical strike modifiers land during the vulnerable knockdown state.
Free Magicmon: World Codes
Current active codes and how to redeem them.

Sarah Williams
Sarah specializes in RPG and collection games, explaining team building, character growth, and beginner-friendly ways to avoid expensive early mistakes.
COMMUNITY
Player Comments
104 players commented on this guide.
This helped me understand strategy much better.
Can you add more details about strategy in a future update?
Good guide for Magicmon: World players. The strategy part was useful.
This saved me time in the early game.