
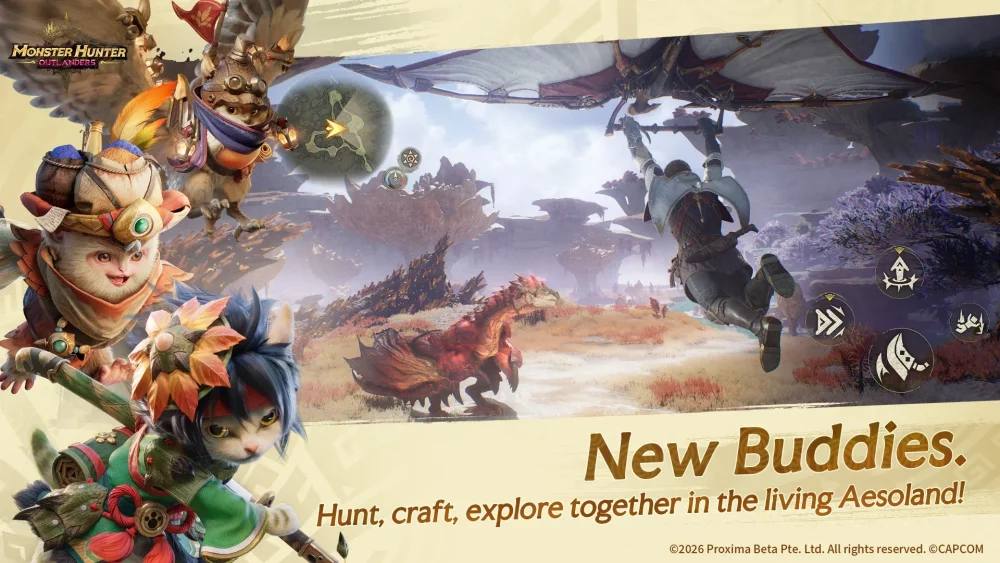
To complete the main story campaign in Monster Hunter Outlanders version 1.0, hunters must defeat nine milestone bosses in sequential order, concluding with the apex encounter Ruger Aidal. Each encounter unlocks cinematic story milestones, new map sectors, and higher weapon crafting tiers. Overcoming these progression gates requires reading attack telegraphs, exploiting weak points, and severing or breaking monster parts to limit incoming damage.
Version 1.0 Story Boss Encounter Order
Campaign progression follows a strict monster sequence. Before initiating a new story hunt, upgrade your weapons and armor to meet incoming elemental and defensive demands.
| Boss Encounter | Classification | Primary Threat | Target Priority |
|---|---|---|---|
| Great Jagras | Fanged Wyvern | Rolling slams, pack summons | Distended belly, forelegs |
| Kulu-Ya-Ku | Bird Wyvern | Boulder deflection, jump strikes | Held rock, forelimbs |
| Pukei-Pukei | Bird Wyvern | Poison pools, tail sweeps | Throat sac, tail |
| Jyuratodus | Piscine Wyvern | Mud armor, swamp terrain drag | Hardened mud, head |
| Anjanath | Brute Wyvern | Heavy stomps, fiery breath | Glowing throat, hind legs |
| Rathian | Flying Wyvern | Poison backflips, charging runs | Tail cut, wings |
| Diablos | Flying Wyvern | Burrowing charges, tail sweeps | Horns, underbelly |
| Rathalos | Flying Wyvern | Aerial fireballs, talon dives | Head, wings, tail |
| Ruger Aidal | Apex Story Boss | Rapid claw lunges, shockwaves | Flanks, weak-point head |
Early Story Bosses: Great Jagras, Kulu-Ya-Ku, and Pukei-Pukei
Early story bosses introduce the fundamentals of targeting specific monster body parts and timing your dodges during attack recoveries:
- Great Jagras: Great Jagras alters its combat rhythm after consuming prey. Its distended stomach slows its movement but enables heavy rolling attacks. Avoid staying directly at its sides. Attack its forelegs to trip the beast, forcing it to regurgitate swallowed food and leaving it vulnerable to extended damage combos.
- Kulu-Ya-Ku: Once Kulu-Ya-Ku excavates a boulder, frontal weapon strikes will bounce off, interrupting combos and exposing you to counterattacks. Circle behind the monster to strike its hind legs, or deploy blunt attacks and Otomo companion skills to dislodge the stone. Forcing it to drop the rock eliminates its leaping slam and lets you strike its head directly.
- Pukei-Pukei: Watch Pukei-Pukei's throat sac carefully. When the sac inflates, the monster is preparing poison spit that leaves lingering hazard pools on the ground. Position beneath its wings along its flanks to avoid spit projectiles, and sever its tail early in the hunt to disable its wide 360-degree sweep attack.
Mid-Story Obstacles: Jyuratodus and Anjanath
Mid-campaign milestones introduce restrictive terrain and aggressive offensive checks:
- Jyuratodus: Fighting Jyuratodus takes place in swamp waters that slow hunter sprint speed and shorten dodge roll distance. Jyuratodus coats itself in hardened mud plating that softens incoming weapon damage. Focus your attacks on mud-covered sections or use water-based weapons to strip away the armor, exposing the vulnerable flesh beneath. Keep to shallow areas and watch the water surface when the monster dives under, rolling clear of its vertical eruption strike.
- Anjanath: Anjanath serves as a decisive gear check that punishes weak defensive stats. In its enraged state, Anjanath extends its dorsal sails and its throat glows bright red with combustible gas. Strike the illuminated throat to trigger a knockdown that cancels its flame blast. Avoid lingering directly in front of its jaws; instead, dodge between its hind legs and attack its feet to trip the brute repeatedly.
Late-Story Flying Wyverns: Rathian, Diablos, and Rathalos
Late-campaign milestones require countering airborne attacks, subterranean ambushes, and status ailments:
- Rathian: Rathian relies heavily on a venomous aerial tail flip. The telegraph begins when she takes two steps backward and levels her shoulders. Roll diagonally forward beneath her rising body to evade the tail arc, placing yourself directly under her landing spot for an immediate counterattack. Cut her tail early to shorten the poison attack's hitbox.
- Diablos: When Diablos burrows underground, immediately sheathe your weapon and sprint sideways to execute a dive evade. Lure Diablos into charging directly toward rocky spires to embed its horns into the stone, creating prolonged damage windows. Break both horns to reduce its charge hitbox.
- Rathalos: Rathalos remains airborne for long periods, pelting the arena with fireballs and launching homing talon dives that inflict poison. Maintain mid-range spacing to avoid sudden bursts. Use flash devices or Otomo support tools to blind Rathalos while it flies, forcing it to crash down. Once grounded, break its wings and sever its tail to impair its aerial agility for the rest of the fight.
Final Story Encounter: Ruger Aidal
The version 1.0 main story campaign concludes with Ruger Aidal, an apex boss that chains rapid claw swipes and broad shockwaves with minimal downtime. Long weapon combos during neutral phases will lead to heavy counterattack damage.
Execute three specific tactics to survive the final encounter:
- Maintain Flank Positioning: Avoid standing directly in front of Ruger Aidal's head. Stay positioned near its outer flanks and hind legs to deliver steady, short combos while staying clear of its forward swipe chains.
- Evade Rage-Phase Shockwaves: When Ruger Aidal enters rage mode, ground shockwaves ripple outward from its slam attacks. Switch to a hit-and-run approach, rolling backward away from the impact point to clear the shockwave radius before moving back in to strike.
- Utilize Otomo Aggression: Equip your Otomo companion with high-defense armor so it can reliably pull monster attention. When Ruger Aidal turns to attack your Otomo, use the opening to sharpen weapons, consume recovery items, and focus attacks on its tail and weak points.

Free Monster Hunter Outlanders Codes
Current active codes and how to redeem them.

Emily Johnson
Emily writes practical mobile strategy guides with a focus on resource planning, base progression, and the early decisions that shape a long-term account.
COMMUNITY
Player Comments
139 players commented on this guide.
I tried this today and it worked better than my old setup.
This helped me understand strategy much better.
Nice guide. I am checking the other Monster Hunter Outlanders articles next.
I wish I had read this before upgrading the wrong thing.