
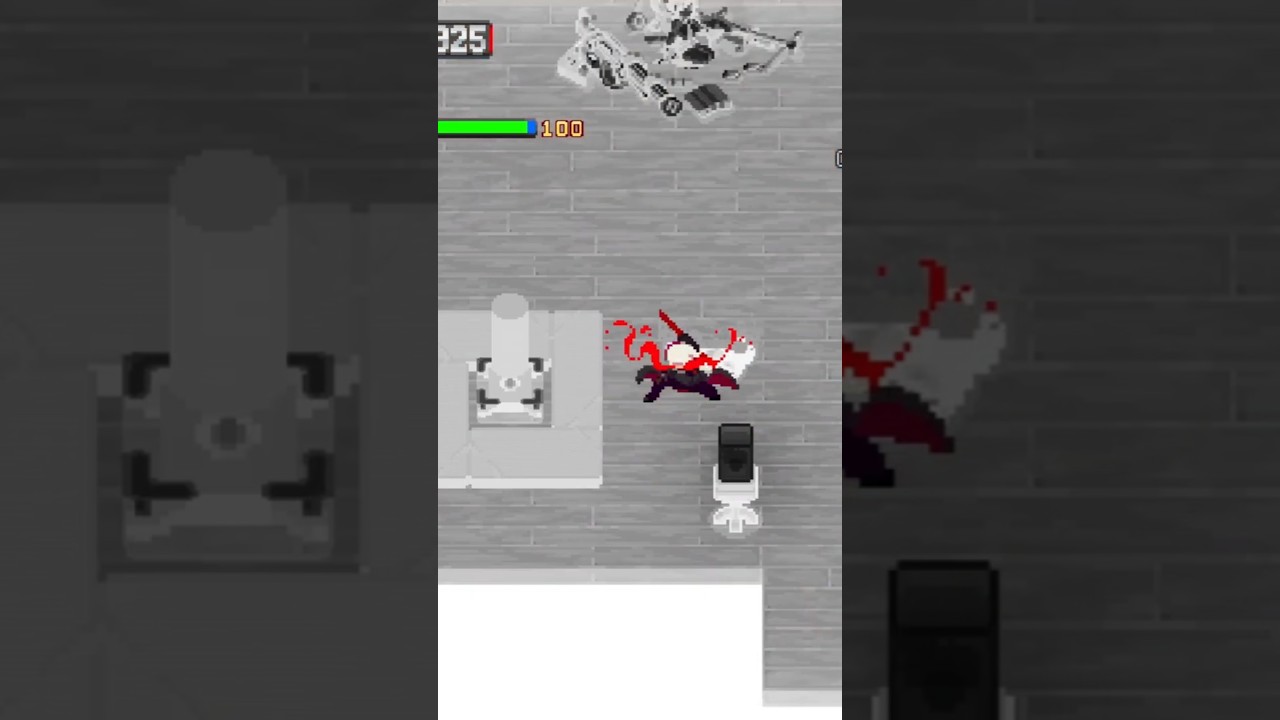
To turn Ginzo into a dedicated boss killer in Otherworld Legends, equip his multi-hit burst sword styles, stack on-hit critical items, and activate skills during incoming attacks to exploit built-in invulnerability frames (i-frames). This setup sacrifices Ginzo's defensive safety margin and broad mob-clearing reach to deplete boss health bars before counterattack mechanics can trigger.
Skill Setup and Variant Selection
Ginzo succeeds against dungeon bosses by compressing high damage into short burst windows. His low base health makes extended trades dangerous, so your skill selections must focus on concentrated forward damage and lock-down potential.
- Primary Burst Skill: Select sword draw techniques and multi-hit slashes that concentrate damage directly forward. These skills lock bulky targets in place, punch through armor, and grant i-frames during activation.
- Secondary Utility Skill: Slot a move that provides an instant gap closer, a parry counter, or rapid repositioning. This allows you to close distance without walking through hazardous ground zones.
In game modes that offer Soulboons, prioritize offensive upgrades over survivability perks. Select Soulboons that add extra skill charges, increase slash counts, reduce cooldowns on critical strikes, or spawn trailing slashes and vacuums. Extra charges let you chain bursts immediately, pushing multi-phase bosses directly from one transition to the next.
Core Item Synergies
Because Ginzo’s primary boss-slaying skills strike multiple times within fractions of a second, on-hit effects and critical bonuses trigger repeatedly in a single skill activation. When shopping at the Peddler or combining gear in the forging room, prioritize attack speed, raw damage, and critical scaling.
| Item Category | Recommended Items | Combat Function |
|---|---|---|
| Critical Modifiers | Loupes for Weakness, Monocle, magnifying lenses | Guarantees that multi-hit sword arts land as critical strikes to amplify burst scaling. |
| On-Hit Damage | Elf companions, Tiger Claw, Poison and Burn vials | Applies bonus physical and elemental damage on every individual strike of a slash. |
| Spike Triggers | Crowd-Disperser, Amber Resin | Multiplies initial damage against full-health targets to instantly strip the first phase. |
Boss Fight Execution Order
Piloting Ginzo against tough encounters such as Chen, Tengu, Valentine, or Ashura requires strict rotation discipline. Rushing directly at a boss without tracking recovery frames will cause lethal counterattacks.
- Reposition on entry: Dodge-dash behind the boss immediately upon entering the arena to avoid initial projectile salvos and set up backstab multipliers.
- Trigger the primary skill art: Unleash your burst attack either during the boss's attack recovery or reactively when the boss starts a heavy ground slam. Ginzo's skill animation provides i-frames that nullify the incoming blow while dealing full damage.
- Disengage diagonally: Dash away at an angle the moment the slash animation ends. Lingering next to the boss leaves Ginzo exposed to wake-up bursts or lingering ground hazards.
- Kite during cooldowns: Circle the perimeter of the room and use basic dash slashes to maintain distance until your burst skills are ready again.
Pitfalls to Avoid
- Wasting cooldowns during immunity: Avoid unleashing full burst combos while a boss is in super armor, shielded, or transitioning forms. Bosses like Ashura ignore or heavily cap damage during form changes.
- Committing without an exit angle: Ginzo suffers noticeable end-lag after heavy sword arts. If a mobile boss evades your skill, immediately queue a directional dodge to cancel downtime rather than attempting a basic attack sequence.

Free Otherworld Legends Codes
Current active codes and how to redeem them.

James Brown
James focuses on Android gaming on PC, emulator setup, controls, performance tuning, and practical troubleshooting for longer play sessions.
COMMUNITY
Player Comments
84 players commented on this guide.
Can you add more details about strategy in a future update?
This helped me understand strategy much better.
I tried this today and it worked better than my old setup.
The tips are practical and easy to follow.