
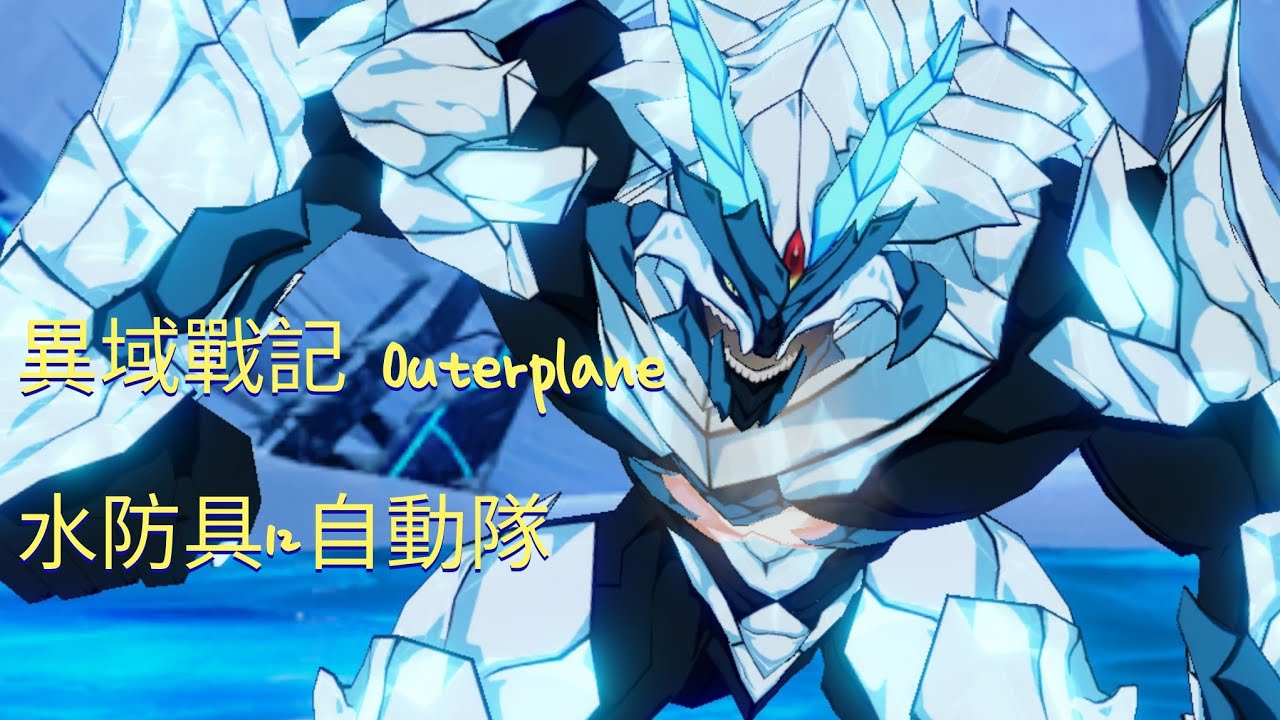
To clear Water Armor Stage 12 on full auto in OUTERPLANE without high-end gear, run a balanced four-hero squad centered on Noa, Veronica, Saeran, and Faenan. This setup counters the boss, Tyrant’s Larva, by pairing an Earth-element damage engine with a defensive frontline and dual healers to neutralize incoming crowd control.
Team Composition and Core Roles
Tyrant's Larva inflicts freeze, stuns, and stat penalties that easily derail single-healer automated runs. Bringing Faenan alongside Saeran provides steady teamwide Immunity, preventing boss debuffs from locking down your damage dealer or healer rotations.
- Noa (Earth Striker): Primary damage dealer. Her critical hits trigger extra attacks, shredding the boss’s blue Weakness Gauge at elemental advantage.
- Veronica (Defender): Frontline tank. She absorbs single-target damage, applies defensive barriers before major boss attacks, and triggers dual attacks that allow Noa to strike out of turn.
- Saeran (Earth Healer): Primary burst sustain and utility. She cleanses debuffs, restores large chunks of health, and uses her Action Gauge push and cooldown reduction to cycle Noa's skills faster.
- Faenan (Water Healer): Dedicated debuff buffer. As an accessible two-star unit, her core value is granting teamwide Immunity and continuous healing to block freeze and stun mechanics before they land.
Recommended Stat Milestones and Gear Sets
Prioritize turn order and survivability over maximum burst damage. Faenan must move before the boss acts on the opening rotation to deploy Immunity immediately.
| Hero | Role | Recommended Sets | Priority Substats |
|---|---|---|---|
| Noa | Main Striker | Attack + Critical Damage | Critical Hit Rate (100%), Critical Damage, Attack |
| Veronica | Frontline Tank | Health + Defense | Maximum Health, Defense, Speed |
| Saeran | Burst Healer & Gauge Pusher | Speed + Health | Speed, Health, Effect Resistance |
| Faenan | Immunity Buffer & Sustain | Speed + Health | Speed, Health, Defense |
When tuning Noa's equipment, aim for 100% Critical Hit Rate after factoring in the natural elemental bonus gained against Water targets. Consistent critical hits guarantee her passive follow-up strikes, ensuring steady Weakness Gauge depletion throughout the fight.
Auto-Battle Mechanics and Break Windows
Automated clears depend on surviving the boss's rage cycle and forcing Break states:
- Opening Immunity: Faenan casts partywide Immunity to stop opening crowd control effects from freezing frontline heroes.
- Rage Absorption: Veronica deploys barriers and absorbs single-target aggression, blunting Tyrant's Larva’s area-of-effect rage discharge so Saeran can top off team health without panic healing.
- Weakness Depletion: Noa's Earth-attribute attacks deal enhanced Weakness Gauge damage. Dual attacks triggered by Veronica accelerate this process.
- Break State Burst: Breaking the boss temporarily stuns Tyrant’s Larva and multiplies incoming damage. Noa's cooldown-reduced skill cycle can burst the boss safely during this window.
Farming Strategy and Progression
This dual-healer structure is designed for consistency rather than speed. While it clears slower than dedicated mono-Earth burst teams, it functions reliably with entry-level gear and eliminates failed runs.
Farm Stage 12 with this team until you acquire high-grade Water armor sets. Once your gear quality allows Noa to defeat Tyrant's Larva before debuffs become unmanageable, you can replace Faenan with an offensive buffer or secondary Striker to shorten run times.

Free OUTERPLANE Codes
Current active codes and how to redeem them.

Sarah Williams
Sarah specializes in RPG and collection games, explaining team building, character growth, and beginner-friendly ways to avoid expensive early mistakes.
COMMUNITY
Player Comments
95 players commented on this guide.
This helped me understand strategy much better.
This saved me time in the early game.
I wish I had read this before upgrading the wrong thing.
Good guide for OUTERPLANE players. The strategy part was useful.