
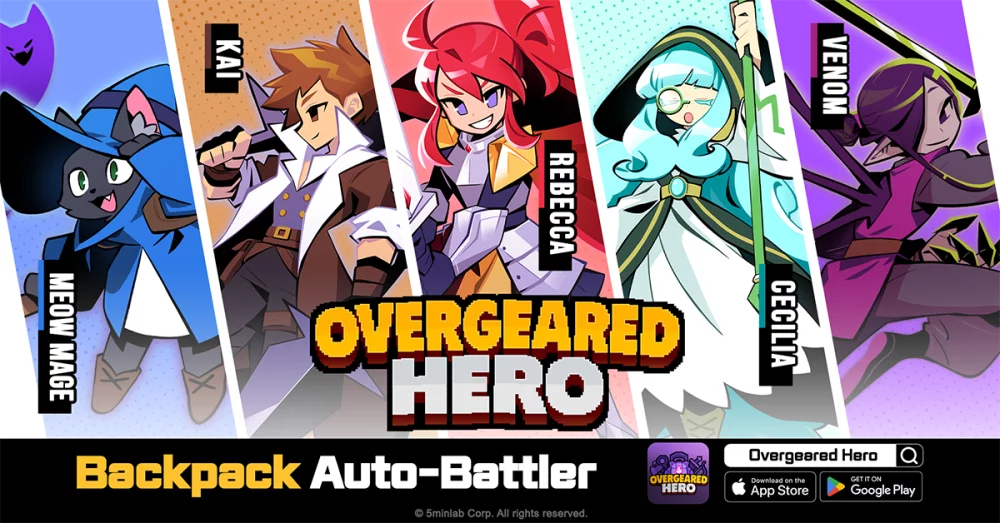
Reaching Chapter 100 in Overgeared Hero marks a significant difficulty spike where basic merging is no longer sufficient to carry you through the encounter. At this stage, the combat rhythm accelerates, and the enemy density requires a disciplined approach to both your inventory management and your hero’s active ability usage. Success at this milestone requires a transition from reactive merging to proactive board orchestration.
Optimize Board Space for Rapid Merging
In the high-intensity environment of Chapter 100, board real estate is your most valuable resource. If your grid is cluttered with low-tier debris, you lose the crucial seconds required to synthesize the gear needed to survive boss damage. A disorganized board leads to "synthesis paralysis," where you are unable to merge because your active combat slots are blocked by junk.
To maintain maximum efficiency, implement a structured layout:
- The Buffer Zone: Reserve the outer perimeter of your grid for temporary storage. Only place items here that you intend to merge within the next two combat cycles.
- The Core Synthesis Grid: Dedicate the center of your backpack to high-tier gear. By keeping your strongest items in the middle, you ensure they remain adjacent to the materials needed for their next upgrade, minimizing drag-and-drop travel time.
- The "Two-Turn" Rule: Never allow low-tier "junk" items to linger for more than two combat turns. If an item does not contribute to a high-tier synthesis path within that window, sell it immediately. A clean board is always better than a cluttered one filled with potential.
Managing Item Synthesis Efficiency
The mistake most players make in Chapter 100 is "horizontal growth"—trying to maintain multiple mid-tier items rather than focusing on a single "power piece." In Overgeared Hero, the diminishing returns on multiple mid-tier items are severe compared to the exponential scaling of a legendary-tier piece of gear.
Follow these synthesis priorities to optimize your DPS:
- Vertical Scaling: Focus your resources into a single legendary weapon. A single max-tier item will outperform three mid-tier items every time, as it frees up board space and provides a concentrated burst of damage that is necessary to pierce high-HP boss armor.
- Strategic Stalling: Avoid over-merging if it requires you to sacrifice an active, functional item. If you lack the base components to reach the next tier, it is often better to hold your current gear than to break it down and lose your primary damage source. Wait for the next wave’s drops to complete the set.
Sequencing Hero Ability Activations
At Chapter 100, your hero’s ability is not just a damage dealer; it is a tactical reset button. Players who fire abilities on cooldown often find themselves defenseless when the boss reaches their final, most aggressive phase.
Master your ability rotation with these tactical rules:
- Wait for the "Burst" Window: Do not fire AoE abilities the moment they charge. Wait for the enemy mobs to clump together, specifically during boss transitions where mobs are summoned in waves. This maximizes the value of your cooldowns.
- The Defensive Override: Use your abilities as a defensive tool while you are actively merging. If the board is chaotic and you need to perform a complex merge sequence, pop your defensive ability to grant yourself a few seconds of invulnerability. This prevents you from taking chip damage while your focus is split between the grid and the battlefield.
Balancing Resource Spending During Combat
In-game currency is a limited resource that should be treated as a strategic investment rather than a "save-me" button. Spending gold to reset a board or force a drop during Chapter 100 is a common trap that depletes resources needed for permanent hero upgrades.
Adhere to these spending constraints:
- Emergency Only: Only spend gold to clear a slot if it is the absolute final piece required to synthesize a weapon that will end the boss fight.
- Skip the Stat Buffs: Unless you are within the final 10% of the boss's health pool, temporary in-game stat buffs are rarely worth the cost. Save your currency for permanent passive upgrades, which provide a compounding return on investment that carries over into future chapters.
Adapting to Difficulty Spikes
The transition to Chapter 100 introduces faster, more aggressive AI movement patterns. If you find yourself consistently failing, treat your first few attempts as reconnaissance.
Observe the following to adjust your strategy:
- Identify Enemy Patterns: Note which side of the screen the most dangerous mobs originate from. Use this to pre-position your gear on that side of the board for quicker access.
- Damage Type Matching: If the boss has high physical resistance, prioritize synthesizing gear with magical or elemental properties as early as wave three.
- The "Pre-Boss" Check: Before the final wave, pause for a moment to ensure your board is as clean as possible. You should enter the final boss encounter with at least four empty slots to allow for rapid, mid-fight synthesis as the boss drops unique materials.
By treating Overgeared Hero as a game of inventory logistics rather than just combat, you can overcome the Chapter 100 hurdle. Focus on maintaining a clean board, funneling resources into a single legendary item, and timing your abilities to survive the most punishing phases of the boss fight.

Free Overgeared Hero Codes
Current active codes and how to redeem them.

Emily Johnson
Emily writes practical mobile strategy guides with a focus on resource planning, base progression, and the early decisions that shape a long-term account.
COMMUNITY
Player Comments
112 players commented on this guide.
This guide answered the exact question I had.
Nice guide. I am checking the other Overgeared Hero articles next.
This saved me time in the early game.
I tried this today and it worked better than my old setup.