
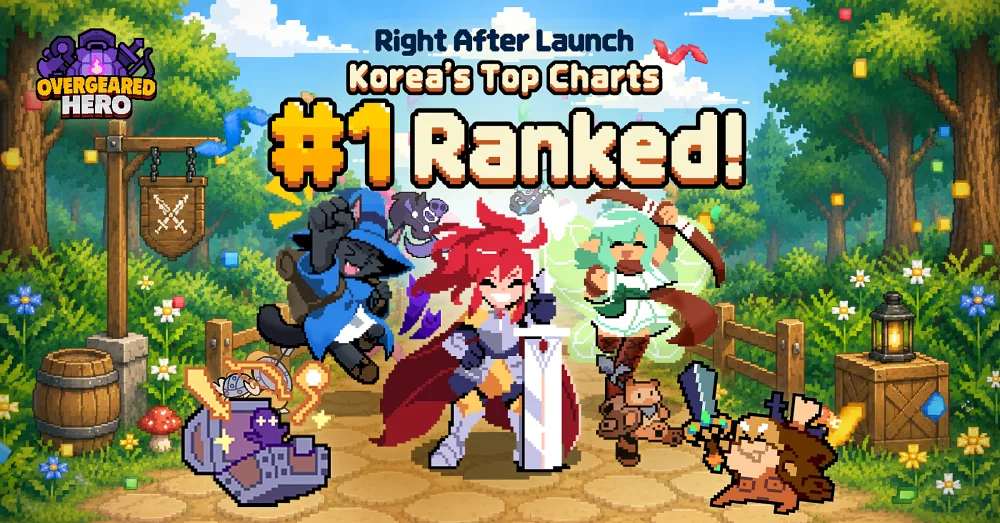
In Overgeared Hero, success is not determined by twitch reflexes, but by your ability to manage your backpack as a tactical combat engine. As a roguelike auto-battler, the game challenges you to transform a chaotic inventory of pixelated gear into a finely tuned engine of destruction. Because every item you carry occupies a physical space on your grid, the difference between a successful run and a swift defeat often comes down to your inventory layout and your mastery of the merge-on-the-fly mechanic.
The Foundation of Grid Management
Your backpack is your most important weapon. In Overgeared Hero, the grid is a finite resource; every square occupied by an item is a square that cannot be used to store potential upgrades or utility gear.
The most successful players treat their backpack like a logistical puzzle. To maintain efficiency, you should adopt a "Core and Buffer" layout strategy:
- The Core: Reserve fixed, static zones for your primary, high-tier gear. These are the items that provide your baseline damage or sustain. Keep these in the corners or along the edges to prevent them from being accidentally shifted during frantic merging sessions.
- The Buffer Zone: Keep at least two to four slots empty or occupied by low-tier "merge fodder" at all times. If your inventory is completely full, you cannot loot new items, which forces you to stop growing. A full bag is a death sentence in the mid-to-late game.
- Grouping by Type: Keep weapon components in one quadrant and defensive/utility items in another. This spatial consistency allows your brain to recognize potential merges at a glance, significantly reducing the "cognitive load" during intense boss encounters.
Mastering Real-Time Item Synthesis
Many beginners make the mistake of treating synthesis as a pre-battle preparation phase. In Overgeared Hero, the most powerful players merge during combat. Being able to combine two lower-tier items into a superior version while enemies are actively attacking is a core skill that provides instant stat spikes exactly when you need them most.
The "Merge-During-Combat" Workflow:
- Identify Bottlenecks: If your health is dropping faster than you can regenerate, scan your bag for defensive components. Merge them immediately to boost your damage reduction or healing output.
- The "Lull" Strategy: Wait for the brief animation window after a boss completes a heavy attack. This is your safest window to reorganize and merge.
- Avoid Over-Merging: Do not merge items simply because you can. Sometimes, having two separate items with unique status effects (like freeze or poison) is superior to having one single higher-tier item that only provides raw attack power. Evaluate the utility of the status effect versus the raw stat gain before committing to the merge.
Strategic Selection: Quality vs. Quantity
Because Overgeared Hero uses a randomized roguelike loot system, you cannot rely on a single "best" build every time. You must learn to pivot based on the items the game provides.
If the game provides an abundance of early-game swords, lean into an aggressive, high-attack-speed build. If you find yourself swimming in defensive shields and armor, transition into a "tank-and-attrition" strategy. The common trap is "Build Tunneling"—trying to force a specific, high-tier weapon setup when the game is clearly feeding you components for a different archetype.
Pro Tip: Always weigh the "Space-to-Stat" ratio. A Tier 3 item that takes up four slots is often worse than two Tier 2 items that take up two slots each, especially if the Tier 2 items offer unique elemental synergies. If an item doesn't provide a direct path to a power spike, don't be afraid to discard it to maintain your grid efficiency.
Navigating Combat Constraints and Pet Training
Your combat performance in Overgeared Hero is heavily influenced by your hero’s positioning and the supplemental buffs from your pets. Pet training is a long-term investment; focus on pets that offer passive utility, such as inventory management perks or increased drop rates for higher-tier loot.
When in the thick of combat, pay close attention to the visual telegraphs. Since pixel-art hitboxes can sometimes be ambiguous, focus your attention on the hero's sprite and the enemy's attack animation cycle. If you are struggling to survive, it is almost always better to prioritize a defensive merge—even if it lowers your DPS—to extend the duration of the fight. A longer fight allows you more time to gather loot and find the components needed for your next major power-up.
Common Mistakes That Ruin Runs
- Hoarding Junk: Keeping low-tier items "just in case" is the most frequent reason players lose. If an item doesn't have an immediate merge path or serve as a core component for a high-tier piece, sell it or discard it immediately.
- Ignoring Status Effects: Raw damage numbers are deceptive. In the later stages of Overgeared Hero, enemies have significant armor and health pools. Items that inflict burn, poison, or slow are vital for controlling the flow of battle and preventing your hero from getting swarmed.
- Static Inventory: If your backpack layout looks exactly the same at wave 10 as it did at wave 1, you are not evolving. As you progress, you should be constantly upgrading, swapping, and refining your gear. The "perfect" layout is a moving target that changes with every drop.
Final Decision Making
Ultimately, Overgeared Hero is a game of calculated risks. Every time you merge, you are committing to a path. Before you drag and drop, ask yourself: Does this merge make me tankier for the current encounter, or does it increase my DPS for the upcoming boss?
By maintaining a clean grid, prioritizing utility during the heat of combat, and staying flexible in your build path, you will consistently push further into the game’s challenges. Remember: your backpack is not just a container; it is your primary tool for victory. Manage it with precision, and the loot will follow.
Free Overgeared Hero Codes
Current active codes and how to redeem them.

Sarah Williams
Sarah specializes in RPG and collection games, explaining team building, character growth, and beginner-friendly ways to avoid expensive early mistakes.
COMMUNITY
Player Comments
128 players commented on this guide.
I tried this today and it worked better than my old setup.
I wish I had read this before upgrading the wrong thing.
This guide answered the exact question I had.
This saved me time in the early game.