
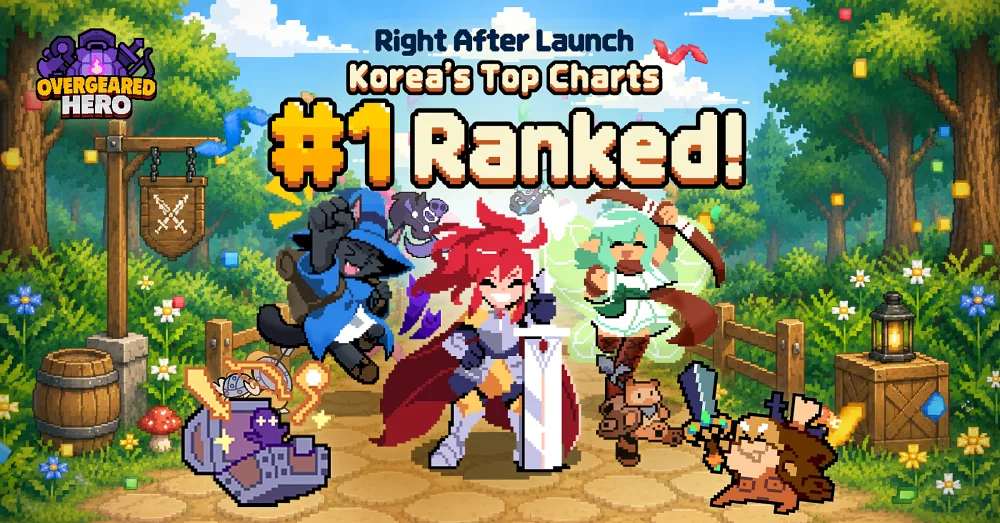
To conquer Chapter 93 in Overgeared Hero, you must shift your focus from balanced team compositions to aggressive unit merging and tactical backline protection. This stage introduces high-pressure enemy waves that can quickly overwhelm standard formations, forcing you to prioritize high-burst damage dealers and rapid board optimization. By maintaining a fortified frontline and protecting your primary damage sources, you can mitigate incoming damage while effectively dismantling the stage's boss.
Mastering the Merge Cycle for Early Board Control
The most critical factor in clearing Chapter 93 is the efficiency of your merge cycle. Because enemy units scale their damage output significantly as the stage progresses, you cannot afford to waste board space on low-level, low-impact units. Every idle unit is a missed opportunity to create a higher-tier entity capable of surviving the mid-stage difficulty spikes.
To optimize your board, prioritize merging your weakest units immediately after they appear. Aim to reach at least Tier 3 for your core damage dealers before the first major wave hits. If your board becomes cluttered, sell low-tier units that do not contribute to your current synergy bonuses. A clean board is vital, as it allows for faster reaction times when you need to reposition units to avoid the area-of-effect abilities frequently cast by the Chapter 93 boss.
The "Purge and Pivot" Strategy
If you are holding onto units waiting for the "perfect" merge, you are likely losing tempo. In Chapter 93, a Tier 2 unit in hand is worth more than a potential Tier 3 unit that requires three turns of luck. Use the "Purge and Pivot" method:
- Identify your carry: Determine which unit provides the highest DPS output.
- Clear the clutter: If a unit doesn't provide a synergy bonus or high damage, sell it to bank gold for rerolls.
- Shop aggressively: Spend your gold early to hunt for pieces that complete your high-tier merges, rather than relying on random board drops.
Positioning Tactics for Backline Protection
In Chapter 93, enemy focus fire is consistently directed at your most vulnerable units. Positioning your "glass-cannon" damage dealers in the back corners of your grid is essential to force enemy melee units to path through your more durable defenders. By clustering your high-HP tanks in the front and center, you create a natural buffer that keeps your primary damage sources alive during the most intense combat sequences.
When arranging your team, consider these tactical positioning rules:
- The Corner Trap: Place your highest DPS unit in the furthest back corner. This maximizes the distance enemies must travel, buying your tanks more time to hold the line.
- Tank Centering: Position your tankiest units in the middle-front slots. This draws aggro away from your support characters and forces enemy AI to engage your high-defense units first.
- Dynamic Spacing: Keep at least one empty square adjacent to your main damage dealer. This allows for quick "drag-and-drop" repositioning if an enemy breakthrough occurs or if the boss casts a targeted AoE.
Prioritizing High-Burst Synergy Over Sustained Healing
While healing units are valuable in earlier chapters, Chapter 93 demands a shift toward pure burst damage. The incoming damage in this stage is often too high to out-heal with standard support units, making it more effective to eliminate enemy threats before they can overwhelm your defense. If you have been relying on a healer-heavy setup, replace at least one support unit with a high-tier damage dealer to shorten the time-to-kill for enemy waves.
This strategy hinges on your ability to cycle through your deck quickly. By focusing on damage, you shorten the duration of each combat encounter, which naturally reduces the amount of total damage your team takes over the course of the stage. Focus your gold and resources on rerolling the shop during the early rounds to hunt for high-tier damage units rather than holding currency for mid-stage upgrades.
Managing Resource Spikes During Boss Waves
The boss wave of Chapter 93 introduces a significant threat that requires immediate, concentrated focus. As the boss enters the field, you should stop all non-essential merging and save your gold for the final burst. Use your accumulated resources to force-level your primary DPS unit to the maximum possible tier. In many cases, the difference between a high-tier unit and a mid-tier unit is the deciding factor in clearing the boss’s health pool before your frontline collapses.
If you find yourself struggling to deal enough damage to the boss, analyze the damage output of your units in the previous rounds. Players often hold onto low-level units for too long, hoping for a "lucky" merge, when they should be selling them to purchase a higher-tier unit directly from the shop. In this chapter, guaranteed progress through the shop is always superior to the risk of waiting for random merges during the boss encounter.
Adapting to Enemy Pathing and AI Patterns
The AI in Chapter 93 tends to prioritize the closest target, but it will occasionally switch to your backline if a gap in your defense opens. By observing how the enemies move during the first two waves, you can adjust your positioning for the third wave. If you notice specific units consistently breaking through your front line, consider swapping your tank’s position to a wider defensive stance to cover more of the board.
Advanced AI Baiting
You can manipulate the enemy AI by leaving one "bait" unit slightly exposed. If an enemy breaks your frontline, they will almost always path to the nearest unit. If your primary DPS is tucked in a corner and your bait unit is slightly closer to the center-back, the AI will often path toward the bait, giving your DPS precious extra seconds of uptime.
Final Summary for Success
Chapter 93 is ultimately a test of your ability to manage board space and resources under pressure. If you maintain a strict merge cadence, protect your high-damage units in the back, and prioritize burst damage over sustain, you will find the stage significantly more manageable. Stay patient during the early waves, keep your board uncluttered, and focus all your resources on maximizing your offensive potential just before the final boss arrives. By mastering these mechanics, you will secure your progression and move closer to completing the endgame of Overgeared Hero.
Free Overgeared Hero Codes
Current active codes and how to redeem them.

Emily Johnson
Emily writes practical mobile strategy guides with a focus on resource planning, base progression, and the early decisions that shape a long-term account.
COMMUNITY
Player Comments
94 players commented on this guide.
This helped me understand heroes much better.
The explanation is clear, especially for beginners.
Can you add more details about heroes in a future update?
Good guide for Overgeared Hero players. The heroes part was useful.