
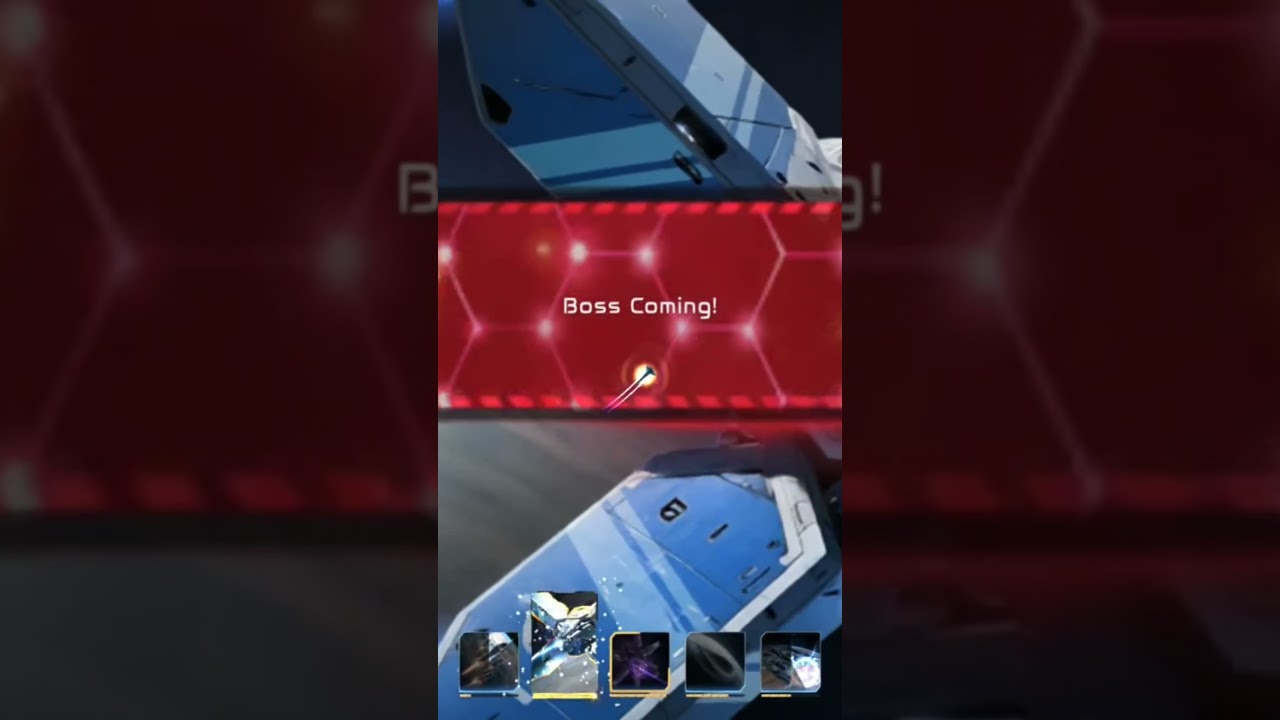
To clear Normal Stage 10 in Planet Defense: Space TD game, establish 360-degree orbital defensive coverage around the planet instead of clustering turrets in a single quadrant. Stage 10 introduces split-vector waves that send fast interceptors and armored cruisers from the northern and southern sectors simultaneously. Surviving these multi-directional assaults requires pairing rapid-fire kinetic weapons with heavy beam platforms, preserving shield capacity, and eliminating escorts before focusing down the final flagship.
Defensive Ring Layout and Slot Assignments
Because hostile formations arrive from opposing orbital angles, an uneven defensive perimeter creates blind spots that allow flanking ships to reach the atmosphere. Any ship that penetrates the perimeter inflicts permanent hull damage that cannot be repaired during combat. Distribute defensive modules evenly across available orbital slots to cover all trajectories.
| Hardpoint Position | Recommended Module | Primary Role | Target Focus |
|---|---|---|---|
| Equatorial Slots | Rapid-Fire Kinetic Turrets | High-speed tracking and shield suppression | Swarm interceptors and light escort craft |
| Polar Apex Slots | High-Yield Lasers / Beam Arrays | High armor penetration and single-target burst | Heavy cruisers and Stage 10 command boss |
| Inner Ring Slots | Shield Generator Array | Barrier maintenance and impact absorption | Stray kinetic torpedoes and bypass fire |
Placing kinetic turrets along the equatorial line ensures fast interceptors are destroyed before they bait the targeting systems of your heavy batteries. This positioning keeps polar energy beams free to engage armored cruisers at maximum range.
Weapon Balancing: Kinetics vs. Lasers
Stage 10 pairs fast shielded interceptors with reinforced cruisers. Relying on a single weapon type will cause the defense line to collapse against mismatched enemy defenses.
- Kinetic Autocannons and Gatlings: Upgrade these early to reach the damage threshold needed to destroy light interceptors in a single burst. Their rapid projectile velocity and fast tracking keep the targeting grid from getting overwhelmed when swarms split across hemispheres.
- Heavy Laser Platforms: Allocate mid-stage resources toward sustained energy beams. Armored cruisers heavily deflect basic kinetic projectiles, but beam weapons bypass standard deflection and melt bulkheads before cruisers reach bombardment range.
Avoid investing heavily into slow-tracking siege artillery during early waves. Low turret rotation speeds allow erratic fighter formations to bypass your firing arcs undamaged.
Planetary Shield Upkeep
Planetary shields serve as the primary buffer against split-vector bleed-through. If shield capacity drops to zero, the system enters an extended recharge cooldown, leaving the planet vulnerable to direct hull damage from stray fire and torpedoes.
Divert power to restore the shield generator during the lull periods between fleet waves rather than spending resources on emergency turrets mid-assault. Keeping the barrier active through deliberate rest-phase restoration ensures stray ordnance detonates safely against energy shielding while automated turrets dismantle attacking formations.
Stage 10 Boss Wave Execution
The final phase introduces an armored command ship supported by a vanguard interceptor screen. The command ship fires long-range siege torpedoes from the orbital perimeter, requiring rapid neutralization.
- Clear the Vanguard Screen: Do not manually redirect all turrets toward the boss immediately upon entry. Use rapid-fire kinetic batteries to wipe out the surrounding interceptor swarm in the opening seconds.
- Focus Energy Batteries on the Flagship: Once escort craft are eliminated, lock all polar laser platforms and directed energy cannons onto the central command hull.
- Shoot Down Incoming Torpedoes: The flagship regularly launches slow-moving kinetic torpedoes toward the inner ring. Rely on point-defense fire and equatorial kinetic turrets to detonate these warheads before they impact the shield.
- Maintain Sustained Fire Below Half Hull: The command ship increases its bombardment rate after dropping below 50% health. Keep energy directed into the main polar beams to finish destroying the hull before its escalated firing cycle overpowers the defensive perimeter.

Free Planet Defense: Space TD game Codes
Current active codes and how to redeem them.

James Brown
James focuses on Android gaming on PC, emulator setup, controls, performance tuning, and practical troubleshooting for longer play sessions.
COMMUNITY
Player Comments
155 players commented on this guide.
The explanation is clear, especially for beginners.
This saved me time in the early game.
I tried this today and it worked better than my old setup.
The tips are practical and easy to follow.