
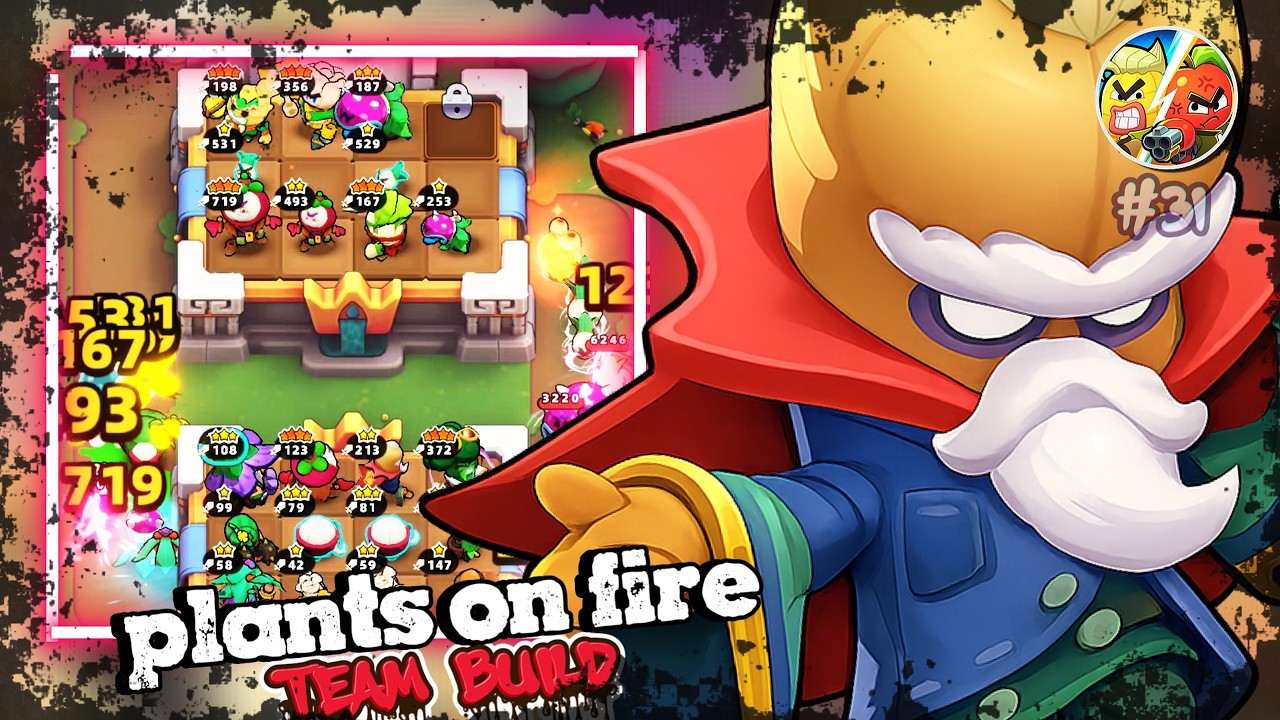
In Plants on Fire, the Cashew Sage is not just another unit; it is the engine that drives your most effective damage compositions. If you are struggling to clear late-game waves or find your offense lacking the necessary punch to take down bosses, you are likely failing to leverage the Sage’s unique aura mechanics. The Cashew Sage operates as a force multiplier, trading personal combat prowess for massive, passive damage boosts to adjacent allies.
To succeed with the Cashew Sage, you must treat your board like a tactical grid where every tile serves a purpose. This guide breaks down the mechanics, positioning logic, and synergy requirements you need to turn the Cashew Sage into the centerpiece of your winning strategy.
Understanding the Cashew Sage’s Buffing Mechanic
The Cashew Sage functions on a "proximity-buff" system. Unlike traditional defense units that deal direct damage or slow enemies, the Sage projects an aura that increases the effectiveness of every plant tile within its immediate reach.
Crucially, the Sage’s buff is additive. If you have two Sages, their buffs often stack depending on your current tier, making them exponentially more valuable as you upgrade them. However, many players make the mistake of focusing on the Sage’s level rather than its coverage. Your goal is to ensure that every "high-DPS" plant on your board is touching at least one Cashew Sage aura. If a high-damage unit is isolated from your Sage, it is effectively operating at a fraction of its potential.
Why Placement Matters
- The Radius Check: Always tap the Cashew Sage to view its active aura range. Modern updates have refined these hitboxes; knowing the exact pixel-reach prevents "dead tiles" where your best plants receive no benefit.
- The Anchor Effect: Treat the Sage as a stationary anchor. Because its output is tied to its neighbors, it acts as the "gravity" of your formation. Build your most expensive, high-damage units around the Sage, not the other way around.
Tactical Placement and Board Management
Board management in Plants on Fire is a resource game. Every tile occupied by a Sage is a tile not occupied by a direct attacker. This creates an inherent "opportunity cost." To maximize this, follow the Centralized Cluster Strategy.
The "Center-Out" Deployment Method
- Phase 1 (Early Game): Place your first Cashew Sage in the center of the board. This minimizes the distance required to reach your first three or four defensive plants.
- Phase 2 (Mid-Game Expansion): As you acquire more units, expand your formation outward in a diamond or cross shape. The Sage should always be the pivot point.
- Phase 3 (Late-Game Consolidation): If you are forced to clear space, merge your Sages first. A high-tier Sage provides a significantly stronger buff that can replace the need for multiple lower-tier Sages, freeing up valuable grid space for high-star damage dealers.
Pro-Tip: Never place your Cashew Sage in the front row. It lacks the health pool to survive sustained contact with elite waves. Keep it in the middle or back rows, protected by "Tank" plants that can absorb damage while the Sage amplifies their counter-attack.
Synergizing with High-Damage Attackers
The efficiency of the Cashew Sage is determined by the "Attack Speed" (AS) of its neighbors. The math is simple: a flat damage bonus is applied every time an ally attacks. Therefore, a plant that attacks five times a second benefits from the Sage five times more than a slow-hitting plant.
The Best Units to Pair with Cashew Sage
- Rapid-Fire Gatling Vines: These units are the primary beneficiaries of the Sage. Because they have low base damage but extreme fire rates, the Sage’s buff effectively doubles or triples their output.
- AOE Splash Dealers: Units that hit multiple enemies in an area become "screen-clearers" when buffed by the Sage. If you place a Sage between two splash-damage plants, you can effectively clear entire waves before they reach your front line.
- Critical Hit Specialists: If you have units that rely on critical strikes, the Sage’s base damage boost acts as a multiplier for those crits, leading to massive damage spikes that are essential for taking down high-health boss units.
Advanced Strategies and Common Mistakes
Even experienced players often fall into traps that stifle the potential of the Cashew Sage. Avoiding these common pitfalls will put you ahead of 90% of the player base.
1. The "Over-Merging" Trap
Don’t merge your Sages just because you have the resources. If you have two Level 2 Sages, they might cover six units total. If you merge them into a single Level 3 Sage, it might be stronger, but if its aura doesn't reach those same six units, your total team DPS will actually decrease. Only merge when you have a specific plan to reorganize your formation.
2. Ignoring the Meta Shifts
Plants on Fire frequently updates its unit balance. Keep an eye on the "patch notes" for any changes to the Cashew Sage’s aura range or buff percentage. If a balance patch hits, jump into a Practice Match immediately to see if your favorite formation still fits within the Sage’s reach.
3. The Frontline Collapse
If your frontline is dying too quickly, you may be over-investing in Sages and under-investing in survival. If the enemy reaches the Sage, the match is usually over. If you find your formation breaking, sacrifice one Sage to place a defensive wall or a slow-effect unit. A dead Sage provides zero buffs.
Final Decision-Making Checklist
When playing a match with the Cashew Sage, ask yourself these three questions before every wave:
- Is every high-tier attacker currently within a Sage aura? If no, prioritize repositioning over buying new units.
- Am I holding too many Sages? If your grid is full and you can't place a new damage dealer, merge your Sages to reclaim board space.
- Is my Sage safe? If the enemy is pushing deep, rotate your Sage further back.
By mastering these positioning habits and understanding the multiplicative nature of the Cashew Sage, you will find yourself clearing higher-difficulty levels and dominating the meta in Plants on Fire. Treat the Sage not as a plant, but as the commander of your battlefield.

Free Plants on Fire Codes
Current active codes and how to redeem them.

Michael Smith
Michael covers live-service games, events, reward systems, and efficient daily routines, turning frequent updates into clear actions for players.
COMMUNITY
Player Comments
67 players commented on this guide.
Can you add more details about strategy in a future update?
I wish I had read this before upgrading the wrong thing.
This helped me understand strategy much better.
Nice guide. I am checking the other Plants on Fire articles next.