
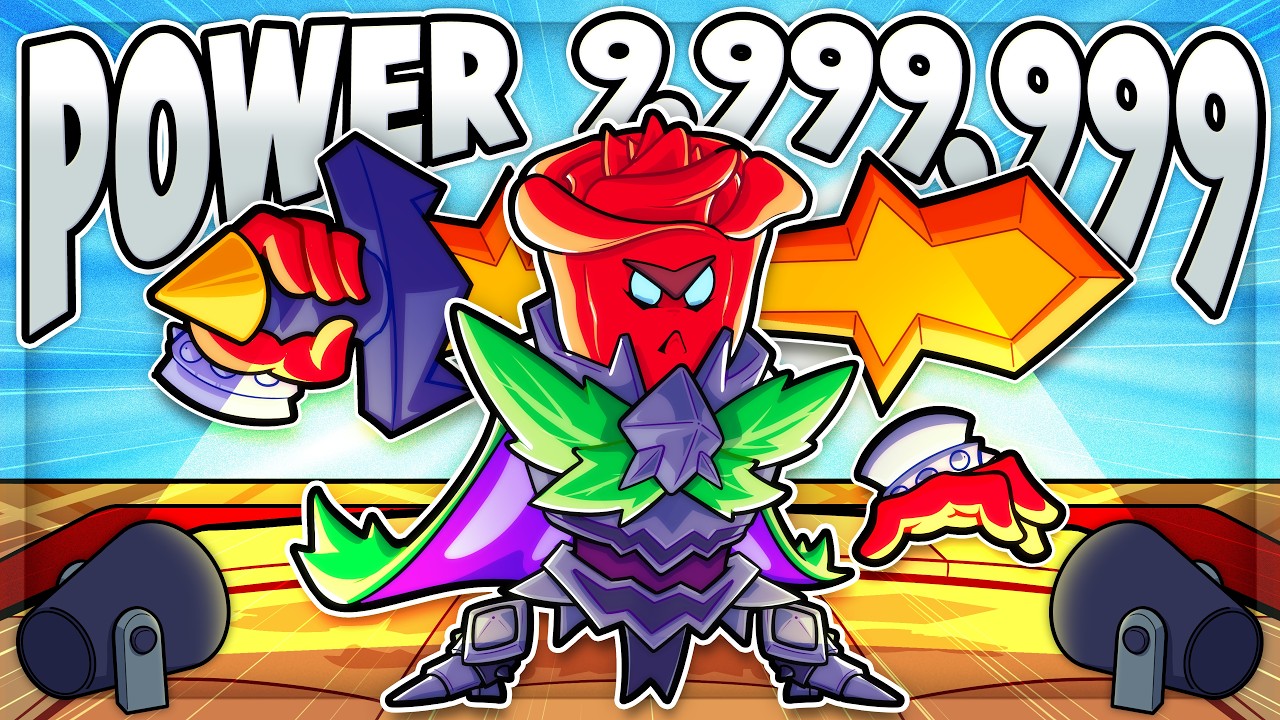
To consistently win in Plants on Fire, you must move beyond basic deployment and master the art of strategic minion optimization. The core gameplay loop rewards players who prioritize quality over quantity, focusing resources on high-tier fusions rather than cluttering the board with weak, low-level units. By understanding the math behind damage-to-cost ratios and mastering the nuances of path coverage, you can ensure your defenses remain impenetrable even during the most chaotic late-game boss waves.
The Power of Strategic Fusion
The most critical mechanic in Plants on Fire is fusion. Many novice players make the mistake of spending their limited currency on buying as many individual units as possible to fill every available slot. This is a trap. In the mid-to-late stages of a level, a single Tier 3 or Tier 4 fused minion will consistently outperform five or six Tier 1 minions in both raw DPS and board utility.
Why Fusion Wins:
- Space Efficiency: Every map has a finite number of slots. By fusing, you clear space for additional utility plants or higher-tier damage dealers without exceeding your board limit.
- Stat Multipliers: Fused units don't just add their stats together; they often receive hidden multipliers to their attack speed and projectile damage.
- Ability Evolution: Higher-level plants often unlock secondary effects, such as piercing shots or splash damage, which are essential for clearing high-density enemy swarms.
To execute this effectively, identify your "carry" unit early in the match. Focus your currency on pulling duplicates of that specific plant and merging them immediately. Do not waste gold on upgrading secondary units until your primary carry has reached at least Tier 3.
Optimal Placement and Pathing Logic
Even the strongest minion is useless if it is out of range. Plants on Fire maps are designed with specific choke points and winding paths. Your goal is to maximize the "Time-on-Target" (ToT) for every unit you place.
The Corner Strategy
Always place your highest-damage, long-range minions at the inside corners of the path. Because the enemy must travel along the bend, a unit placed at a corner can fire at the approaching wave for a much longer duration than one placed on a straightaway.
Synergy Zones
Never place your damage dealers in isolation. Create "Synergy Zones" where your crowd-control (CC) plants are positioned at the start of a path segment, followed immediately by your heavy hitters. If you use a plant that slows enemies, place it at the very edge of your damage dealers' range. This forces the enemies to spend more time inside the "Kill Zone," allowing your high-tier plants to land more hits before the enemies move past.
Mastering Currency Management
Managing your economy is the difference between a clean win and a base breach. You earn currency by destroying enemies, creating a cycle where your current defense funds your future upgrades.
- The Early Game Threshold: Spend just enough to stop the first three waves. Do not over-invest. Save your surplus to reach "interest" thresholds if the game mechanics allow, or to rush the fusion of your first major damage dealer.
- The Mid-Game Pivot: When you hit the mid-game, stop buying new units entirely. Shift your entire income toward rerolling or purchasing the specific units needed to fuse your current roster.
- Emergency Reserves: Always keep a small "buffer" of currency. If a wave of fast-moving enemies appears, you need the ability to place a cheap, low-level unit to act as a temporary blocker, buying your heavy hitters an extra second or two of firing time.
Categorizing Minions for Balanced Defense
A common mistake is building a "glass cannon" team. If you only focus on high-damage shooters, you will be easily overwhelmed by "tanky" enemies that absorb damage, or fast enemies that bypass your units entirely.
- Primary Damage Dealers: These are your bread and butter. They should occupy 60% of your board slots. They are the only units you should focus on merging to the maximum tier.
- Crowd Control (CC): Units that slow, stun, or push back. You only need one or two of these, but they should be placed strategically at the start of your longest path segments.
- Utility/Support: Units that provide buffs to nearby plants. Place these in the center of your formation to ensure their aura touches as many damage dealers as possible.
Progression Strategy: Avoiding Dead-Ends
As you advance in Plants on Fire, some units will inherently perform better than others due to their scaling. Avoid investing heavily in units that have flat, non-scaling damage types. Instead, look for plants that possess percentage-based buffs or scaling attack speed.
The "Sell" Decision: Don't be afraid to sell a Tier 2 minion if you are one slot away from creating a Tier 4 unit. While you lose the gold spent on the initial unit, the power spike of a Tier 4 unit is exponential. The board slot is your most valuable resource; treat it as such. If a unit isn't contributing to the overall kill count—either through damage or meaningful debuffs—it is dead weight that should be sold to make room for a more effective defensive asset.
Common Mistakes to Avoid
- Panic Buying: Buying units when you are already at the board limit is a waste of resources. Focus on fusion instead.
- Ignoring Range Circles: Always tap/click your units to view their range. If your range circle is touching nothing but empty space or walls, move the unit immediately.
- Neglecting the Boss Wave: Always check the wave indicator. If a boss wave is coming, stop all non-essential upgrades and focus on bolstering your CC and single-target DPS.
By focusing on high-tier fusions, maximizing your path coverage, and maintaining a disciplined economy, you will find that Plants on Fire becomes much more manageable. Remember: a smaller, highly upgraded force is almost always superior to a large, uncoordinated group of basic minions. Evaluate your board every few waves, adapt to the pathing, and prioritize your carry units to secure victory.

Free Plants on Fire Codes
Current active codes and how to redeem them.

Michael Smith
Michael covers live-service games, events, reward systems, and efficient daily routines, turning frequent updates into clear actions for players.
COMMUNITY
Player Comments
70 players commented on this guide.
The explanation is clear, especially for beginners.
This helped me understand strategy much better.
I tried this today and it worked better than my old setup.
Nice guide. I am checking the other Plants on Fire articles next.