
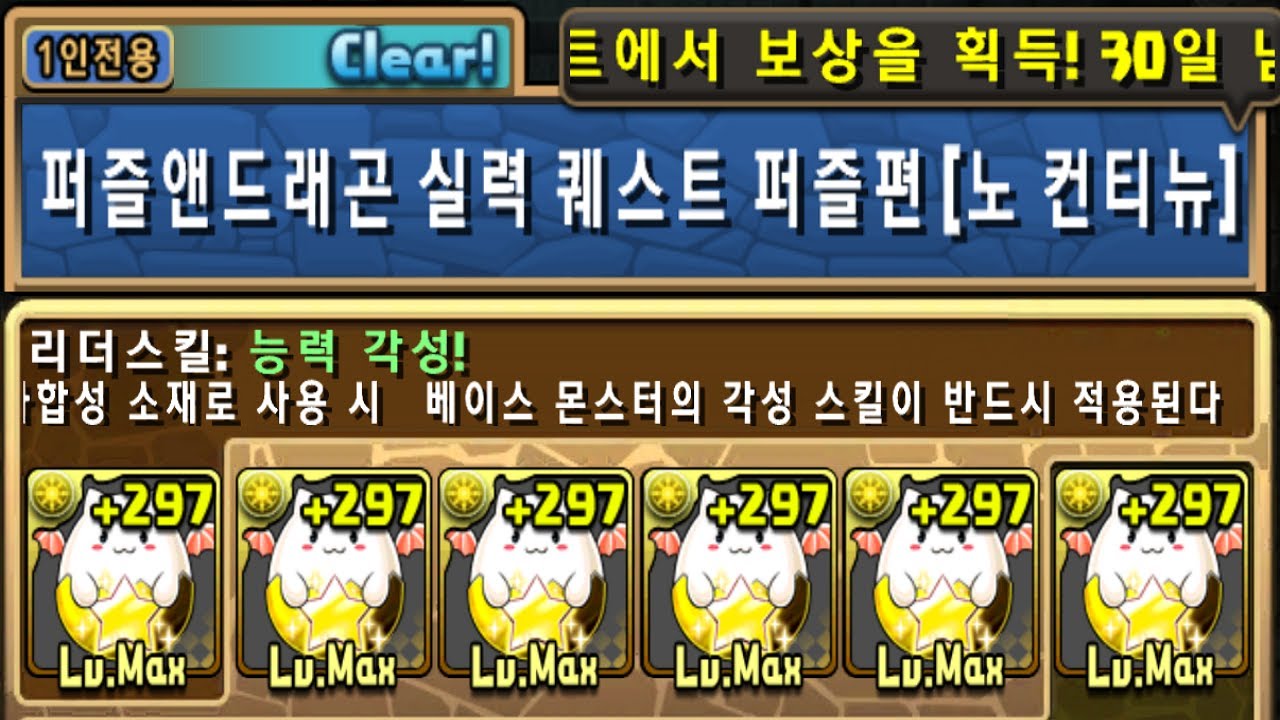
To clear all ten levels of the Puzzle & Dragons Skill Quest: Puzzle Edition, plan full board routes before touching an orb, build required match shapes flush against outer edges, and use board spinners as precise color sources. Because the dungeon locks you into a fixed Tamadra team with disabled active skills and predetermined movement time, clears rely entirely on manual board organization and spatial management.
Fixed Tamadra Team Rules and Core Strategy
The Skill Quest: Puzzle Edition removes standard dungeon advantages. Leader skills, active orb changers, time-extend badge bonuses, and latent awakenings are inactive. Every player receives the same Tamadra team with identical movement limits.
Because you cannot activate skills to generate colors or clear board hazards, success depends on three core habits:
- Inspect before moving: Fixed movement times do not allow real-time route adjustments. Find your target colors and trace your entire path before picking up an orb.
- Pack matches outward: Build your required shapes along the perimeter of the grid to keep the center open for standard combos and natural cascades.
- Avoid orphan orbs: Leaving disconnected two-orb pairs wastes space and prevents you from hitting high combo shields.
Lv. 1 Through Lv. 4: Foundation Shapes and Positioning
The first four floors test your ability to construct geometric patterns on a standard 5x6 board without blocking remaining space.
| Level | Core Mechanic | Optimal Board Positioning | Common Failure Point |
|---|---|---|---|
| Lv. 1 | Standard 3-orb combos | Horizontal rows stacked along the bottom | Leaving floating pairs in the center |
| Lv. 2 | 4-orb Two-Pronged Attack (TPA) | Vertical columns against outer walls | Crowding diagonal paths between matches |
| Lv. 3 | 5-orb L-match | Outer corners with the elbow tucked outward | Blocking adjacent horizontal rows |
| Lv. 4 | 9-orb 3x3 Damage Void Piercer (VDP) | Dedicated 3x3 block on the far-left or far-right | Stranding single orbs behind the box |
When building an L-match in Lv. 3, tuck the corner of the shape directly into the board's corner to leave three open quadrants for 3-orb matches. In Lv. 4, the 9-orb square consumes almost one-third of the board. Lock the 3x3 box into one side immediately, which leaves the remaining two vertical columns free for three stacked horizontal combos.
Lv. 5 and Lv. 6: Darkness Hazards and Combo Shields
Floors 5 and 6 add disruption mechanics that punish hesitation.
- Lv. 5 (Darkness/Blind Orbs): Blind effects obscure orb colors at the start of the turn. Before making your first move, memorize the clusters of visible colors. Once you grab an orb, moving it through a darkened tile briefly reveals that tile's attribute. Sweep your held orb across darkened clusters early in your route to confirm colors before locking them into place.
- Lv. 6 (Combo Shield): This floor requires reaching at least seven combos under fixed movement time. Clear the requirement by wrapping 3-orb matches tightly around the outer border in alternating horizontal and vertical lines. Packing the edges pulls excess orbs into the center, creating clean alignments and cascade opportunities.
Lv. 7 and Lv. 8: Spinners and Multi-Shape Boards
Levels 7 and 8 introduce board spinners (roulettes) and simultaneous shape requirements.
- Lv. 7 (Spinners): Spinners cycle through attributes at set intervals. Do not attempt to route around them. Instead, use them to generate missing colors. Hold your orb directly over the spinning cell, wait for the desired element to appear, and instantly drag outward.
- Lv. 8 (Crosses and Multi-Shapes): This stage requires combining a 5-orb cross or L-shape with multiple standard combos. A cross placed in the center disrupts all four cardinal directions. Anchor the cross flush against a side border, treating it as a flat wall, then build horizontal 3-orb matches in the remaining grid space.
Lv. 9 and Lv. 10: Timer Constraints and Final Execution
The final two stages test speed, hazard management, and execution order under severe time limits.
Lv. 9 Speed Pathing
Level 9 sharply reduces your allotted movement seconds. Course corrections during movement will cause the turn to time out. Identify your starting orb, mentally map the first three matches using straight vertical and horizontal motions, and execute immediately. Avoid diagonal cuts, which carry high failure rates under accelerated timers.
Lv. 10 Full Clearance Sequence
Level 10 combines combo shields, hazard orbs, and active spinners into a single solve. Clear the final floor by executing actions in this order:
- Locate active spinners: Check spinner positions and identify which colors they currently cycle through.
- Anchor static shapes: Construct required geometric patterns (such as L-unlocks or 3x3 boxes) in corners positioned away from the spinners.
- Extract missing attributes: Pass through the spinners to pull out any colors required to complete remaining matches.
- Fill the open grid: Stack standard 3-orb horizontal matches across the remaining space to satisfy the combo shield before the movement timer expires.
Free Puzzle & Dragons Codes
Current active codes and how to redeem them.

Emily Johnson
Emily writes practical mobile strategy guides with a focus on resource planning, base progression, and the early decisions that shape a long-term account.
COMMUNITY
Player Comments
56 players commented on this guide.
Nice guide. I am checking the other Puzzle & Dragons articles next.
The tips are practical and easy to follow.
Good guide for Puzzle & Dragons players. The early game part was useful.
I wish I had read this before upgrading the wrong thing.