
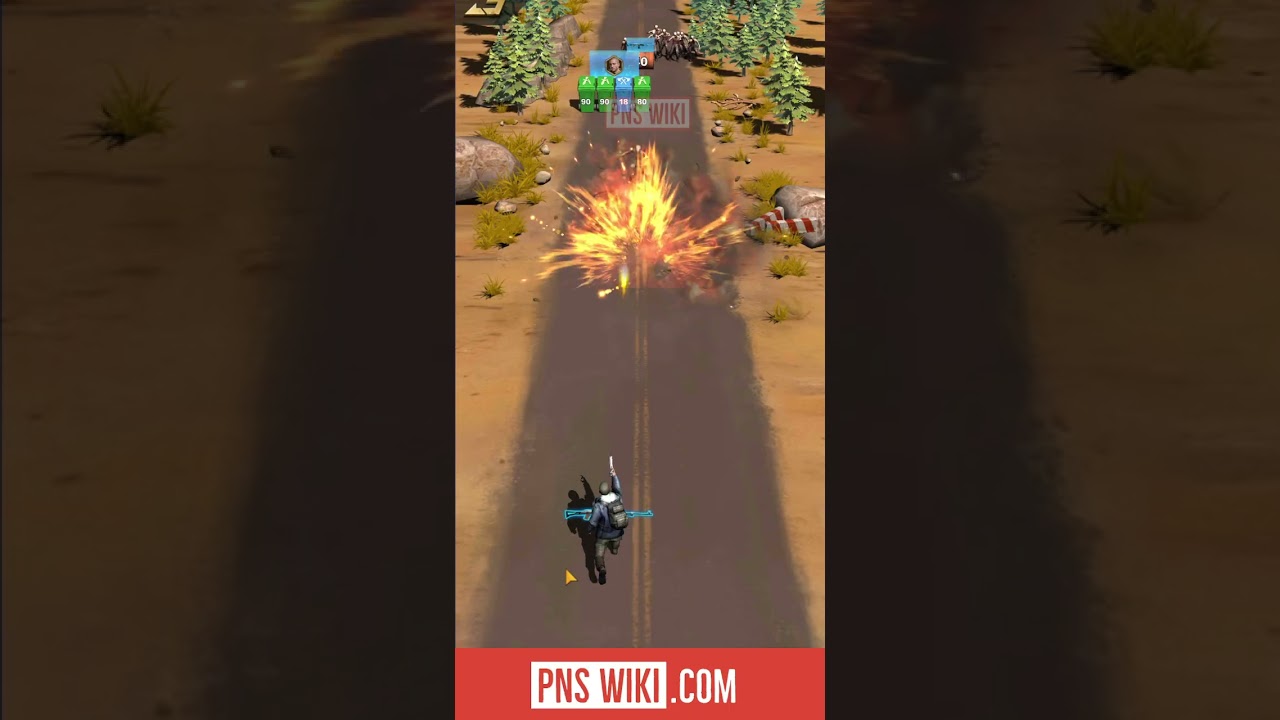
To clear Survival Master Levels 1 through 18 in Puzzles & Survival, you must solve each chamber by pulling sliding pins in a specific sequence to neutralize hazards, eliminate zombies, and open a safe path to the exit.
Survival Master operates as an isolated mini-game mode. Sanctuary upgrades, hero power, troop tiers, and VIP levels do not influence these stages. Every player receives the same puzzle layouts, where success depends entirely on physics, fluid reactions, and move order.
Core Hazard Rules and Fluid Interactions
Pulling a pin causes unsupported objects, fluids, and enemies to drop under gravity. Memorize these interaction rules before attempting higher stages:
- Water and Lava: Lava is instantly lethal to your survivor. Dropping water onto lava solidifies it into harmless stone. Never open a survivor's chamber to a magma basin without converting the lava first.
- Explosive Barrels: Red barrels detonate upon contact with fire, lava, or heavy impacts. Drop barrels onto clustered zombies to clear them without direct combat.
- Boulders and Spikes: Static spikes and toxic gas vents remain permanently active unless covered. Drop boulders or heavy blocks onto spikes to create bridges, or drop debris into gas vents to plug them.
- Enemy Aggression: Zombies move toward the survivor as soon as an open path connects them. Drop rocks, spikes, or barrels onto zombies to eliminate them before opening the survivor's chamber. If a level features a weapon pickup, deliver the weapon to the survivor before releasing any zombies.
Levels 1 to 6: Introductory Mechanics
The opening stages establish basic pin removal, boulder traps, and single-fluid routing:
- Level 1: Pull the horizontal barrier pin beneath your survivor to drop them directly down to the exit door.
- Level 2: Pull the top pin holding the overhead boulder to crush the zombie below. Once the path is clear, pull the remaining barrier to reach the exit.
- Level 3: Pull the pin directly beneath the water reservoir to dump water onto the lava pool, turning it into stone. Pull the final gate pin so the survivor can walk across.
- Level 4: Pull the pin holding the suspended explosive barrel above the zombie pack. The resulting explosion wipes out the cluster. Open the survivor's chamber afterward.
- Level 5: Release the overhead boulder first to plug the lower poison gas vent. Once the vent is blocked and forms a bridge, release the survivor to cross safely.
- Level 6: Watch the patrolling zombie's route. Wait until the zombie walks directly beneath the suspended rock before pulling the pin to crush it, then clear the survivor's path.
Levels 7 to 12: Multi-Chamber Hazards
Mid-tier levels introduce dual hazards where fluid paths and enemy lines of sight must be blocked simultaneously.
| Level | Primary Objective | Main Hazard | Correct Solution Sequence |
|---|---|---|---|
| Level 7 | Neutralize dual magma pits | Split lava pools | Pour water into the left lava pit, then drop a stone block to bridge the right pit. |
| Level 8 | Neutralize armed walker | Ranged projectile zombie | Drop a heavy crate between the zombie and survivor to block line of fire before opening paths. |
| Level 9 | Rescue trapped civilian | Rolling spike trap | Pull the central stopper pin to divert the rolling spike trap into a side ditch. |
| Level 10 | Clear zombie group | Clustered walkers | Open the floor trapdoor beneath the walkers to drop them into a lower pit. |
| Level 11 | Defeat armored enemy | Armored boss zombie | Pull pins to drop the weapon pickup to the survivor first, then open the combat gate. |
| Level 12 | Neutralize toxic floor | Acid pools and poison vents | Drop concrete blocks into the acid pool to create stepping stones before clearing the exit. |
Always verify where fluid will settle before pulling a pin. If water drains into an empty holding cell instead of the lava pool, the stage becomes impossible to complete and must be restarted.
Levels 13 to 18: Advanced Multi-Layer Sequences
The final bracket requires chaining multiple physics interactions in exact order:
- Level 13: Release upper water into the mid-level lava chamber to form solid stone. Once the stone platform settles, pull the pin holding the heavy boulder to roll it across the new platform and break the lower spike trap.
- Level 14 & Level 15: These stages use angled chutes. Pull the guide pins to aim falling explosive barrels directly into barricaded zombie groups rather than letting them hit empty walls.
- Level 16 & Level 17: Fast-moving zombies will pursue the survivor immediately if freed. Keep the survivor locked in their starting cell while pulling pins to isolate or crush the enemies with traps first.
- Level 18: Drop the explosive barrel into the partition beside the upper lava chamber to blast open a drainage channel. Pull the water pin to flood across the lower magma pit, solidifying the entire floor. Finally, pull the pin holding the overhead anvil to drop it onto the armored infected before opening the exit.
Execution Tips and Resetting
- Wait for Physics to Settle: Avoid rapid pin pulling. Fluids and rolling objects require a second to settle into place. Pulling a second pin too early can cause water to splash over barriers or miss lava entirely.
- Weapon Order: If a stage contains a weapon, never let a survivor touch a zombie without it. Direct contact without a weapon triggers an immediate failure.
- Use Fast Restarts: If a fluid drains into the wrong chamber or a barrel explodes harmlessly, tap the restart button immediately rather than waiting for the defeat screen.
Free Puzzles & Survival Codes
Current active codes and how to redeem them.

Michael Smith
Michael covers live-service games, events, reward systems, and efficient daily routines, turning frequent updates into clear actions for players.
COMMUNITY
Player Comments
35 players commented on this guide.
This guide answered the exact question I had.
The explanation is clear, especially for beginners.
I tried this today and it worked better than my old setup.
Good guide for Puzzles & Survival players. The strategy part was useful.