
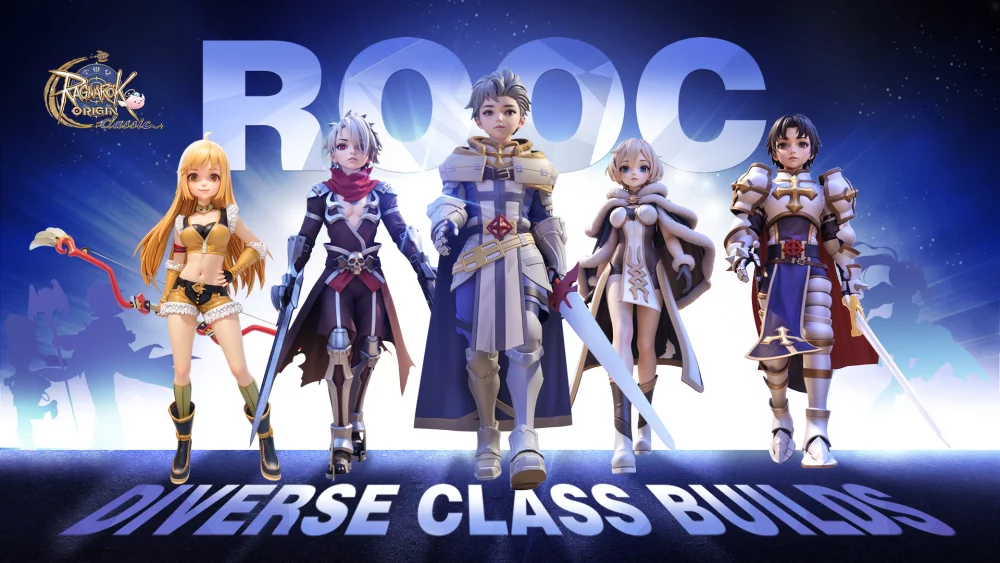
Success in Ragnarok Origin: Classic Guild League relies heavily on maintaining disciplined team positioning and executing coordinated movements across the map. Rather than engaging in chaotic skirmishes, high-performing guilds focus on map control, objective-based rotation, and keeping support classes protected behind frontline tanks. By prioritizing these tactical movements, players can maximize their impact during intense GvG encounters and provide their team with the structural support needed to secure victory under pressure.
Essential Positioning Fundamentals
Effective combat in Guild League begins with respecting the roles of your teammates. Frontline players must act as a wall to intercept incoming damage, while ranged DPS and support classes should maintain a safe distance to cast spells without being interrupted.
- Frontline Anchors: Tanks and high-HP classes should hold the forward positions, drawing enemy fire and creating space for the team.
- Backline Protection: Healers and glass-cannon DPS must stay behind the frontline to avoid being swarmed by enemy Assassins or crowd-control specialists.
- The "V" Formation: Moving as a group rather than individuals prevents your team from being picked off one by one during rotations.
Managing Map Rotations and Objectives
Guild League maps are designed with specific nodes and choke points that dictate the flow of battle. Controlling the map is not just about killing enemies; it is about maintaining a presence in high-value areas to force the opposing team into unfavorable positions.
- Choke Point Control: Position your team at narrow passages to limit the enemy's mobility and force them into your AOE spell range.
- Rotation Timing: Do not chase lone enemies deep into their territory; instead, rotate back to your objectives to ensure they remain undefended.
- Communication Flow: Use map pings to signal transitions between objectives. If a point is lost, regroup entirely rather than attempting to solo-retake it.
Coordination and Synergy
Individual skill matters less than team synergy when facing organized guilds. Successful teams rely on timing their skills to create combos that wipe out clustered opponents.
| Role | Primary Responsibility | Best Positioning |
|---|---|---|
| Tank | Damage mitigation & CC | Deepest Frontline |
| DPS | Focused fire & AOE bursts | Mid-Range/Flank |
| Support | Buffing & Healing | Safe Rear |
Improving Team Synergy
- Sync Your Cooldowns: Coordinate high-impact AOE skills with your guild’s caller to ensure maximum damage during team fights.
- Support Priority: All team members should prioritize peeling for their support players. A team without its healer will lose control of the objective almost immediately.
- Avoid Over-Extension: The most common cause of defeat is over-extending to chase kills. Stay disciplined and focus on the objective, as points decide the match, not the kill count.

Free Ragnarok Origin: Classic Codes
Current active codes and how to redeem them.

James Brown
James focuses on Android gaming on PC, emulator setup, controls, performance tuning, and practical troubleshooting for longer play sessions.
COMMUNITY
Player Comments
30 players commented on this guide.
This saved me time in the early game.
The tips are practical and easy to follow.
Nice guide. I am checking the other Ragnarok Origin: Classic articles next.
This guide answered the exact question I had.