
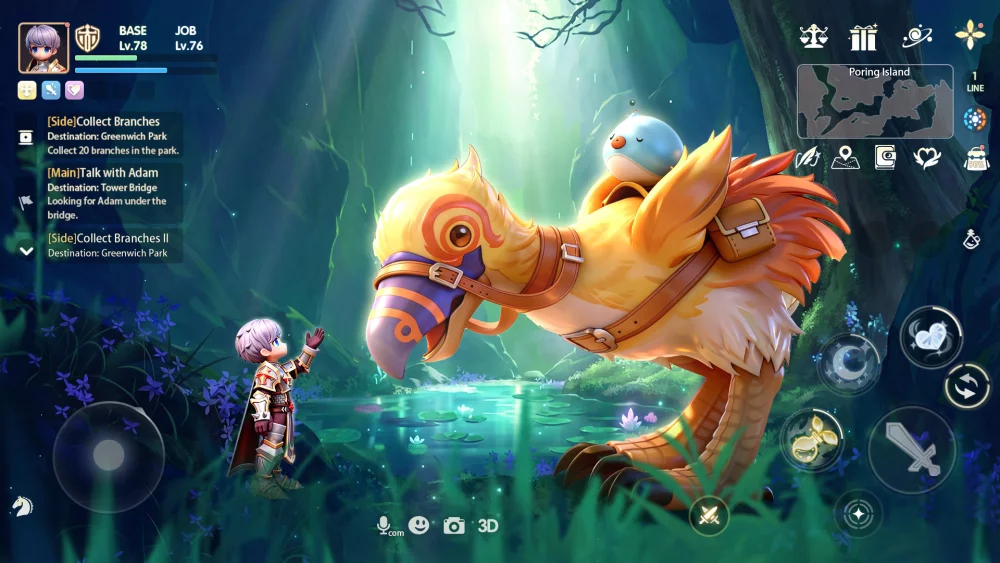
In Ragnarok Origin: Classic, the Bio Laboratory map presents unique challenges for Guild League participants. Unlike open-field skirmishes, the tight corridors and multi-level layout of the Bio Lab require specific positioning strategies to prevent your team from being pinched by opposing guilds like Sakura or Myrmidon.
This guide focuses on the tactical adjustments necessary to dominate high-intensity Guild League encounters within the Bio Lab environment.
Understanding Bio Lab Map Constraints
The Bio Lab layout forces guilds into concentrated chokepoints. Success here depends less on individual raw power and more on how your guild manages the "front-to-back" flow of combat.
- Chokepoint Management: Avoid clustering near narrow doorways where AOE (Area of Effect) skills from enemy Wizards or Snipers can wipe your front line.
- Vertical Awareness: Use the stairs and elevation changes to your advantage. High-ground positioning allows ranged classes to maintain vision while keeping melee attackers at a distance.
- Rotation Necessity: In high-level matches, stationary defenses are easily broken. Ensure your guild rotates members in and out of the "front" to manage health pools and skill cooldowns effectively.
Tactical Roles in Guild League
To maintain control in Bio Lab, every class must stick to their specific combat role during the push:
| Class Role | Primary Objective | Positioning Priority |
|---|---|---|
| Frontline/Tank | Hold the chokepoint and disrupt enemy backlines. | Forward, screening for the party. |
| Support/Healer | Maintain party HP and manage debuff cleanses. | Mid-line, protected by the frontline. |
| Ranged DPS | Focus fire on high-threat targets and AOE control. | Back-line, utilizing height advantage. |
| Assassin/Flanker | Pick off isolated supports or low-HP targets. | Flanks, avoiding direct engagement. |
Combat Tips for Guild League Success
When facing coordinated guilds, your movement must be deliberate. Based on competitive observation in the Bio Lab, here are the most effective strategies:
- Prioritize Support Removal: If you are playing a high-mobility class, your priority should be the enemy's support line. Even a brief window of disruption can collapse their frontline defense.
- Coordinated AOE Windows: Do not waste AOE skills when the enemy is spread out. Wait for the moment your frontline forces them into a tight space, then unleash your team's burst damage simultaneously.
- Communication is Key: In the chaos of the Bio Lab, visual cues aren't enough. Use voice comms to call out "Focus Fire" targets. Targeting the same individual ensures a quick kill, which creates a numerical advantage (man-count) that is critical for map control.
- Managing Retreats: If your guild starts losing members, retreat to a defensive holding point rather than staggering your deaths. Respawning and returning as a group is significantly more effective than trickling into the objective one by one.
Avoiding Common Mistakes
- Over-extending: Many guilds lose their momentum by chasing a kill too deep into enemy territory. In the Bio Lab, this leaves your own backline vulnerable to a counter-attack.
- Ignoring Buff Management: Ensure your guild’s buffs (such as Blessing or Increase Agility) are refreshed before entering the engagement zone. Trying to buff during an active skirmish is a recipe for being caught off-guard.
- Static Defense: Standing still in one spot makes your guild a predictable target for enemy skill rotations. Keep the team dynamic, shifting slightly to force the enemy to readjust their targeting.
By prioritizing group movement over individual heroics and leveraging the unique verticality of the Bio Lab map, your guild can improve its win rate in Ragnarok Origin: Classic competitive events.

Free Ragnarok Origin: Classic Codes
Current active codes and how to redeem them.

Sarah Williams
Sarah specializes in RPG and collection games, explaining team building, character growth, and beginner-friendly ways to avoid expensive early mistakes.
COMMUNITY
Player Comments
70 players commented on this guide.
I wish I had read this before upgrading the wrong thing.
The explanation is clear, especially for beginners.
This saved me time in the early game.
The tips are practical and easy to follow.