
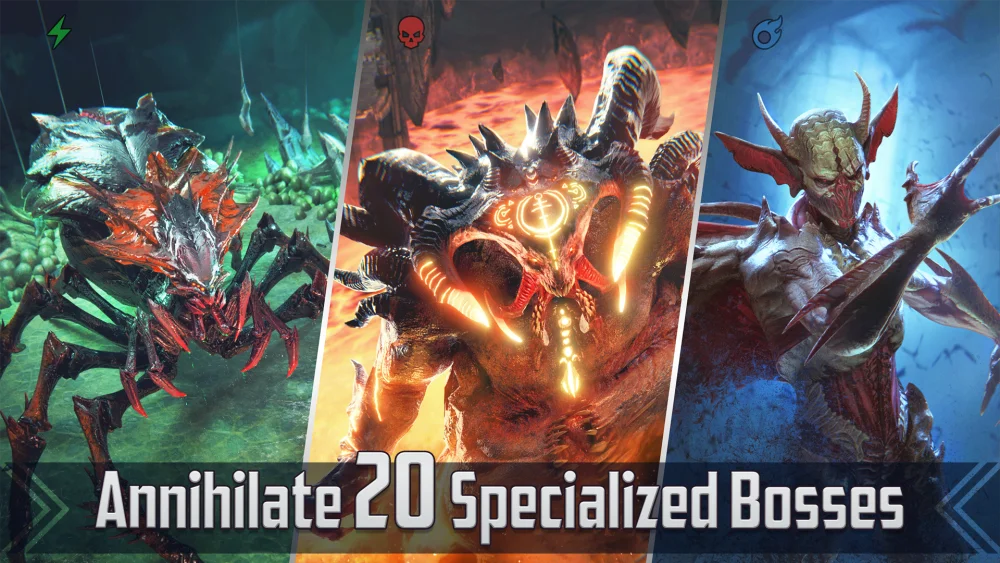
Clearing Stage 20 of the Fire Knight’s Castle in RAID: Shadow Legends is a critical mid-game milestone that separates casual players from those capable of farming endgame gear. Unlike other dungeons where raw damage is king, the Fire Knight requires a tactical shift toward mechanical consistency. The boss’s passive shield makes traditional nukers ineffective unless you can systematically break the barrier. By focusing on multi-hit A1 abilities, Turn Meter (TM) manipulation, and speed tuning, you can lock the boss down, prevent him from taking turns, and farm essential Savage and Regeneration gear sets consistently, even as a free-to-play player.
Understanding the Fire Knight’s Shield Mechanic
The Fire Knight’s primary defense is a shield that drastically reduces incoming damage and negates most debuffs. To deal meaningful damage, you must deplete the hit counter displayed above his health bar. If you fail to break the shield before the boss takes a turn, he will refresh it, forcing you to start the process over.
Because the shield counter resets every time it is broken, you cannot rely on slow, high-damage champions. Instead, you need team members who hit multiple times with their default abilities. This ensures that even when your cooldown skills are on refresh, your team maintains constant pressure. The key to consistency is never letting the boss take a turn, as his shield refresh makes recovery from a bad run nearly impossible.
Essential Champion Archetypes
To succeed in Stage 20, your team composition must prioritize three specific roles. A common mistake is bringing too much raw damage and not enough mechanical utility.
- Multi-hitters: Champions whose A1 abilities land 3 or 4 hits are mandatory. These units are your primary tool for stripping the shield. Even if their base damage is low, their ability to trigger shield hits is their highest value.
- Turn-Meter Controllers: Once the shield is down, you must prevent the boss from taking a turn. Champions with TM reduction skills allow you to keep the boss permanently incapacitated. If the boss never moves, he never heals or resets his shield.
- Speed and Debuff Support: A reliable speed booster ensures your team cycles their turns faster than the boss. Furthermore, applying "Decrease Speed" (a 30% speed debuff) to the boss is the single most important debuff in this fight, as it significantly increases the efficiency of your TM reduction skills.
Recommended F2P-Friendly Heroes
Several accessible champions are highly effective for Fire Knight 20. When building your team, look for these specific mechanics to ensure you can cycle through the shield and control his movement effectively.
- Apothecary: A staple for early and mid-game players, Apothecary provides a massive speed boost and a triple-hit A1. He is essential for maintaining team momentum and providing clutch heals.
- Coldheart: Arguably the most important champion for this dungeon. Her "Heartseeker" ability deals massive damage and reduces the boss's turn meter by 100%, while her A1 hits four times. She is the gold standard for both shield-breaking and boss lockdown.
- Stag Knight: An excellent debuffer who brings both Decrease Defense and Decrease Speed. The latter is vital because it allows your TM control champions to keep the boss suppressed indefinitely.
- Scyl of the Drakes: A free legendary that provides consistent healing and a passive turn-meter boost, while her A1 offers a chance to place a Stun, which is incredibly useful for the waves leading up to the boss.
Optimizing Stats for Consistent Farming
While champion selection is important, your gear stats determine the consistency of your runs. If your team is failing, the issue is often a lack of speed or improper accuracy thresholds.
- Speed: Aim for at least 200+ Speed on your support and control champions. If your team is too slow, the Fire Knight will cycle through his shield before you can re-apply your debuffs.
- Accuracy: For Stage 20, your debuffers need at least 200 Accuracy to ensure that "Decrease Speed" and Turn Meter reduction skills land consistently. If your champion has 150 Accuracy, they will frequently be resisted, leading to a failed run.
- Critical Rate: If you are using damage dealers like Coldheart, ensure they are at 100% Critical Rate. Her "Heartseeker" damage scales significantly, and you need that damage to end the fight quickly once the shield is down.
Managing the Wave Encounters
The waves leading up to the Fire Knight are often more dangerous than the boss itself. If your team lacks sustain or crowd control, you may reach the boss with low health or dead champions.
To survive the waves:
- Prioritize CC: Bring at least one champion with reliable crowd control, such as a Stun or Freeze, to prevent the waves from nuking your squishy damage dealers.
- Cooldown Management: During the final wave, avoid using your critical TM reduction or "Decrease Speed" skills. Save these cooldowns so they are ready the moment the Fire Knight encounter begins.
- Target Selection: Focus fire on high-threat targets in the waves first. If you have a champion with "Decrease Defense," use it to clear waves faster, but ensure it is back up for the boss.
Strategic Checklist for Success
If you are still struggling to clear Stage 20, perform a "bottleneck audit" of your team:
- Is the shield breaking? If not, replace a damage dealer with a champion who has a 3-4 hit A1.
- Is the boss taking turns? If yes, you need more Speed or you need to ensure "Decrease Speed" has 100% uptime.
- Are your debuffs being resisted? If yes, stop farming for damage stats and focus entirely on Accuracy banners and substats.
- Are you dying before the boss? If yes, replace your weakest damage dealer with a dedicated healer or a champion with a "Protect" buff (like Ally Protection).
By adhering to these mechanical requirements rather than relying on gear quality alone, you can create a reliable, auto-farmable team that will provide you with the high-tier gear necessary to push into the later stages of RAID: Shadow Legends.
Free RAID: Shadow Legends Codes
Current active codes and how to redeem them.

Michael Smith
Michael covers live-service games, events, reward systems, and efficient daily routines, turning frequent updates into clear actions for players.
COMMUNITY
Player Comments
25 players commented on this guide.
This saved me time in the early game.
Can you add more details about strategy in a future update?
Nice guide. I am checking the other RAID: Shadow Legends articles next.
Good guide for RAID: Shadow Legends players. The strategy part was useful.